Monthly Archives: June 2010

For You

More Delovely to share with you today. I love these bright fun colors and pretty prints. Today I paired it up with some beautiful Zva Creative goodies  for a “tweet” card. This card has lots of curves from the beautiful black pearl flourish, the wave cut of the patterned paper, that sweet and round chipboard birdie and the rounded corners.

sweet-delivery.jpg

sweet-delivery-detail.jpg

Supplies: Delovely Patterned paper pad and Chipboard and Tiny Type by Cosmo Cricket, Black Pearl Flourish

PE02CB 143 BLK and flowers by Zva Creative, pinking shears, Sanding Block by Advantus,  corner rounder, twine

Have a sweet day!

so precious

I’ve finally hit that stage in life when I’m very happy to be done with adding to our family.I have a mad case of baby love but now I can get a little snuggle with a friend’s baby and then be glad to hand it back. Five is enough for me.

A few weeks ago it was my youngest’s 5th birthday and I thought it was long past time to create a layout from his baby pictures. It was a wonderful opportunity to close my eyes and remember those special newborn moments. At the time I was lucky enough to have just received the gorgeous June Up the Street scrapbooking kit and everything you see on the page with the exception of ink and staples were included. This kit is a gorgeous mix of Webster’s Pages, Girls’ Paperie, Maya Road, Jenni Bowliln, Zva Creative, Pink Paislee…lots of yummy goodies.

precious-baby-5-31.jpg

Quick Tip: Cut up a Maya Road envelope and layer piece of paper in it to form a unique frame.

precious-b-title.jpg

The Zva Creative crystals in this package were a gorgeous long flourish. I cut mine into three pieces. You can find two of them swirling your eye through the layout and if you look at the turtle above, you’ll find the third tiny piece of one single rhinestone on his crown.

scrapbooking sketches

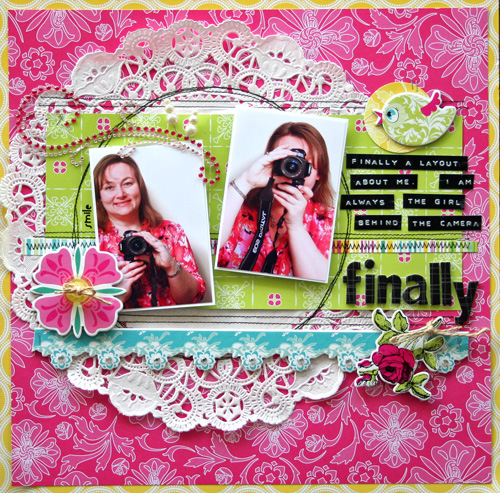
I’m camera shy. I’d much rather be behind the camera than in front of it. Because of this, I rarely have a layout about me. I managed to step out from behind the camera for a brief minute and so here’s my finally layout.

This layout is built on the latest Creative Scrappers sketch, number 108. I’m super excited to be designing for the Creative Scrappers sketch blog on team P. That means every other Sunday I’ll have a layout to share using that week’s sketch. Creative Scrappers has the MOST fabulous layout sketches. I try to play along every week whether I need to or not.
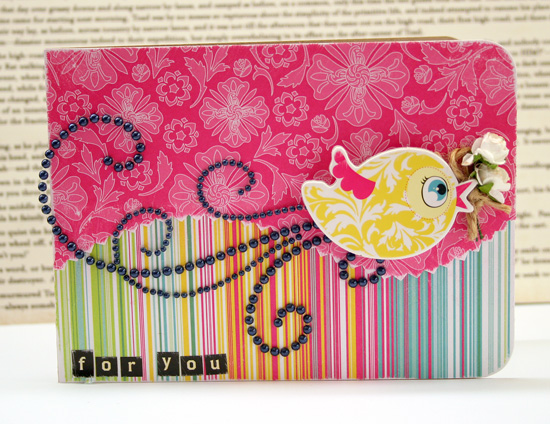
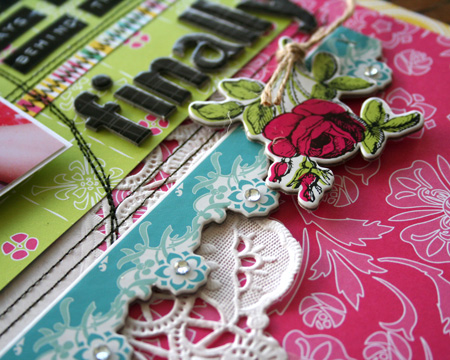
finally.

finally-blog-size.jpg

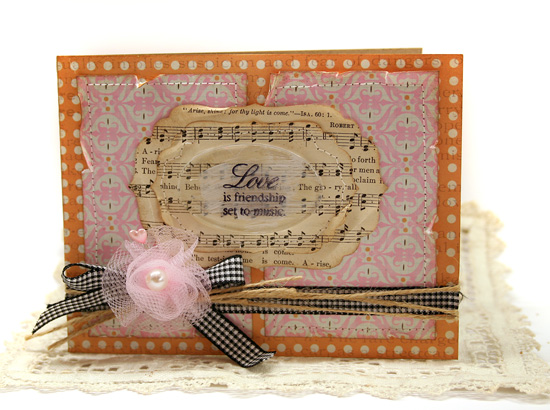
This layout uses this weeks sketch combined with some of the Delovely line by Cosmo Cricket and some beautiful bling by Zva Creative.

finally-bling-close.jpg

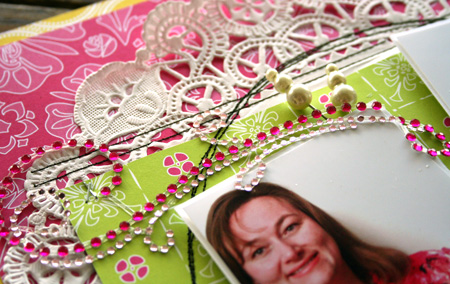
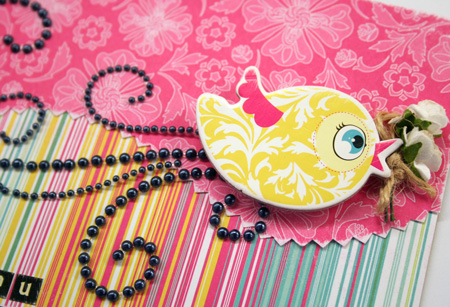
The beautiful pink crystals here are Zva’s product number CR01CB131.

finallyborder-detail.jpg

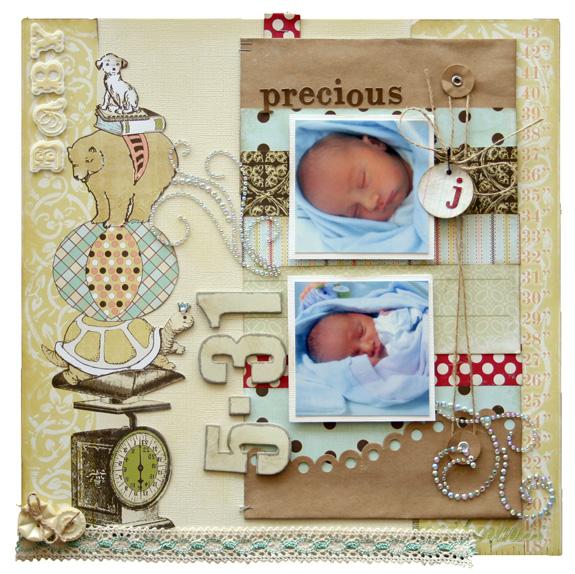
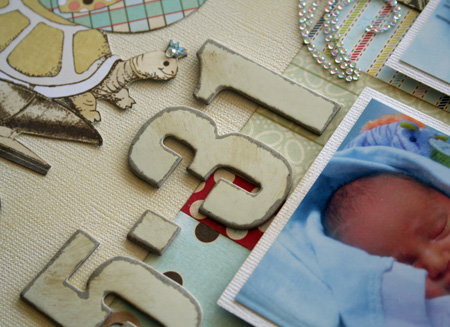
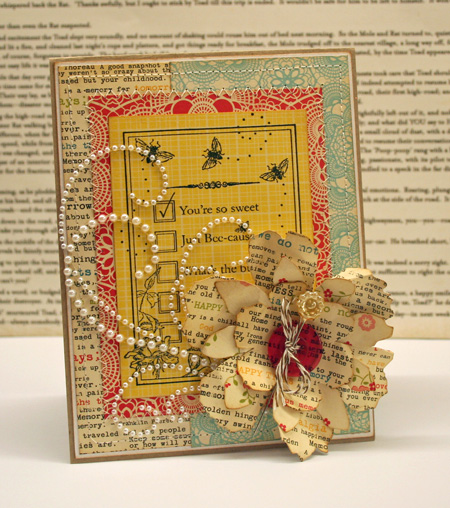
Here’s a close-up of the bling embellished chipboard. I used the CR01CB101 clear crystals by Zva Creative here.

Supplies: patterned paper and chipboard from Delovely line by Cosmo Cricket, doily by Wilton, CR01CB101 & CR01CB131 crystals  by Zva Creative, sewing machine, dymo label maker, circle punch, Pearl Trinket Pins by Maya Road, twine, white cardstock, tiny attacher by Advantus, rub-on by Melissa Frances

Have a beautiful Sunday!

love notes

Sometimes I work ahead on upcoming projects and it’s a great way to keep organized when you do a lot of creating. So it’s actually been a while since I created this but I’m excited to finally be able to share. This week there’s another awesome sketch at Card Patterns, sketch number 68. I’ve combined it with some sweet Lily Bee Design Lovely papers and the Love Notes stamp set by Gina K. Gina is one again this week’s Card Pattern’s sponsor so play along for a chance to win a great stamp set or a guest designer spot on Card Patterns.

Love is Friendship Set to Music

set-to-music.jpg

To play up on the sentiment, I die cut some vintage sheet music that I picked up on-line. I love incorporating vintage papers into my designs. It really adds a nice dimension.

set-to-music-close.jpg

The sentiment is stamped onto a Tim Holtz Fragment with Jet Black Archival Ink.

Quick Tip: Be careful when distressing vintage papers as they can become quite brittle.

Supplies: Love Notes stamp set by Gina K, Lovely Line patterned paper & Tulle Embellishment by  Lily Bee Design, vintage music sheets,  Labels Four Die by Spellbinders, sewing machine, twine, cardstock by Bazzill, Jet Black Archival Ink by Ranger, Tim Holtz Fragment by Advantu, Black Gingham ribbon, Heart Trinket Pin by Maya Road, Snow Cap Paint Dabber by Ranger

Have a sweet Saturday!

Sweet Window

I’m a sucker for window cards. There is just something so pretty about them. This window card has a vellum panel and was so delightful to create.I love white cards too. It’s Friday so I’m once again in the CLASSroom with a tutorial on how to create this from start to finish. Stop by if you get the chance.

daisy-roses-angled.jpg

Have a wonderful June weekend!

Buzzzz

The other day I was on a field trip with my youngest son’s class to see the changes in nature this time of year. We looked at plants, talked about animals, listening to nature’s noises this time of year and how busy everything is. We also had a little net to catch some bugs. Although we weren’t quite quick enough to catch any, we saw butterflies and fireflies, moths and many other bugs. Which got me thinking about how often we find a bug motif in papercrafting. I think butterflies in particular never go out of style. Today for the challenge, I’m challenging you to find ways to use bugs in your projects. I can’t wait to see all the delightful projects so please, join us here.

You’re So Sweet

so-sweet.jpg

I’ve always loved interactive journaling cards so when I designed this Bee List stamp last year, it seemed like a fun aspect to include. Because I wasn’t coloring this today, I stamped the image onto yellow patterned paper to accent the bee theme. I’m still working my way through my 8×8 pad of October Afternoon Thrift Shop paper.

Supplies: kraft and white cardstock by Bazzil, The Bee List stamp by CHF, Tattered Florals Die by Sizzix, button by Basic Grey, Flower Pins by Little Yellow Bicycle, Jet Black Archival Ink by Ranger, sewing machine, Brushed Corduroy Distress Ink by Ranger, Farmer’s Market Twine

Happy creating!

stamps and airbrush

My airbrush has been sitting sadly neglected lately and I thought it was long past time to dust it off and give it a whirl. I love airbrushing with a mask and for this card, I’ve created a reverse mask to airbrush in a fun bracket shape rectangle to add a little color and anchor my stamping.

stamped-thanks.jpg

To create the mask, I die cut a piece of Eclipse Tape with a Nestability die, Labels Eight. I kept the negative shape to create a mask over the white cardstock. The airbrushed center is just a random  mix of colors from my Copic Marker collection.

The stamp set is one that I love from Hero Arts called Printed Flowers. I love anything with text and this is a super fun mix of text and flowers. These were simply stamped in Jet Black Archival Ink by Ranger andand highlighted with some fun rhinestone bling.

And thanks to you for taking the time to stop by!