Monthly Archives: February 2009

Play Me a Song…

jks-piano-dream-slice.jpg

I just love the piano! I grew up with piano lessons and while I rarely play now, love listening to it. I’ll be honest. I had a love/hate relationship with it as a child. I loved it but hated practicing. Unlike this beautiful image, we had a huge beast of an ugly piano and I wasn’t one to sit there demurely! LOL I’m hoping my children aren’t reading this but when I was frustrated, I used to kick the piano! My poor mother!For the most part I did love it though. I think my biggest problem was that I was too shy to actually play for anyone!

This Piano Girl image is one of the latest from CHF’s Saturday Evening Post line. That means that this image was in the Saturday Evening Post at some point in its history. I love these classic vintage images!

Piano Dreams

jks-piano-dreams.jpg

Have a fabulous day!

winter-julia.jpg

Supply List:

Stamps:
Piano Girl (Saturday Evening Post line) by Cornish Heritage Farms
Dream from Everyday Petites (Mona Lisa Moments line) by Cornish Heritage Farms
Ink: Rich Cocoa Memento Ink by Tsukineko, Brushed Corduroy Distress ink by Ranger
Paper: Kraft by Prism, Bittersweet 6×6 paper pad by Basic Grey
Other:
pin by Making Memories, markers by Copic, trim by Fancy Pants Designs

Embellishment Love

jks-faith-close.jpg

I made this card earlier in the week…just for fun, based on a sketch from the CPS blog. CPS101 Which got me thinking about how often I love layering embellishments for a richer, more dimensional look. As I’m always on the lookout for new challenge ideas, I thought this might be a fun one. Today our challenge is to find Ways to Layer Embellishments. Whether you keep it simple by adding rhinestones to chipboard, rub-ons to charms, or take it up a little by layering glitter over chipboard over felt, I’d love to see what you come up with. The idea is to group your embellishments together to create one beautiful focal point. I think we’ve all seen projects that look like they have what I call, “embellishment sneeze”. Layering and grouping those embellishments “anchors” them to the design and gives a harmonious look. I hope you’ll join in and play along! Here’s the challenge link.

Faith

jks-faith.jpg

For my design, I actually have four layers of embellishments. The Voila felt by Prima, a Prima flower, some fun trim by Fancy Pants Designs and then my butterfly cut from my patterned paper. Actually, when you think about it, that is a lot of stuff. So why does it work? The rest of the design is so super clean and simple and the embellishments are defined by a clear design on the layout. To keep the rest of the design clean, I simply stamped my sentiment onto the patterned paper with Versamark ink and then embossed it. I love this Faith verse from the Scripture Essentials 1 set from Cornish Heritage Farms. Wouldn’t this design work well for a sympathy or encouragement design?

Here’s a few other examples of layered embellishments…

jks-sweet-slice.jpgjks-embrace-slice.jpgjks-spring-happi-slice.jpgjks-sweet-tin-top.jpgjks-quick-frame-slice.jpgjks-rhinestone-notes.jpg

Enjoy the challenge and happy creating!

winter-julia.jpg

Supply List:

Stamps: Scripture Essentials (Mona Lisa Moments line) by Cornish Heritage Farms

Ink: Versamark by Tsukineko

Paper: Kraft cardstock by Prism, Webster’s Pages Secret Garden patterned paper

Other: Flower and Felt Voila trim by Prima, trim by Fancy Pants Designs, black embossing powder

Happy Trails

Kim Hughes has the most darling, western-themed mini set this month for the CHF Stamp of the Month. Super cute for cowboy/cowgirls everywhere. I’ve created a couple cards to share with you today. Both cards feature the horse stamp which I just love. For the first design, I was inspired by Monday’s Recessed Window Technique Challenge. I think it would show up better if it wasn’t in black but I thought it might make it pop. The outside edges of my black layer are hand-stitched with cord and then adhered with dimensional foam tape.

Howdy

jks-howdy.jpg

Supply list:

Stamps: Happy Trails (Feb SOTM – Kim Hughes line) by Cornish Heritage Farms
Ink: Rich Cocoa, Black Memento ink by Tsukineko, Vintage Photo Distress ink by Ranger
Paper: Black cardstock by Prism, Mr. Campy patterned paper by Cosmo Cricket
Other: twine, button by Autumn Leaves, Copic marker, ribbon by Creative Impressions, burlap

Sunset Trails

jks-sunset-trails.jpg

I thought it would be fun to try repeat stamping the horse image to achieve the look of a herd of running horses. To get a vibrant sunset look, I airbrushed my background with four graduated colors of Copic markers. I had wanted to use some patterned paper but couldn’t find any in my stash that worked with my sunset colors. This was the perfect time to make my own. Using a piece of watercolor paper, a floral Heidi Swapp mask and some Distress Ink, I layered on the color until I had the look I wanted. I then stamped part of it with the Cattle Brands Backgrounder. This card was a little more technique-based than I usually do but it was fun to create.

Have a fabulous day!

winter-julia.jpg
Supply List:

Stamps: Happy Trails (Kim Hughes line) by Cornish Heritage Farms, Cattle Brands Backgrounder by CHF
Ink: Latte Adirondack ink by Ranger, Black & Rich Cocoa Memento Ink by Tsukineko, various distress inks by Ranger to create background layer.
Paper: watercolor paper, Simply Smooth White & Kraft by Prism
Other: Copic markers and airbrush system, charm by Flair Designs, ribbon by Creative Impressions, sewing machine, mask by Heidi Swapp

Graceland

After being super immersed in a floral stamping wonderland for the past week, I thought it was time to change things up around here.  I have some Elvis release designs to share with you today and this time the feature is on Graceland! I created a couple cards  to share with you but for all you Elvis fans, these stamps would also look fabulous on layouts.

Glittered Graceland

jks-graceland-glitter.jpg
For this design I added a Clear Card Sheet overlay. The Graceland Gates are stamped on top of the Card Sheet for a dimensional look. Underneath on the Scrapblock paper, I stamped the Aged Sheet Music Scrapblock™. I know, I know….you’ve seen it a lot but I just can’t seem to put it down. What is a celebration without music?! My oval panel is stamped and then cut and embossed with my Spellbinders dies. If you leave your die in place, it makes a fabulous mask for airbrushing leaving the perfect border. I thought Graceland needed a little bling, so I highlighted the word with my Sakura glue pen and some Glitter. I just had to add a little more embellishment and when I think Elvis, I think black velvet. A quick little black velvet tie finishes off the design.

jks-graceland-slice-glitter.jpg
Stamps: Graceland Gates, Graceland Logo (Elvis Presley Line) by Cornish Heritage Farms
Ink: Tuxedo Black Memento Ink by Tsukineko, Black stazon ink by Tsukineko
Paper: Black & Simply Smooth White cardstock by Prism, Mocha Chica Paper pack (Kim Hughes line) by Cornish Heritage Farms
Other: ribbon by Creative Impressions, glitter by Art Institute, Oval Nestability die by Spellbinders , Copic Markers and airbrush

Patterned Graceland

jks-graceland.jpg

This is a simple design. I had fun adding interest with this beautiful Basic Grey paper to add a rich look.

Quick Tip: Cut die cut shapes…in this case Labels 2 from Spellbinders, to come up with a different look.

Have a fabulous day!

winter-julia.jpg

Supply List:

Stamps: Graceland Gates, Graceland Logo (Elvis Presley Line) by Cornish Heritage Farms
Ink: Black Palette Ink by Stewart Superior
Paper: Black cardstock by Prism, Ambrosia 6×6 paper pad by Basic Grey
Other: ribbon by Creative Impressions, rhinestones by MAMBI, Labels 2 die by Spellbinders

Sweet, Sweet Sixteen

jks-sweet-slice.jpg

Wow! Where do the years go?! Today is my daughter’s 16th birthday and she’s growing up to be a lovely young lady. Of course we have those usual mother/daughter squabbles but today should be all about joy. When I think of it, it just doesn’t seem to be that long ago that I was that age myself.

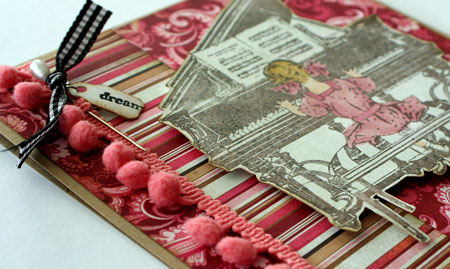
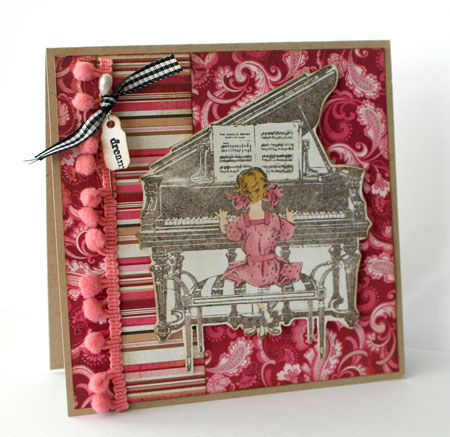
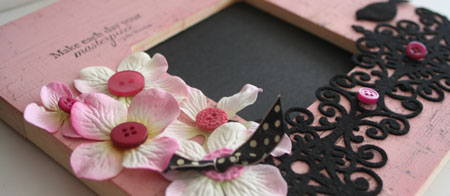
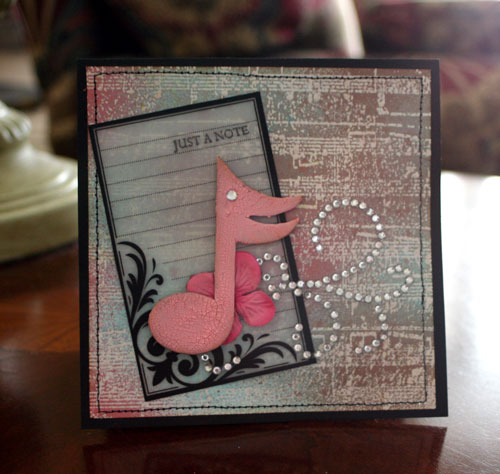
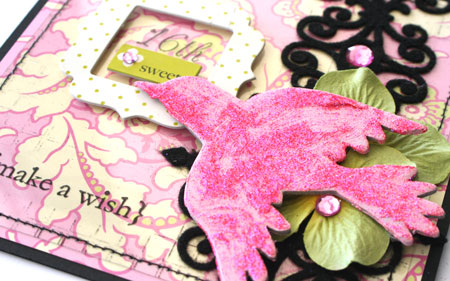
Now it may seem a little strange to you, but I’m actually a little nervous giving her this card. Why? Well… like most teenage girls, she has very exacting taste. It has to be cool! A little glitter, a cool black, pink and green combo and some fun embellishments make this a cool card in my humble opinion. I’m hoping it rates well enough in her eyes! 😉

Sweet 16th

jks-sweet-16th.jpg

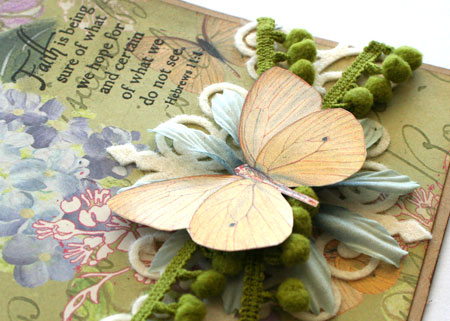
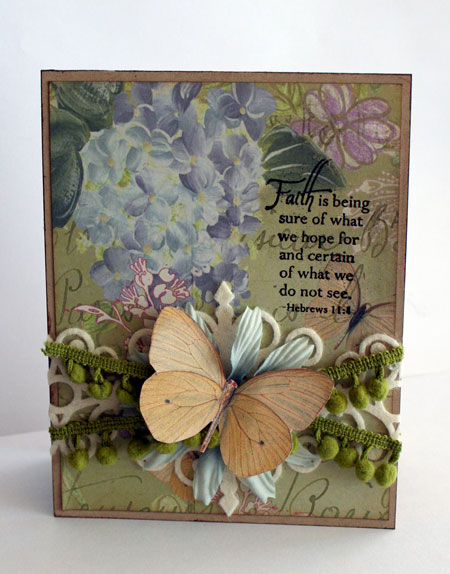
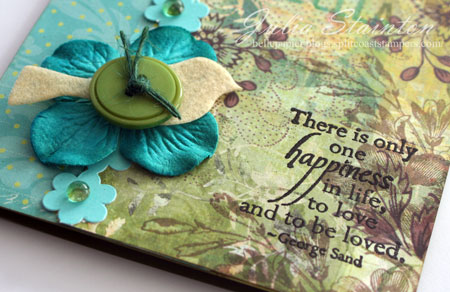
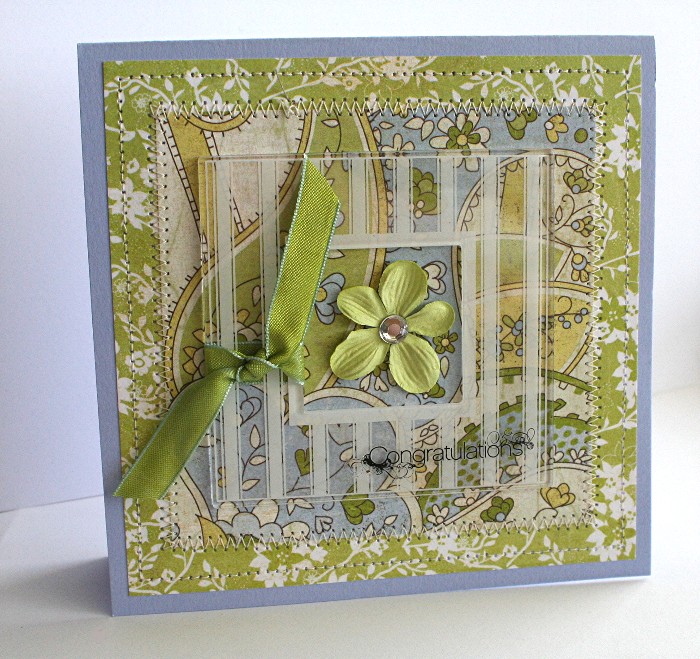
I just love this Autumn Leaves patterned paper. I had the hardest time covering it up at all. My solution…to add a clear layer so that you can see all the pretty elements. I love the green and ivory accents in the pattern and actually..to start, I planned the layout around a particularily pretty section of the paper by adding my frame there.

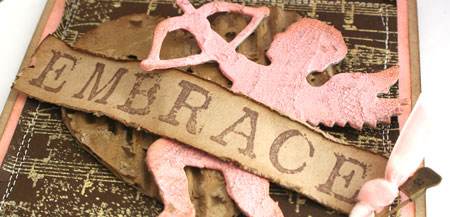
To add interest but frame the design, I actually added a tiny bit of scrapblock stamping on the Clear Card Sheet. It’s probably most apparent in the top photo. I inked up just about an inch of rubber all around where the edges of my Clear Card Sheet layer would be and then stamped. I think my Stazon pad must need to be reinked because it was much more subtle than I had anticipated. Oh well…it still works! 🙂

My glittered bird was one I was experimenting with last week and worked out perfectly for this project. I think it adds some fun texture to my painted chipboard. It’s super simple…after covering my chipboard with paint from an Adirondack Paint Dabber, I sprinkled it with some Art Institute glitter. To stamp on  my design, I inked up my sentiments with Black Stazon and stamped right onto the stitched Clear Card Sheet layer. I actually made a BIG boo boo when stamping. 🙁 My bottom sentiment was crooked and I was really disappointed. After all…I’d already stitched down my clear layer. What to do?! Well…I had a moment of inspiration and tried it out on some scraps first. You’re going to love my solution so keep reading for today’s quick tip!

Quick Tip: Finally…a solution for those Stazon stamped mistakes! A Copic Clear Colorless Blender works PERFECTLY for removing the ink, even after dry. Simply brush on the Colorless Blender and wipe off with a paper towel. Isn’t that fabulous?! Now of course…this won’t work on paper but it WILL work on your non-porous surfaces. Thanks for letting me share my EUREKA moment! 🙂

Now I’m off to bake a cake this morning. What’s a birthday without a cake?!

Have a sweet, sweet, day!

winter-julia.jpg

Supply List:

Stamps: Distressed Grid Scrapblock™, Invitation Essentials & Birthday Centers (Mona Lisa Moments line) by  Cornish Heritage Farms

Ink: Black Stazon Solvent ink by Tsukineko

Paper: Black cardstock by Prism, Zinnia Patterned paper by Autumn Leaves

Other:  5thAvenue chipboard stickers by Making Memories, flowers and Voila die cut felt by Prima, rhinestones by Doodlebug Designs, sewing machine, Clear Card Sheet by Cornish Heritage Farms, chipboard by Maya Road, Adirondack Paint Dabber by Ranger, Glitter by Art Institute

Fresh Air

Right now, I’d love some fresh spring air. You know the kind of day when the sun comes out, the snow is melted and you can just smell spring in the air. Even the dirt smells good! Today’s card reminds me of spring with the fresh green, blue and periwinkle. I was going through some digital picture files the other day and came across this design. I actually created it some time ago but never got around to sharing it with you. I love adding rub-on transfers to clear elements and this one has the sentiment rubbed onto a Making Memories clear frame. They were actually designed for framing photographs in layouts but I think this is a really fun way to use them on a card, framing a flower.

Framed Congratulations

jks-framed-congratulations-card.jpg

Quick Tip: Think of different ways to use your embellishments for a fun new look.

Have a wonderful day!

winter-julia.jpg

Supply List:

Paper: Lily Kate line by Basic Grey, Almost Amethyst cardstock by Stampin Up

Other: clear frame & rhinestone by Making Memories, ribbon by May Arts, flower by Prima,  rub-on by Basic Grey, sewing machine