I was so excited to have the opportunity to review the new Thomas Kinkade stamp line produced by Cornish Heritage Farms. All I can say is wow! Well, actually….LOL….I have quite a bit more to say and if you want to hear it… check out today’s Craft Critique review. 🙂
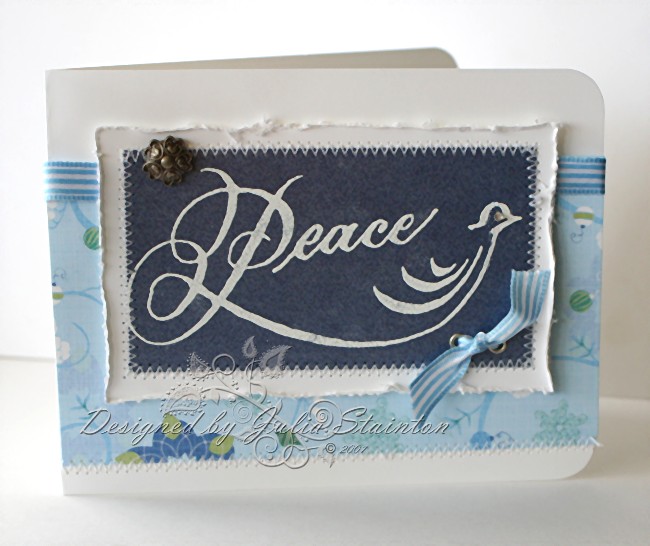
Pastel Wishing Well
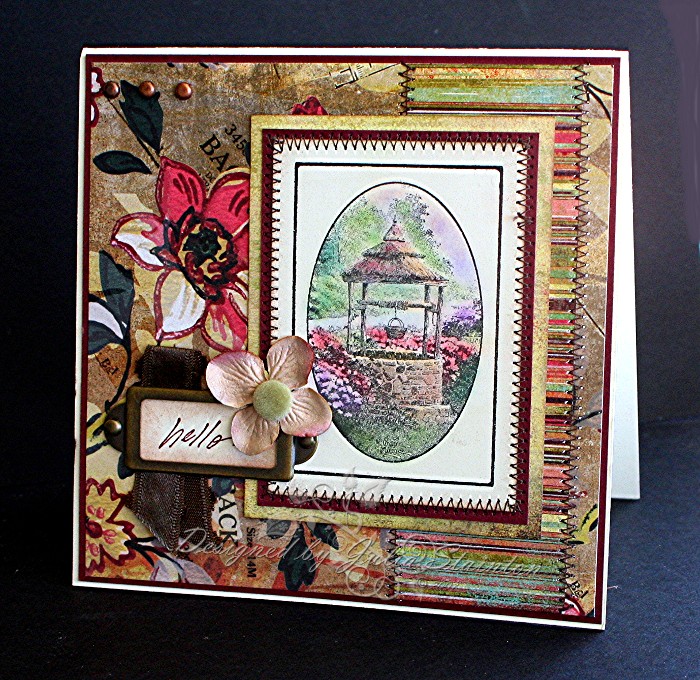
This is one of my favorite designs. I loved pairing up the Make a Wish Cottage Vignette with my pastels and this Stella Ruby 6×6 pad patterned paper. The stamping was simple to do. My black Palette Hybrid ink worked fabulously for inking up that detailed stamp well. The coloring was done with a Q-tip. I simply applied my Stampin Up pastels to the areas and shaded with coordinating chalk. If you are looking for a simple, quick way to color these detailed images, chalking works really well!.
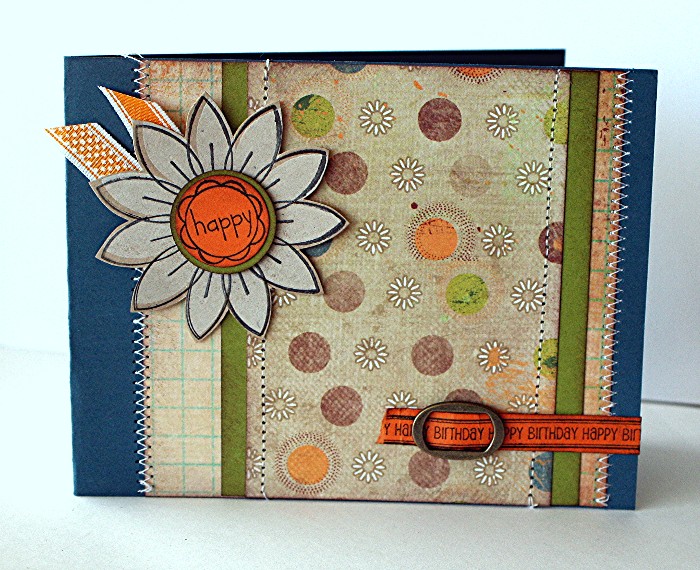
For the main card design, I layered my Stella Ruby paper with Bravo Burgundy…love that warm rich color this time of year!…and mounted onto a 5.25″ square Vanilla card base. I then stitched on a strip of the striped paper with my sewing machine. The main image was them matted with the Burgundy and then one of the plain textured patterned papers from the pad. To hold it all together nicely and to focus in on the image, I added zig zag stitching around it as well.
For my embellishments, I wanted to add to the vintage look so I pulled out my Antique Brass Hodgepodge hardware and added a sentiment in that. Sentiment comes from the retired SU Autumn Leaf Prints set. Tucked under the label holder is a scrap of chocolate scalloped May Arts ribbon. I added a little hydrangea Prima and velvet Making Memories brad to the center and adhered it with a glue dot. Last tiny touch…three little brads in the top left hand corner.
Quick Tip: Glue dots are fabulous for adhering embellishments and small items that can be difficult and need a firm adhesive.
Edited to add…. I was asked if I use a blender pen to add my chalking. Actually, I sometimes do but in this instance, no. I just run it on. Sometimes you need to build it up a bit by adding a few times. I love how this will shade the colors. If your color tends to rub off, use a matte spray fixative from Michael’s or other art supply store to hold your chalk from smearing.
Supply List:
Cardstock: Very Vanilla, Bravo Burgundy – Stampin Up
Patterned paper: Stella Ruby 6×6 paper pad – Basic Grey
Stamps: Make a Wish cottage Vignette – Cornish Heritage Farms, Autumn Leaf Prints – SU
Ink: Black Palette Hybrid ink – Stewart Superior, Close to Cocoa – SU
Other: hodgepodge hardware & Stampin Pastels – SU, ribbon – May Arts, sewing machine, Velvet brad & Copper mini brads – Making Memories, Hydrangea flower – Prima Marketing