I’d never seen these Dahlia fold blooms before and as it was today’s technique challenge I just had to give it a whirl. Rummaging through my paper stash I found this beautiful My Mind’s Eye paper that I hadn’t used yet and thought it would be fun to do a vintage style design pairing it up with some new Rummage Bin stamps. These stamps are from the Beautiful & Art of Framing stamp sets and were fun to work with. For details on how to create the dahlia fold bloom…make sure you check out TLC153 , tutorial here.
Live Laugh Love
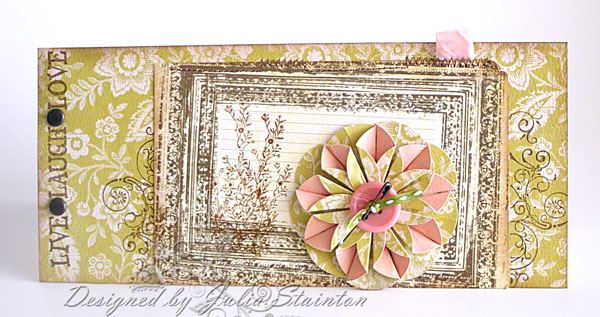
I’ve had this beautiful journaling card by Fancy Pants Designs on my desk for a few days just waiting for a project. I trimmed it down a little and used a 4×9″ card format to still have room to show the patterned paper. After sponging the edges and stamping it…I planned where it would be adhered to my paper and then stamped some flourishes to embellish the paper surrounding it.
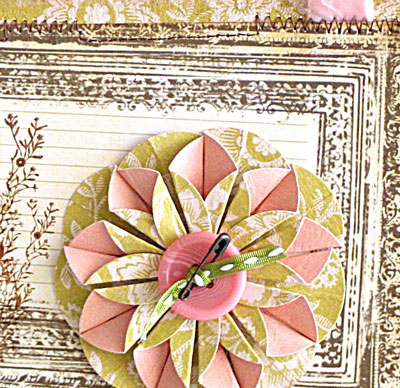 After creating the blossom as per the instructions…I have a tip for you. A double-sided patterned paper is perfect for this technique but I would probably use the lightest weight you can find. It is difficult to fold the heavier paper. To embellish the sentiment…a couple Creative Impressions brads draw your attention to it on the far side. Under my stitching at the top of the card, a scrap of crushed velvet ribbon by Making Memories and in the center of the flower…a My Mind’s Eye button tied with stitched ribbon and a little Creative Impressions safety pin.
Make sure you live, laugh & love today!