Monthly Archives: September 2010

Is It Too Early?

For a little Christmas?

I thought it would be fun to get a little head start on the holidays. I know how quickly time flies and why not save myself a little stress later on. Now that summer is officially over, I’m having a wonderful time settling back into a routine, getting all those home jobs caught up after a summer of having fun on the water and generally, just enjoying being at home. I’ve even pulled out a recipe I haven’t used in 10 years and am making pickles!

As today is Thursday, it’s time for another Ways to Use It Challenge. Want to play along? This week pull out some holiday supplies and get creating. It feels so good to be ahead of the curve and have a good start underway. Here’s the challenge link.

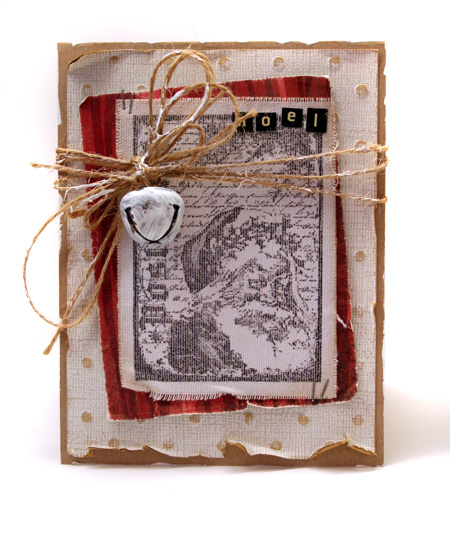
Rustic Noel

rustic-noel.jpg

By stamping on Sticky Back Canvas, you get a lot of fun texture on your image. To get the cleanest impression, make sure you stamp your image before adhering the canvas to the project. Ink your stamp well and test your ink on a scrap. I particularly like the Jet Black Archival Ink by Ranger for stamping on difficult surfaces. Actually, I love this ink for stamping everything except images I want to color with my Copic Markers.

There is a lot of texture on this card but it ties it all together. If you want to add a lot of texture, don’t overdo the rest of the design to keep it from getting too busy.

Supplies: Santa Letter stamp by Stampers Anonymous, kraft cardstock by Bazzill, Jenni Bowlin white cardstock by Coredinations, Claudine Hellmuth Sticky Back Canvas, edge distresser, Tiny Attacher by Advantus, Brushed Corduroy Distress Ink by Ranger, twine, Jet Black Archival Ink by Ranger, jingle bell, Studio Line Gesso Paint , 6×6 paper pad by Basic Grey, Black Tiny Type by Cosmo Cricket

Happy creating!

love is in the air

Forget June…

this year, Fall seems to be the season for weddings.

As we had an Autumn wedding 21 years ago, I’m quite partial to them myself. It’s such a stunning time of year.

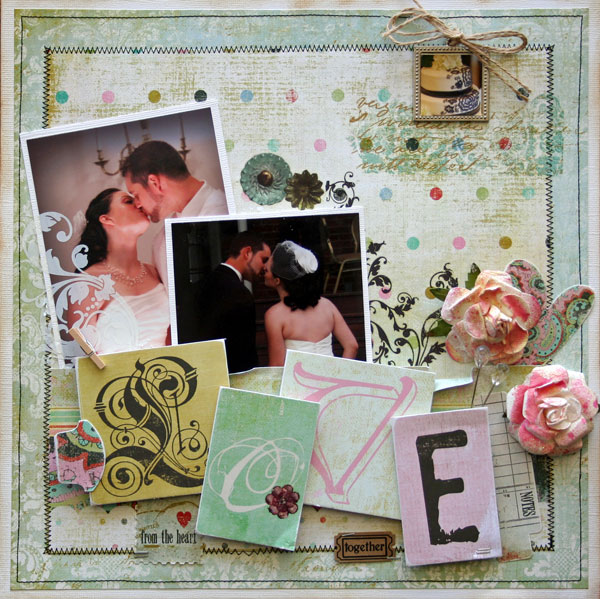
This coming weekend my brother is getting married and just over a week ago, we had a lovely time at my cousin’s son’s wedding. I’ve created a layout below for them. Don’t they make a stunning couple?

secret admirer card
I created this layout with a lot of gorgeous Fancy Pants Designs product. I absolutely adored the Road Show line. I’d used it a lot and it’s so flexible. A few months ago I used it for a baby layout and a teen layout and now a wedding one.

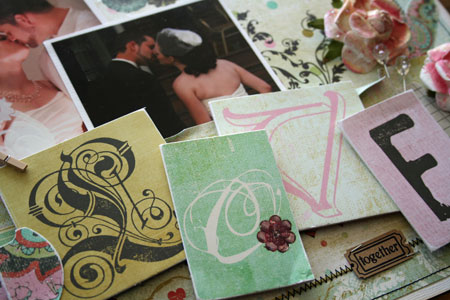
title detail

The title is created by cutting out these letter tiles from one of the patterned papers. To give them dimension and stability, I adhered them onto some Craft-a-Board, an off-white chipboard type product. It may be difficult to see as I’ve embellished it so much but there is a large stitched pocket along the bottom third of the design. I’ve tucked the main photos into it after stitching it down with the border.

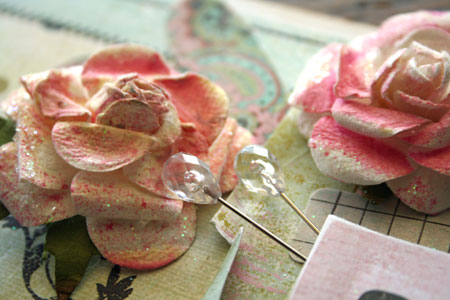
flower detail

The glittered Prima flowers  were spritzed with Glimmer Mist to coordinate with the papers.

Quick Tip: I like to sand flowers a little to shabby them up a little and make them look a little less new. Crushing them in your hand works well too.

frame detail

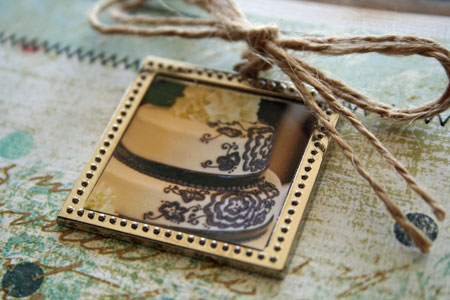
Isn’t this little frame darling? I’d been hoarding it but finally used it on this layout. A tiny accent photo of the wedding cake adds some interest to the top right corner. I’ve layered it over a very subtle script rub-on. If you look closely you’ll also find beautiful flourish rub-ons on top of or behind the main photos.

Supplies: cardstock by Bazzill, Patterned paper, letters, stickers and rub-ons from Road Show line by Fancy Pants Designs, sewing machine, ticket by Maya road, twine, frame by Fancy Pants Designs, Round Tab punch by Stampin up, Sanding Block and Tiny Attacher by Advantus, flowers by Prima, Viva Pink & Tiger Lily Glimmer Mist by Tattered Angels, Crystal Trinket Pins  & Mini Ticket by Maya Road

Thanks for stopping by!

a+ day

My daughter and I had a seriously A+ day on Friday.

She’s hoping to go into nursing and is doing a co-op for two of her credits for her senior year. We’ve been busy running around getting a police check, immunization records, tb tests…all those things you need to work in the hospital. We’ve been praying for a wonderful experience and spot for her. After her interview on Friday, she was offered a co-op learning  spot with the Organ Transplant Team. We couldn’t be more excited with the learning opportunities she’ll have with this experience. Things we never dreamed of such as her being able to attend surgeries and travel for organ transport. We couldn’t wait to get out of the hospital to scream and hug.

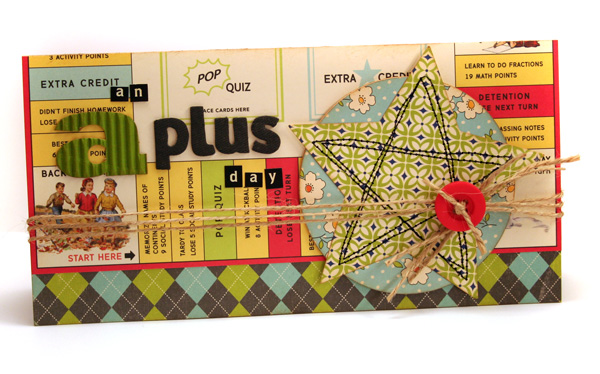
Today’s card  is one I’ve had on hand and just seemed to fit for today’s post.

Supplies: Report Card 8×8 paper pad by October Afternoon, twine, Nestabilities Circle Die & Nested Star Die by Spellbinders, button by Basic Grey, sewing machine, corrugated letter by Jillibean Soup, Fabric Thickers by American Crafts, black Tiny Type by Cosmo Cricket.

Have an A+ day yourself,

girl friend

It’s funny how you can become such good friends with someone before you even meet them. These days of technology make it possible to meet people that you never would have met before.

I first “met” Becky while working for a stamp company and we immediately became good friends. The kind that talk often on the phone and support each other, encourage each other through burnout and changes, the kind who give their honest opinion even when it’s hard to say and share in your excitement when something good comes your way.

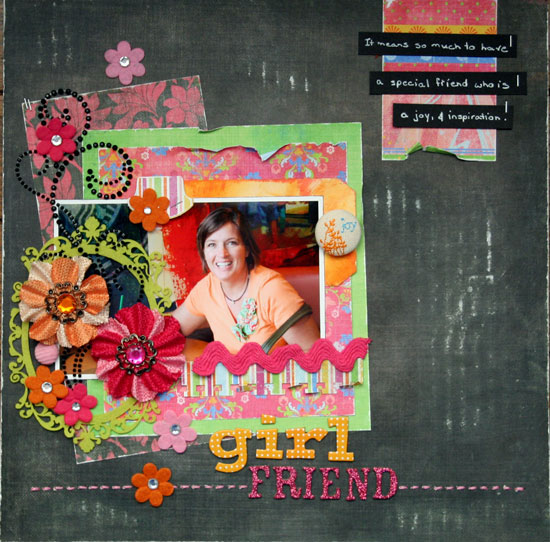
After a couple years of friendship, I was ecstatic to finally meet Becky Olsen in person last May in Buffalo. I was so excited and we had the best 24 hours of fun. We had to hit Starbucks a couple times while we were there and here’s one of the photos I took. I’ve been meaning to get it scrapped for some time and found this fun Fancy Pants Designs paper worked perfectly. Don’t you love the vibrant colors of these papers?

girl-friend.jpg

The layout for this page was inspired by another Creative Scrappers Sketch, sketch #122. I hope you’ll join us for some more inspiration and play create along with the sketch challenge here. This is my last layout for Creative Scrappers. What a fun, inspiring and wonderful team to be on. The sketches are fabulous and inspired me to try out new things. I would have loved to have applied for another term but want to focus more time on my creative goals. I hope to find lots of time this fall to keep up with the sketches and continue to play along as I can. Thanks so much Kristine for the wonderful opportunity. I wish you and your site the best and congrats to the fabulous new design team.

Quick Tip:  Sand paper over cardboard. This sanded textured happened by accident. I decided to sand some of my black patterned paper to add dimension and interest. I just happened to have a piece of corrugated cardboard underneath as a work-surface and ended up with this very fun sanded texture.

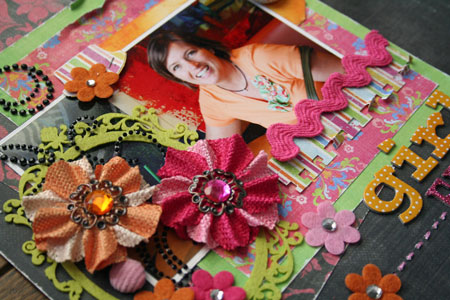
Supplies:  About a Girl paper line by Fancy Pants Design, felt flowers, Black Flourish CRB03CA114 and individual rhinestones by Zva Creative, embroidery thread, felt die cut frame, flowers & joy canvas button by Prima, ric rak, Tiny Attacher by Advantus, Round Tag Punch by Stampin Up, White Opaque Pen by Ranger, Binding Edge Punch by EK Success, Thickers by American Crafts

Happy creating and have a wonderful week!

simply saturday… simply embossed

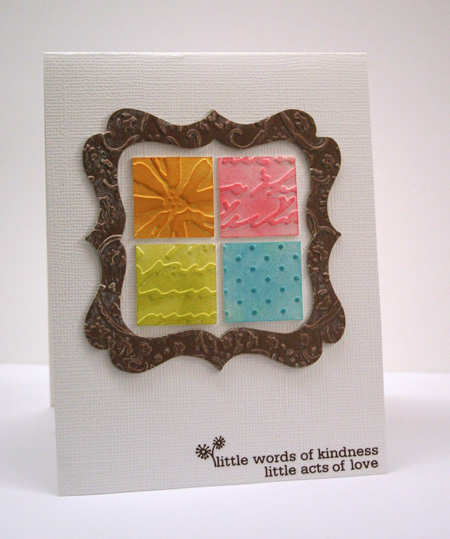
Texture is so much fun to create with. While I love embossing cardstock, I really adore embossing chipboard. Talk about double dimension!

little-words-of-kindness.jpg

For this clean and simple design I’ve focused on the pattern texture and embossed each of the Inchies and the chipboard frame with a different embossing folder. The inchies were then sponged with Distress Ink to add some fun color accents and highlight the texture.

Supplies: white cardstock by Bazzill, Inchies by Inchie Arts, rub-on by Crate Paper, chipboard frame by Bo Bunny, Cuttlebug embossing folders by Provocraft,Worn Lipstick, Crushed Olive, Spiced Marmalade & Tumbled Glass Distress Inks by Ranger

Have a simply wonderful Saturday!

The Ransom Note

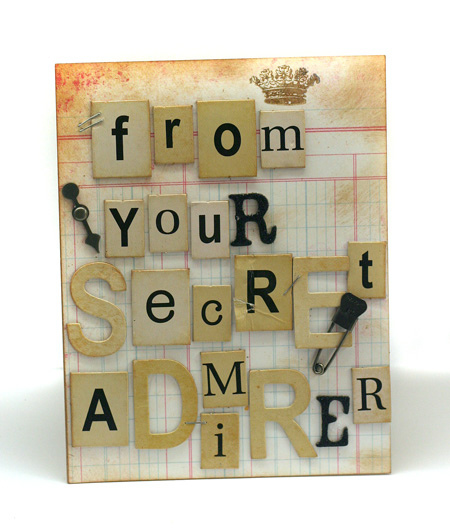
Inspired by these wonderful chipboard letters and tiles, I thought it would be so much fun to create a ransom style message design on a card.

It’s a little mix of this and that and a tiny bit of stamping thrown in. I like it because it is unique from most of my other projects. I’ll even let you in on a secret. The dog chewed a couple of these letters when he so helpfully opened my two peas in a bucket order for me that the postal worker left on the porch. I think it still works with the shabby look. Thankfully I was able to salvage most of my order but a few large chipboard pieces had to hit the recycling bin.

It’s time for another Ways to Use it Challenge and I’d like to challenge you to create a ransom style project. Mix up your letters or words. Cut them out of a stamped sentiment, newsprint, chipboard letters or whatever you have on hand. The more random, the better the look. I hope you’ll have fun with this challenge and join us here.

Secret Admirer Card

secret-admirer.jpg

Quick Tip: The more you mix it up with different fonts and styles, the more “ransom” looking your project will appear.

Supplies: kraft cardstock by Bazzill, chipboard letters, paper and stamp from the Paper Girl line by The Girls’ Paperie, Tiny Attacher by Advantus, Brushed Corduroy Distress Ink by Ranger, Tim Holtz Trinket Pin & Game Spinner by Advantus

Happy creating!

Vintage Holiday

I bought my first Christmas present the other day. Feels good to get started on my very long list. I love getting started early as it makes the whirlwind season so much more enjoyable if you can get most of the errands and projects done ahead of time.

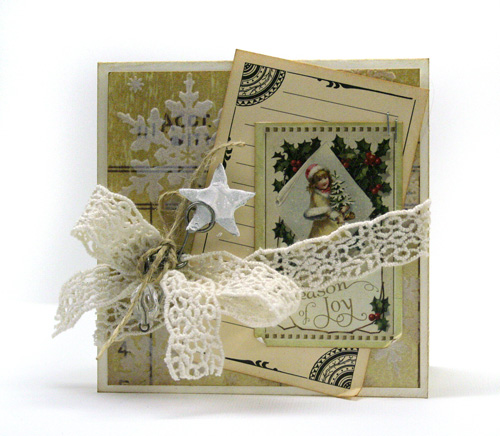
The new Holiday Cards and More issue from Paper Crafts has just been released and I can’t wait to get my hands on it. The sneaks peeks I’ve seen so far are jaw dropping for sure! Today my card is one published in this issue. I love creating a vintage collage and Christmas vintage is one of my favorites. It makes me wish for simpler days.

Vintage Joy

season-of-joy.jpg

Cath  has been sharing  so many gorgeous projects from this issue on Moxie Fab World. I was excited to see another of my cards from this issue on today’s post here. Can you tell I have a doily addiction?

Anyone else started getting ready for the holidays? What have you accomplished so far?

Take care,