Monthly Archives: August 2010

happy life

I think we have a pretty happy life.

It’s fun having a large family and we try to find lots of time for each other. If you’re read this blog for any length of time you’ll know how much we like to spend time on the lake.

I took this photo of my second youngest and just love his smile.

happy-life.jpg

This is the first full peek at the new September Up the Street scrapbooking kit to be shared here. It’s a fabulous mix of papers and goodies. I’ve created quite a few girl layouts but I especially love how well this kit works for the guys. I’ve got plenty of those in my life.

You’ll be able to check out all the kit goodies on the Up the Street blog on September 1st. Can you believe that’s tomorrow?!

happy-life-clip.jpg

Here’s the detail shot of all the layers. I loved combining them all into one intense area.

Quick Tip: Write journaling on dark paper with a white gel pen.

Have a happy day…

Zva Creative August DT Blog Hop!

The Zva Designers are joining together today to share a project that we have created using some of our favorite Zva Creative  products. I am hoping that you will take some time to join us for a little bit of fun again this month!

The Blog Hop begins at Kim Hughes’ blog.  She will have the complete list of all blogs that are participating in case there is a glitch along the way. If you would like to play along, I am linking to one of the Zva designers and that designer is linking to the next and so on. Be prepared to be inspired along the way. Hidden on 5 of the blogs is a Zva Creative prize package …YAY! Those blogs will be randomly chosen after the hop is over, so it’s important to leave a comment on as many blogs as you can along the way.

The Blog Hop starts now and runs through midnight US Eastern Standard Time on Tuesday, August 31st and the 5 winners will be announced on Wednesday, September 1st on each of the five winning blogs. The full list will be found on Kim Hughes‘s blog as well (linked above). We will do our best to notify each winner, but it’s best if you can pop in to all of the blogs once again on Wednesday…plus, you never know what kind of inspirational creation that you may find there. All you need to do is leave a comment on this Zva Blog Hop post…you do not need to leave a comment on each and every designer’s blog post to qualify. The more times you leave a comment along the blog hop path though, the more chances you will have to be one of the lucky winners.

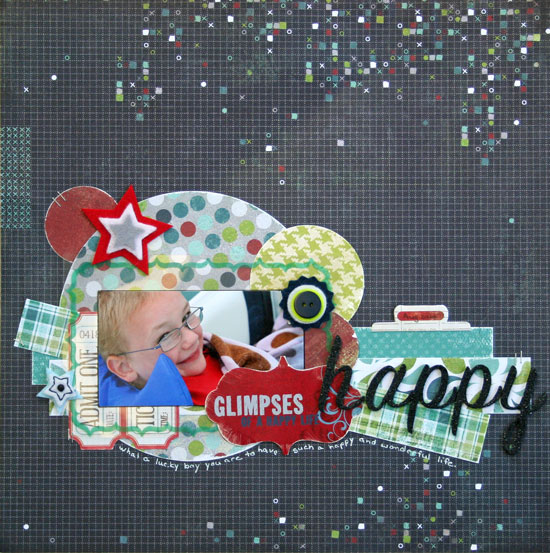
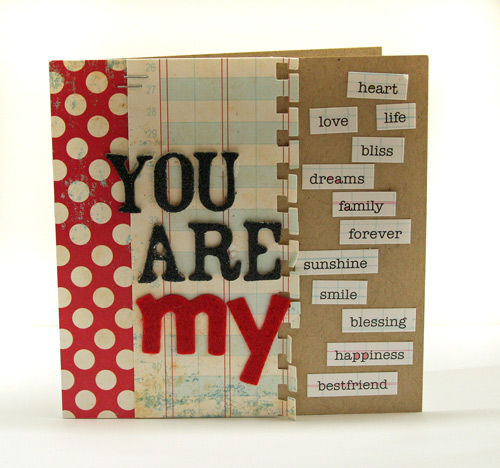
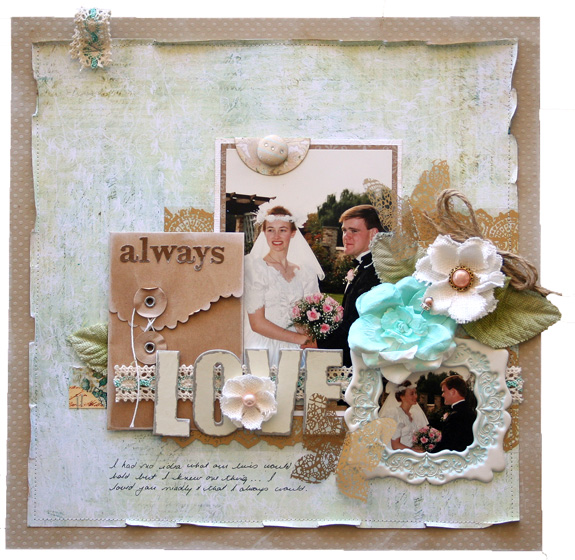
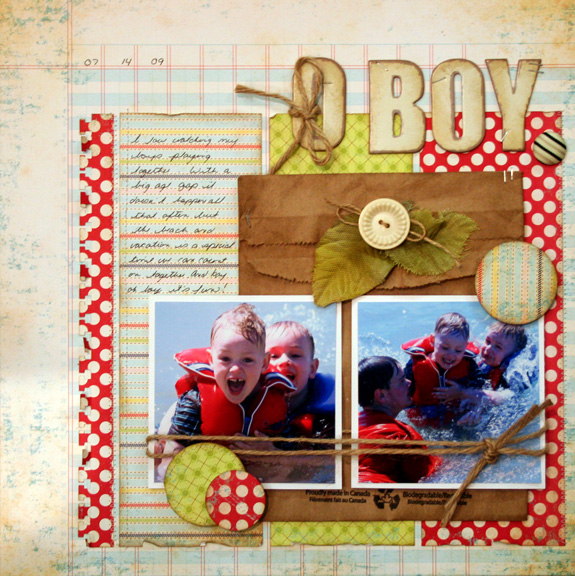
Today I have a couple Zva Creative designs to share that keep the beautiful embellishments the main focus of the design.

get-well-soon.jpg

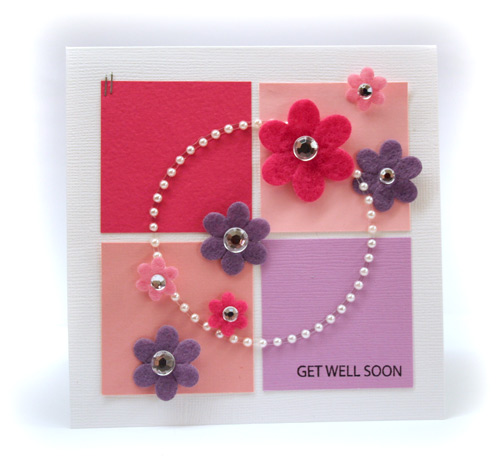
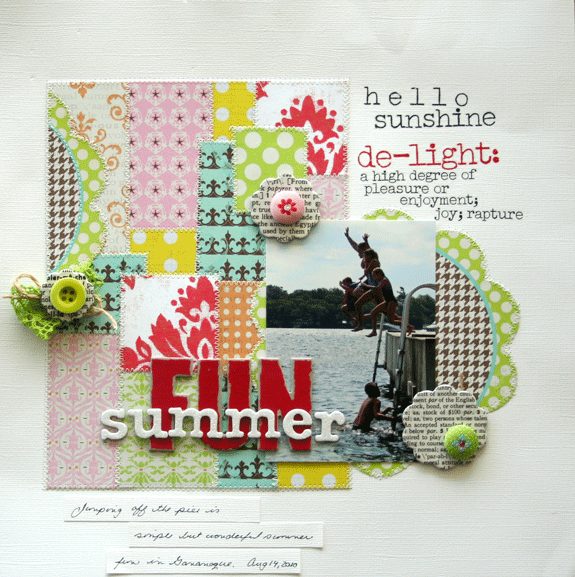
Supplies: cardstock by Bazzill,  Rhinestones CR01CB101, Pearl Circle PE02CB111 and Felt flowers FL01CB114 & FL01CB117 by Zva Creative, Tiny Attacher by Advantus, Leaf Prints stamp set by Hero Arts, Jet Black Archival Ink by Ranger

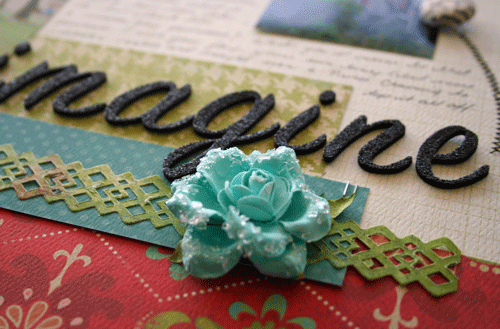
Quick Tip: To apply the pearl circle evenly, cut away half of the backing and apply one half of the circle before removing the remaining backing and adhering. This will keep the proportions even.

thank-you-with-pearls.jpg

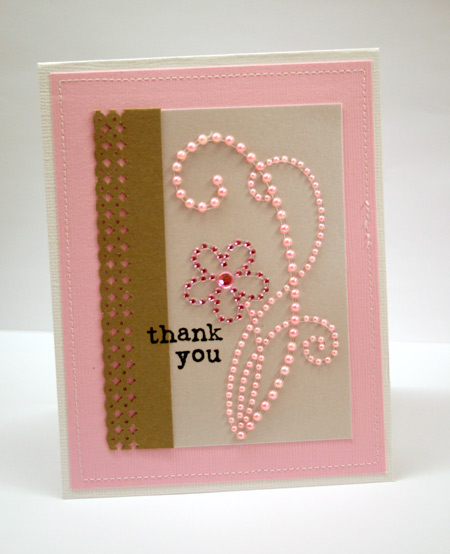
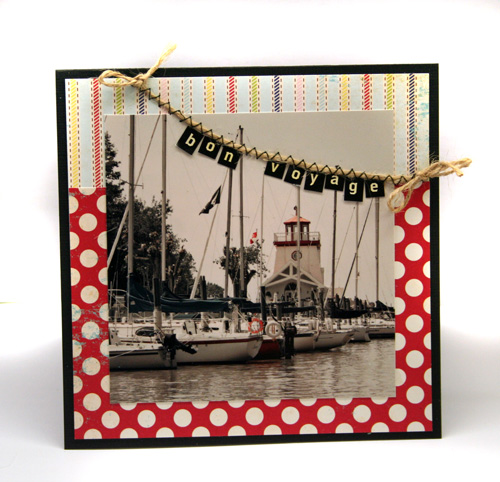
Supplies: cardstock by Bazzill, edge punch by EK Success, sewing machine, pearl flower flourish CRW03CA104 by Zva Creative, rub-on transfer by Melissa Frances

The blog hop begins here: Kim Hughes

Your next stop is here: Debbie Olson

Thank you SO MUCH for joining us


for my guy…

This card is for my guy.

It seems like it’s been a whirlwind summer. A great one to be sure but with little time for just the two of us.

I just wanted to make sure he knew everything he is to me.

you-are-my.jpg

It’s a simple one but as he’s a simple guy, it works perfectly.

Supplies: kraft cardstock by Bazzill, On Vacation patterned paper and stickers by The Girls’ Paperie , felt and chipboard Thickers by American Crafts, Tiny Attacher by Advantus, Binding Edge Punch by EK Success

Hugs,   

good to the last scrap.

I like making the most of things whether it be time, events or paper crafting scraps.

Today’s layout is a fun way to use up all those scraps of my favorite papers that just can’t bear to throw out. You can find this layout and details  on the Lily Bee Design’s blog.

Summer Fun

summer-fun-two.gif

I love this photo. Recently our family and some friends took a short trip to Gananoque. The Thousand Islands are stunning. We made the most of the last couple hours we were there by having a fabulous time jumping off the pier.

Quick Tip: Repeat patterns and colors throughout the stitched scraps piece for balance and continuity.

Supplies: Hello Sunshine and Lovely line papers, rub-ons and chipboard by Lily Bee Design, sewing machine, white cardstock by Bazzill, button and Stitched Brads by Basic Grey, lace ribbon, twine, Chipboard letters by Pink Paislee and American Crafts

Take care,

picture this

Summer is my favorite time to take photographs. We spend more time outdoors and natural light is the best for shooting photos. We put photos into albums and layouts but what about cards?

Today I thought it would be fun to create a card using a photograph. I’m excited to be back challenging you with the Ways to Use it Challenge after taking a month off. Many thanks to the wonderful guest hostesses that stepped in for me. Today I’d like to challenge you to create a paper crafting project using a photograph. Create a scrapbook page, a card or whatever else you can think of.

Find the challenge here.

bon-voyage.jpg

If you have a photoediting program that will allow you to change up the look of your photo, play around with it. For this photograph I used some Pioneer Woman photo actions in Photoshop to get a fun vintage look. The little banner is created by stitching Cosmo Cricket Tiny Type along some knotted twine.

Happy creating!

something up my sleeve

I’ve got something new up my sleeve.

Remember these projects?

shabby-friendship-card.jpg always-love.jpgoh-boy-layout.jpg

Back in June I was a guest designer for Up the Street Scrapbooking Kits. Love these kits!

So I’m super excited to have been asked back as a permanent part of the new design team.

Also part of the new team…Lesley Langdon is my extremely talented friend and fellow Ontario girl, as well as two other talented & creative ladies, Heather Derbecker and Mandy Starner.

Here’s a sneak peek at the September kit…

imagine-closeup.gif

imagine-slice.gif

Just in case you’ve been following the never ending computer saga, I spent yesterday trying to get Photoshop Elements installed with the help of Adobe support. I think I’m finally back in business!

Off to get crafty!

framed up

I love creating with gorgeous embellishments. Often I hoard them for a special occasion. For today’s card, I thought this beautiful cameo deserved center stage. It’s so pretty it stands on its own but to make it pop even more, I’ve framed it with some patterned paper. The beautiful paper frame is cut out from some Webster’s Pages Life’s Journey paper and then popped up on foam adhesive. I love this ornate and elegant look.You may have noticed this card has no sentiment. It just didn’t work with the design layout. This is a great way to keep a card on hand for any occasion and you can just add one inside as needed.

Framed Cameo Note

 framed-cameo-card.jpg

Supplies: black cardstock by Bazzill, Brushed Corduroy Distress Ink by Ranger, lace by Prima, patterned paper and Silhouettes cameo by Webster’s Pages

I’m also super excited that I am back on my desktop computer. I just have one program left to install and everything is working a thousand times better. No exaggeration at all. I did have a duh moment yesterday though. I needed the Adobe Photoshop Elements 8 program to work with my new Windows 7 operating system. I still can’t believe I picked up the Mac version and they wouldn’t let me return it. So now I have two copies of PSE 8, one that I cannot use. Anyone out there need a Mac version of PSE 8?! I’d be happy to sell it cheap and it’s never been used. 🙂 I guess that’s one mistake I’ll never make again!

Have a beautiful day…