Category Archives: Papercraft projects

canvas collage

Exploring creativity and trying something outside your comfort zone is always a bit nerve-racking but always worth the effort. Without trying new things our designs can get boring and stale. If I’m honest, I feel guilty of that many times. I think we all do. It’s really hard to jump outside that box at times.

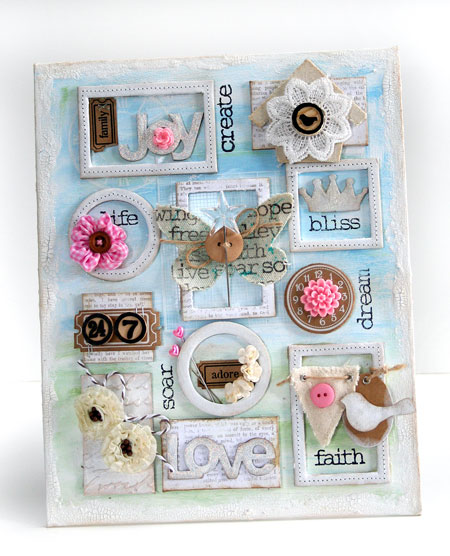
Today’s project is an altered canvas. It’s one of my Maya Road CHA projects and I was a little stymied with what to do with it. For the most part I work on smaller sized designs such as cards and tags.

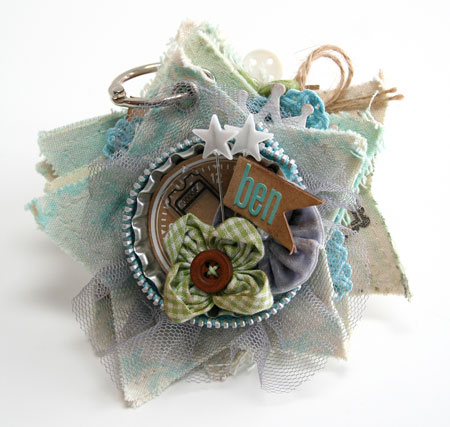
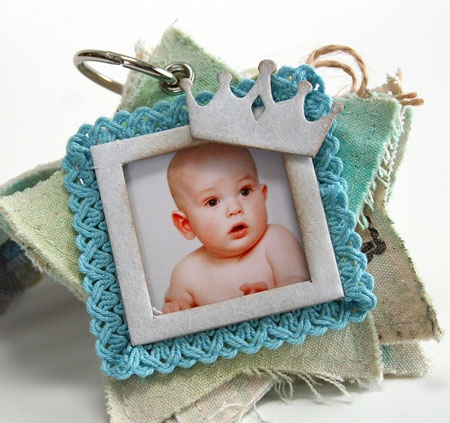
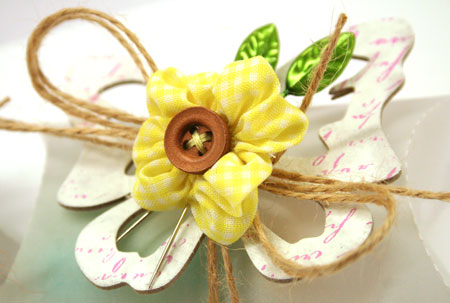
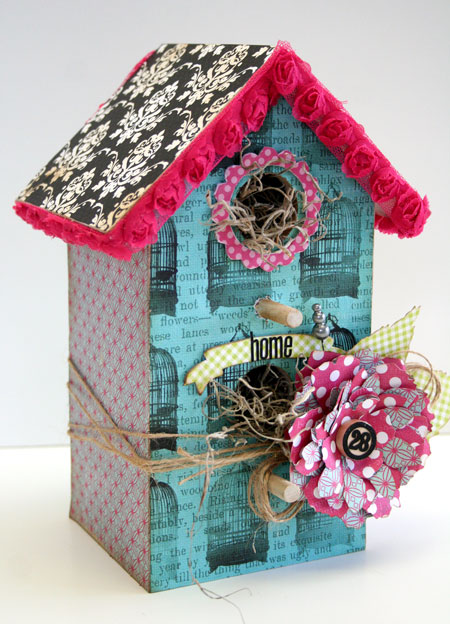
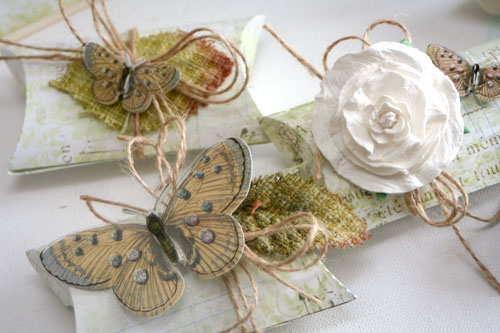
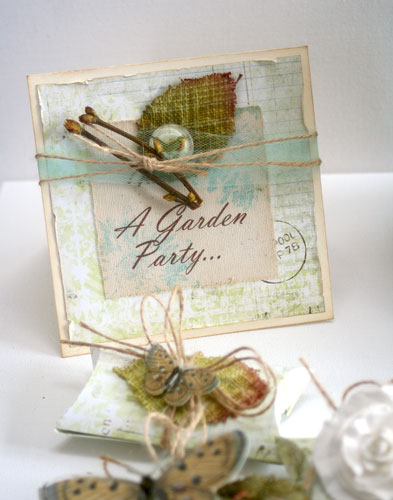
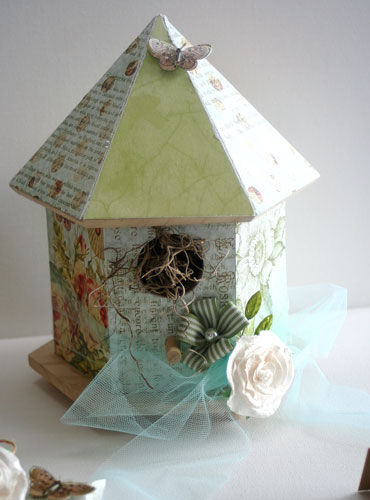
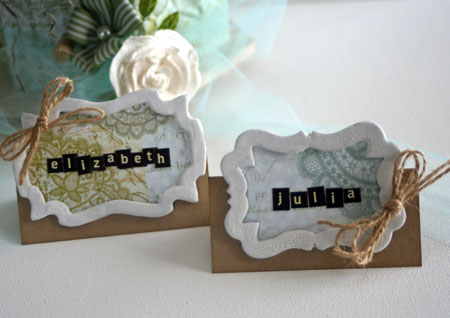
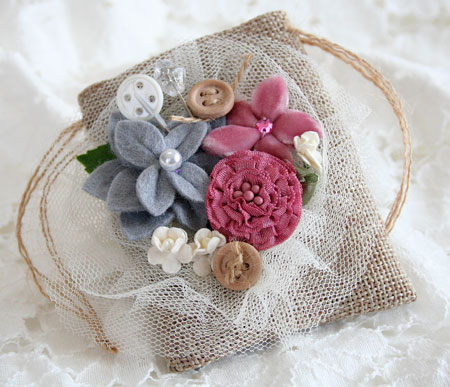
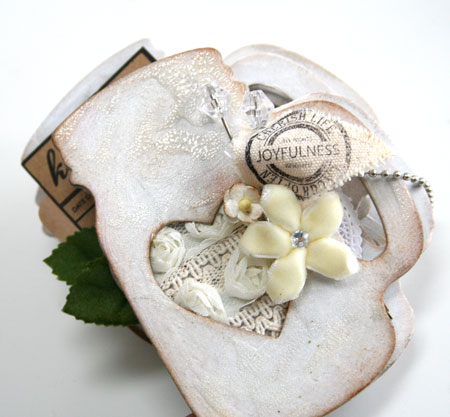
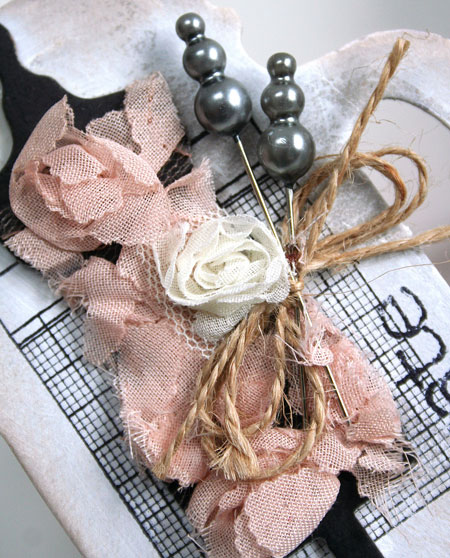
My solution came with dividing up the canvas into smaller sections…sizes that I was much more comfortable with. The Maya Road Chipboard Foundations set came to my rescue and made dividing up the canvas easy. Each of the chipboard pieces was stitched, painted or covered with patterned paper and then filled with some pretty embellishments.

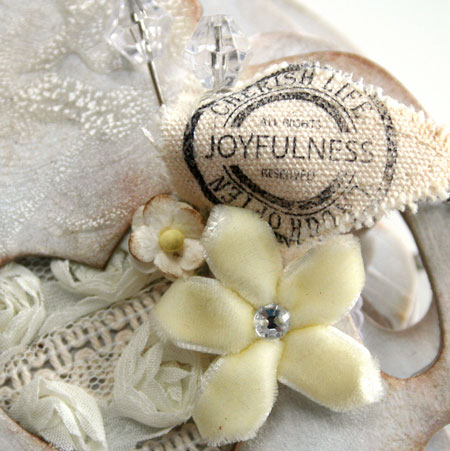
The Art Journaling Words Stamp set is one of my absolute favorites and it is perfect for adding inspirational words to canvas and also sections of my design.

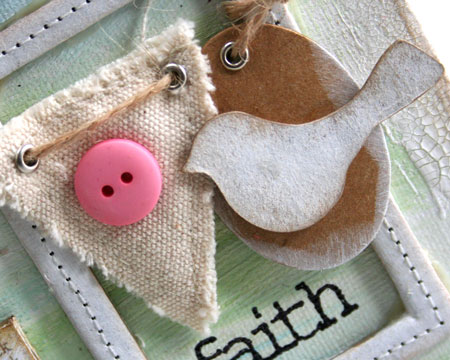
When adding stitching detail to my chipboard, I stitch it with my sewing machine and just stitch very slowly.

This canvas is going to hang in my craft room. It’s a reminder to try new things and enjoy creativity.

Supplies:

Happy creating!

twinkle twinkle

Among the most treasured of times in my life, are those when each of my children were young. Babies bring such joy and hope, remind us of the preciousness of life and each is a gift from God.
While all my babies are growing up and couple are adults now, I wanted to create this little baby album for one of my boys. It’s a wonderful way to reminisce and create a tiny album for my child to treasure in the years to come.

If you’ve been reading my ramblings for any length of time, you’ll know just how much I love working with canvas. It’s just feels so wonderful and I love altering it. This little star album fits in the palm of my hand and has been stamped, inked and misted.

Today I’m sharing this album on the Maya Road blog. Please join me for more photos and details on this album.

Supplies:

Have a creative day!

tied up with string

Just a few more days until Easter! How are you packaging some of those sweets?

I thought some little vellum pillow boxes might just be the ticket. They are filled with mini eggs (Cadbury’s are my favorite!) that you can see through the vellum and they are all tied up with some twine and simple spring embellishments.

To create this sweet little pillow boxes, I started off with a Sizzix die. For me it’s a classic and a great way to package things. By using Vellum instead of cardstock, it just adds a light spring-like touch. Vellum can be hard to adhere though so this die cut pillow box is adhere with Glue Dots® Lines along the edge to keep it secure.

To keep my chipboard butterfly, embellishments and even my knotted twine in perfect place, I’ve turned to my favorite adhesive, Craft Glue Dots®. They have a really strong bond and are perfect for even heavy embellishments.

Supplies:

I wrote this blog post while participating on the Glue Dots® design team.
Happy creating!

for the birds

With the arrival of spring, I’m really enjoying the return of the birds that go south for the winter. There’s nothing quite like their songs and calls coming through the open windows. Nature makes the most beautiful music.

I love birds and you can see that in the Victoria Park line. I thought creating a sweet paper crafted birdhouse would be a great use for this paper. This project was one that I sent to CHA in January for the booth display.

To alter a birdhouse, I first started with a wooden birdhouse that I picked up from Michael’s. Each surface is covered with papers from the line and trimmed out with some Maya Road accents.

Supplies:

Have a tweet day!

let’s party

This beautiful weather has me dreaming of all the wonderful things I hope to do outside this year. On the top of my to do list is to get my garden fixed up a little. We’re out in the country with a bit of space so I’m not quite sure where to start. I guess I’ll just have to start with baby steps and see where it takes me.

One thing I’ve always wanted to do was to have a garden party. I love nature and when creating for the Paper Crafts special issue, Party Ensembles, I really enjoyed working on this project.

My copy of Party Ensembles arrived at the end of last week. What a beautiful surprise! I couldn’t believe all the inspiration and how thick this issue is.

This 9 piece ensemble uses lots of texture and natural items for a soft and pretty look.

Each place setting would have a little gift favour box. I designed them all a little differently as everything in nature is unique.

The invitation uses a twig from my yard. The sentiment is printed on Sticky Back Canvas and then stamped for a subtle look.

The centerpiece is an altered wood birdhouse and wrapped in tulle ribbon.

Finally the place cards are made from Kraft cardstock and some sweet little cardstock frames from Maya Road.

If you’re looking for a few more peeks at this issue, you can find my Sew Much Fun Party Ensemble on Moxie Fab World.

Take care!

pocket full of posies

It’s almost Spring! Just a few more days until it’s officially here but with the crazy unseasonably warm weather we’re having I’m certainly believing. It actually feels more like it’s almost summer. Who ever heard of having 20° C weather in Ontario mid-March?! I’m so excited to see the beautiful perennial shoots coming up more each day.

Spring has me dreaming of flowers and I’ve created a couple designs featuring the gorgeous Maya Road flowers. The fabrics and textures are beyond beautiful.

Both of today’s projects feature pockets…one, a kraft envelope makes a sweet posie pocket on the front of a card and two, an embellished Burlap Treasure Bag from Maya Road makes a great gift  pocket for jewelry, lavender or even a gift card.

Today I’m sharing these projects with additional photos on the Maya Road blog. Come take a peek!

Supplies:

Have a bloomin wonderful Friday!

cup of blessings

When I stop to look at my life, I have to admit my cup is full and running over. Life isn’t always easy with a large family and I’ve known my share of sadness but we have a home and lots to eat, we have each other and we time to spend together. It’s a simple life of faith and family but I couldn’t ask for more.

Recently I created this little mini album for Maya Road. It’s a sweet little mason jar and it immediately brought to mind how my cup runneth over.

To create the front cover, I removed the die cut heart and decided to make a little window panel on the front of the design. It’s filled with sweet Maya Road trims and then adhered to another chipboard page to back it for double thickness and stability as well as finish the inside of the window.

The chipboard album is all painted with Gesso to give it a nice white surface for stamping on and adding ink. The front cover is also painted with some Rock Candy Distress Crackle Paint to give is a nice glassy and textured finish.

I’m seriously loving all the Maya Road stamps for mini albums and this album is full of stamped detail.

The ledger stamps are perfect for anchoring pieces of the design and also for journaling on.

If you’re never tried a mini album, what are you waiting for? They are a great way to use up bits and pieces of product, they can be made in a few hours and their tiny size makes them a fun way to journal or keep photos and memorabilia.

Supplies: