Monthly Archives: September 2012

i {heart} wood

The wood and woodgrain trend is so going strong and I’m lovin’ on it. I love the simplicity of wood and its warmth. It’s also fabulous for stamping on.

Today I’m in the CLASSroom sharing some wood stamping tips and this pretty card. Why not join me?

Happy Friday!

90 years young

This weekend we celebrated the 90th birthday of the lovely Mrs. Smith. She’s a wonderful lady at our church and it was so nice to be able to celebrate her special day. Everyone I talked to at the open house could just not believe she is 90. What a blessing to be so healthy and full of life at that age!

Of course I just had to make her a card. I had thought about the number 90 being the central theme but instead decided to tuck the age on the bottom right pennant on the patterned paper.

This card uses the October Afternoon Farmhouse collection. I love using their beautiful 8×8 size paper pads. The sweet little chipboard birdie is from the chipboard sheet that coordinates with this line.

The patterned paper on this card is so very pretty that I just didn’t want to cover it up with a sentiment layer. By stamping it on part of the embellishment cluster, it provides double duty as an embellishment and also the sentiment.

Quick Tip: The area you are stamping on doesn’t always have to be larger than your stamped image. Play around with stamping just a portion of the image onto a smaller surface such as this canvas tag.

Supplies:

Have a beautiful day!

Canvas Bliss

There’s nothing quite like a canvas to make you feel artsy. For today’s altered canvas project I’ve gotten messy and used lots of paint, stamps and mist. It’s a little shabbier in style than I usually try but it turned out to be a lot of creative fun.

This beautiful Vintage Edge Mum is my favorite part of this project. I thought outside the box and used my Maya Mist is a totally different way to color it. I’ll be making a tutorial soon so stay tuned!

Quick Tip: Step outside your comfort zone now and then. If you don’t try, you’ll never expand your creative horizons.

Today I’m on the Maya Road blog sharing this canvas project. The Maya Road blog is always full of amazing inspiration. Why not stop by?

Have a blissful weekend!

felt foliage

I’m doing a little fall cleaning these days. It feels good to get caught up around the house after a very busy summer.

I’ve been doing some cleaning  out of my blog as well. I found this card in the drafts folder. I’m very embarrassed to say it’s been sitting there for a couple years. It’s pretty simple, so perhaps that is why I haven’t shared it. I still like it though, so here you go…

I was playing around with texture when I created this card. I love the contrast of the felt with the corrugated paper. I can’t quite remember just where all the supplies came from but I think the sentiment and the adhesive lace is from Hero Arts. The felt and foliage die are from Papertrey Ink. Oh yes, the sequin flower center is from Prima.

Happy creating!

Thank You … a simple card

Just a simple card to share with you today. I had some rolled roses on my desk that just needed to be made into a card. I love how pretty cardstock and patterned paper look made into a rolled rose.

Quick Tip: Die cut and roll a lot of little roses at once. It’s always great to have a few of these on hand to add as a quick embellishment.

Supplies:

Have a great day!

Pretty Paper

Paper, paper, paper.

It’s the basis of paper crafting so obviously, it’s a must-have. But all those wonderful colors and prints….well, I just can’t get enough.

My favorite way to gets lots of color and pattern cost effectively is to purchase 6×6 paper pads. It is unbelievable how many cards and small projects you can get from one pack.

Today I’m in the CLASSroom sharing 6 simply pretty designs from a 6×6 paper pad. I could have created at least 4 times that but I just had to stop somewhere. I hope you’ll join me for some quick inspiration!

Happy Friday!

back at it

The interesting thing about creating is that for the most part, creativity leads to more creativity. More is better.

That being said, now and then you need a break. To be honest, I don’t think I’ve taken more than a week away from crafting in over 5 years and that’s usually because I’ve been away on vacation. The past two weeks here have been very busy here with family and it shocked me at the end of last week when I realized how time had slid by.  It had been more than two weeks since I’d been down to my craft room.

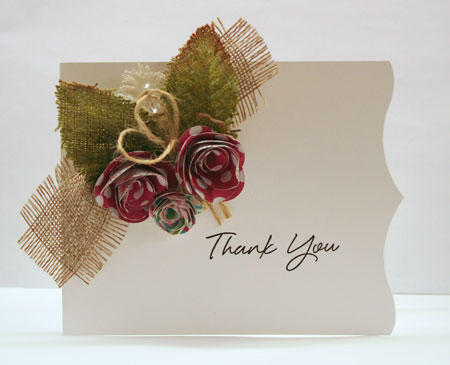
Friday I made myself get back at it but found myself shuffling things around trying to figure out where to start. Perhaps you’ve been in the same situation so I’ll tell you want I did that often works for me. I made a card just for fun. No occasion in mind. No deadline. When I don’t know where to start, I can usually find lots of goodies already on my desk to throw together and make something. It breaks the ice and gets you going.

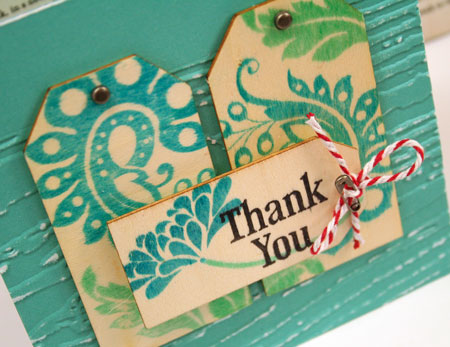
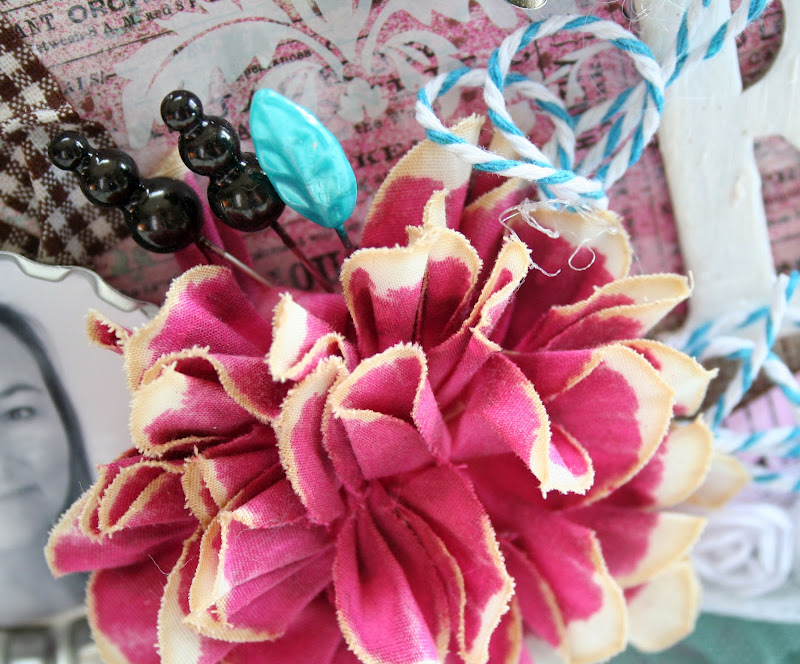
As I mentioned, everything on this card was on my desk, except for the pink ink. I love a pristine work space but it just seems that never happens for me. There are always bits and pieces laying around.  Now I have to admit, the paper is new and was on my desk because it had arrived and hadn’t been put away yet. From what I’ve seen of it, I’m adoring this new October Afternoon Woodland Park line. Gorgeous colors and prints! I’m hoping to get back to creating with it today.

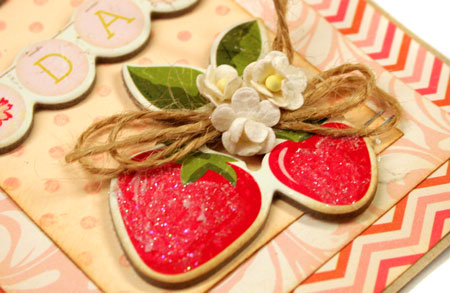
Stamping on manilla tags is a great way to make your own accents. The Hero Arts Cling Dots background that I’ve stamped on it has to be one of my all-round favorites for versatility.

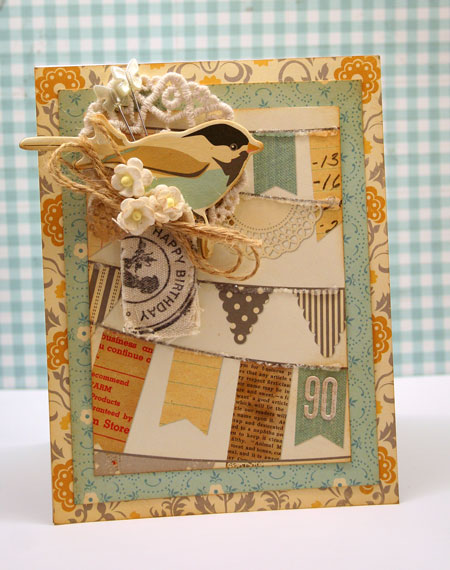
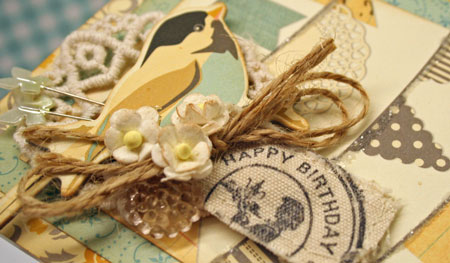
Quick Tip: Don’t be afraid to cut your chipboard accents. The chipboard party day banner was so cute in one piece but was too large to fit on my card. By cutting it the banner now works and I like how the curves draw your eye through the design.

Supplies:

Happy creating!