Monthly Archives: November 2010

i remember

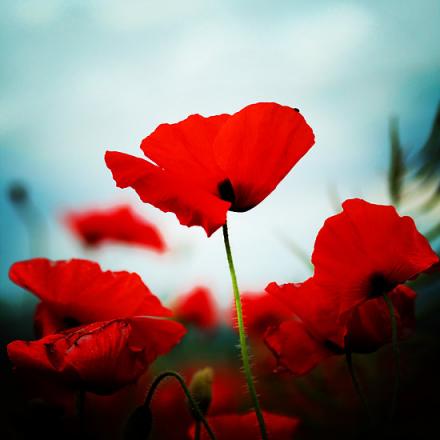
It’s Remembrance Day and today I must stop and remember the sacrifice given for my freedom. Freedom is not free. Someone paid that price and I am thankful.

Today is a good time to stop, be quiet and think. May we never forget.

Today I changed up the Ways to Use it Challenge into a Ways to Remember one. I hope you’ll take some time to observe Remembrance Day/Veteran’s Day today. If you’re feeling inspired, we’d love to have you join the challenge here as well.

Forever Memory Card


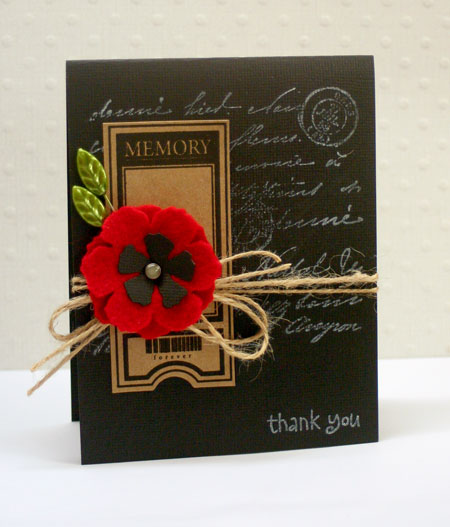
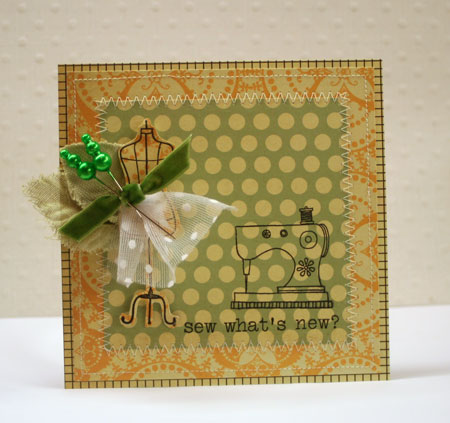
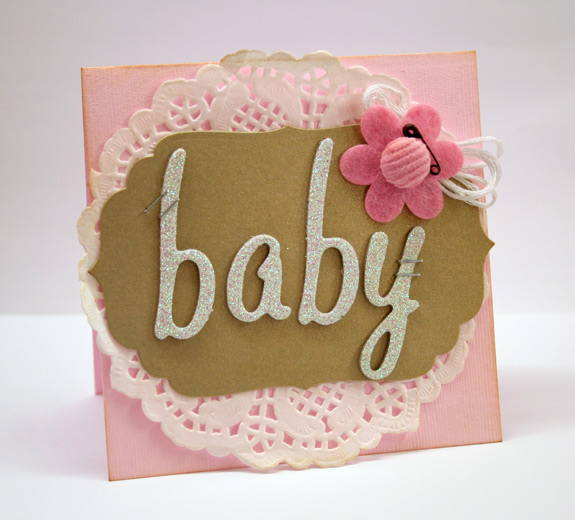
Some times it’s difficult to create a card for specific events such as Remembrance Day. I wanted to work with what I had on hand so I found a couple stamps that would work, created my own poppy from felt, paper, a brad and the Tattered Florals Di, and found a Maya Road Kraft Ticket that had the words Memory and Forever on it.

Quick Tip: Just because there are four flowers on a die doesn’t mean you need to use them all. I’ve created the poppy here by using the two smallest flowers and layering them. Try different variations and different materials to create unique looks.

Supplies: white craft ink by Clearsnap, Black cardstock by Bazzill, Cling Old Letter stamp & Everyday Sayings stamp set by Hero Arts, twine, Leaf  Trinket Pins by Maya Road, Kraft Ticket by Maya Road, Tattered Florals Die by Sizzix, felt, brad by Basic Grey

Take care,

my big accomplishment

I’m sure by the title you just can’t wait to find out what my big accomplishment is.

I hope you’re not disappointed.

It’s a photo.

And I’m pretty proud of the accomplishment.

It’s been three years since I’ve managed to drag my five offspring into a studio for a family photo. Those two teenage boys, especially the oldest, seem to have a camera phobia. At least of being in front of one. I guess I get that. I’m a bit the same way. But really, it makes it hard to record those memories.

Yesterday while driving home from the post office, the brilliant idea struck me that I would actually have all five home at once and it was a beautiful day. I was shocked to get only a minimal amount of arguing and the the promise that they wouldn’t have to go to a studio went a long way. Surprisingly it was my youngest, Mr. Loves2Mug4theCameraGuy, that was the most difficult. I’ll admit to being a bad mother and bribing with food.

5 minutes + 22 shots = 1 great picture + 1 extremely happy mom

So that’s the accomplishment. What do you think?

Now for the full family photo. I need one of those.

That’s my goal for next year.

oh baby

I adore babies. How can anyone not? While I love them all, my favorite babies are bald and chubby. I guess they remind me of my own.

Here’s a couple baby cards to share with you today. One is sweet, shabby and girlie and the other clean and graphic and can go either way.

Baby Shimmer Card

Lots of shimmer on this card in the gold cardstock and the glitter letters mixed together with the soft textures of the brad, felt and doily.

Supplies: cardstock by Bazzill, doily by Little Yellow Bicycle, Distress ink by Ranger, Labels Four Nestability Die by Spellbinders, felt flower and brad by Zva Creative, mini  pins by Tim Holtz for Advantus, Tiny Attacher, glitter Thickers by American Crafts

oh BABY

This is a hybrid card. The sentiment was designed on the computer, printed out and some patterned paper and Thickers added. You’ll need some basic Photoshop or Photoshop Elements skills to do this. Use a bold type and spell out the word baby. Make sure you make each letter a separate text layer and then rasterize to make it a shape. Layer your photos over each corresponding layer and use a clipping mask function to turn the photo into the letter shape.

Supplies: photo paper, PSE by Adobe, patterned paper by Jillibean Soup (i think),Thickers by American Crafts

P.S. Isn’t the baby adorable? It’s my youngest when he was brand new. Hard to believe when I look at him now.

Have a sweet day!

Noel

Christmas is coming!

Just 45 more days. Can you believe it?

I have to say it boggles my mind. I seriously need to get organized and get busy!

Noel

Looking for a fun card idea that uses just one piece of paper?

  1. create a square card
  2. grid off four sections and sketch in block letters.
  3. cut out with craft knife.
  4. ink edges
  5. tie buttons with twine and adhere

Quick Tip: use double-sided patterned paper so that you have a print on both the inside and outside of the card.

Now that I’ve scared you all. Go now and make a holiday list. Go, go, go…

🙂

Simply Saturday…simply cardstock

I find myself so inspired by patterned paper that often, I forget to create with simply cardstock. Today I have a few simple designs to share with you using cardstock, Thickers and a few embellishments.

When designing with cardstock, I really find that you need to think about your card layout design, a fun hit of color and a fun embellishment. I adore flowers, especially those with texture and both of the canvas flowers and felt flower on these cards fit the bill.

Quick Tip: Use textured cardstock for added interest and well, texture. Brilliant, huh? 😉

Supplies (both cards included) : cardstock by Bazzill, twine, sewing machine, Tiny Attacher by Advantus, felt flower by Maya Road, Felt, Flocked and Glitter Thickers by American Crafts, canvas flowers by Jillibean Soup

Have a simply wonderful day…

Just Be

More fun with Very Vintage, the November Up the Street Scrapbooking Kit. I love all the yellow in this kit. It’s not a color I often gravitate too but I think that will definitely be changing. It’s so happy and warm.

Just Be Yourself

One of my favorite parts of this layout is the die cut flower. Each of Tara’s kits comes packaged in kraft bags and I love incorporating them right into the layout. By looking at it a little creatively it transforms from packaging into an embellishment. I die cut the bag with the Tattered Florals Sizzix die and layered it together to create a flower. By purposely cutting it where there was printed text it ties in with the “tissue pattern” section of the patterned paper. Look close and you’ll see the top section of the bag used to mat the photo on the right.

Enjoy your weekend!

Shades of Green

Perhaps it’s the Irish in me but I adore green. Green and pink, green and buttery yellow, green and orange and especially green and teal or aqua.

Today I have another Ways to Use it Challenge and it’s all about green. How do you like to use it? I hope you’ll play along with us here.

sew what’s new?

I’ve been enjoying playing around with some new green products. Cosmo Cricket always has a beautiful color palette and I’m so into this beautiful, soft, sage green from their new Circa 1934 line. I’m so excited to be playing with it. You know how much I love trinket pins, right? I’m sure at some point I’ll look back and wonder what I was thinking but I just cannot resist them. Enter my latest addiction…the Maya Road Vintage Green Pearl Trinket pin by Maya Road. Love, love, love that pop of color.

Quick Tip: Mix up your greens for a fun and unique look.

The darling sewing themed stamps are by Hero Arts. I had “sew much fun” dressing up the dress form.

Supplies: fabric by K & Company, leaves by Prima, sewing machine, velvet ribbon by May Arts, Sew Artsy Stamp set by Hero Arts, Jet Black Archival Ink by Ranger, Vintage Green Pearl Trinket Pins by Maya Road, Circa 1934 paper crafting kit by Cosmo Cricket

Happy stamping!