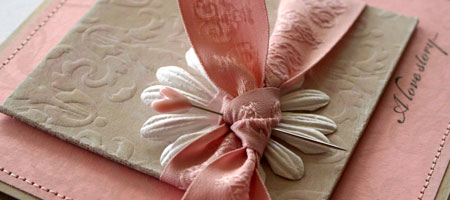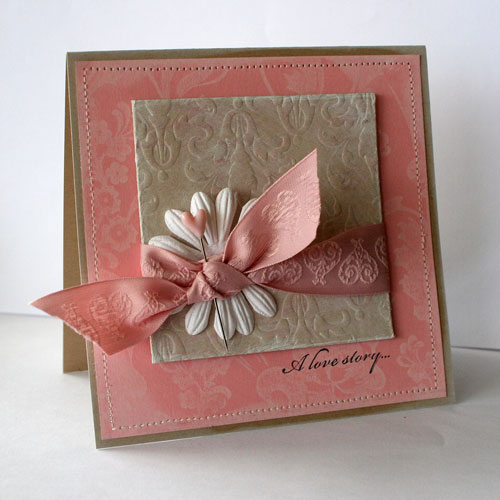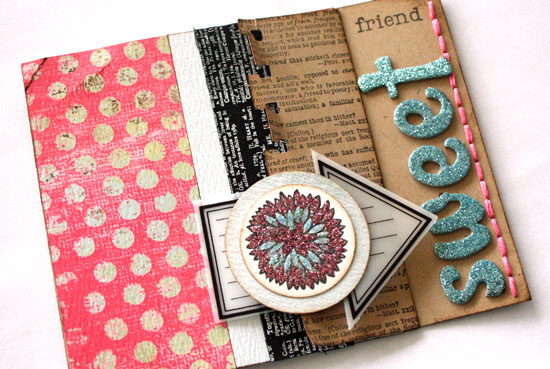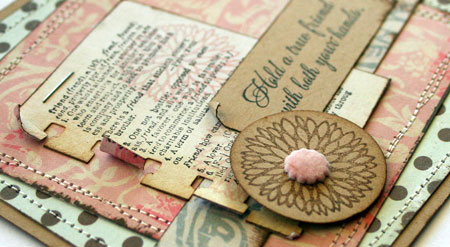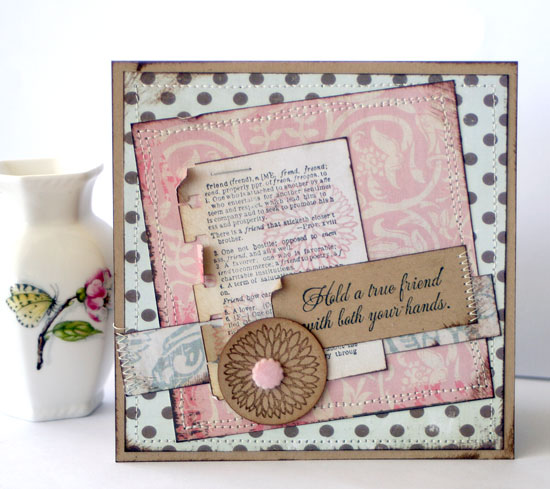
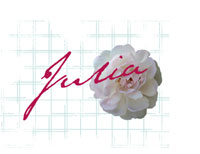
Some of my favorite stamps to use, ones that I pull out over and over, are the Scrapblocks line from Cornish Heritage Farms. If you’re not sure what these stamps are, they’re like background stamps on steroids! 6×6 inches of red rubber goodness. The great thing about Scrapblocks is that you aren’t limited by directionality. If you use them on a card, they are perfect on larger square cards9my fave), and horizontal card designs as well as vertical. I love stamping them on scrapbooking layouts as a place to anchor my photos. I love stamping them to create custom embellishments.
I’ve been having some fun doing some stamp designing lately and am really excited to have CHF releasing Distressed Circles this Friday. I can’t wait to share the other designs I’ve created but that will have to wait another month, and beyond. I’ve had a lot of dreams come true over the past few years and being able to design stamps has been one of those distant dreams that is now here.
Distressed Circles

release date: 20th
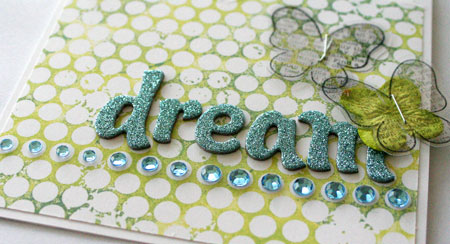
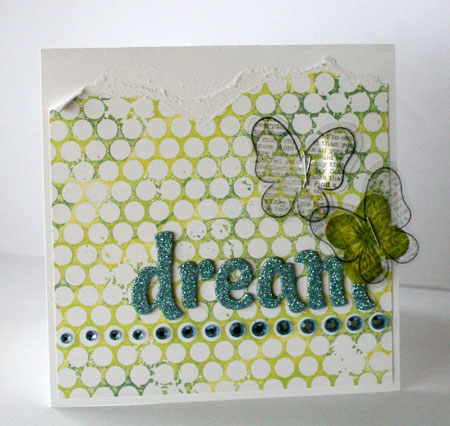
Butterfly Dream
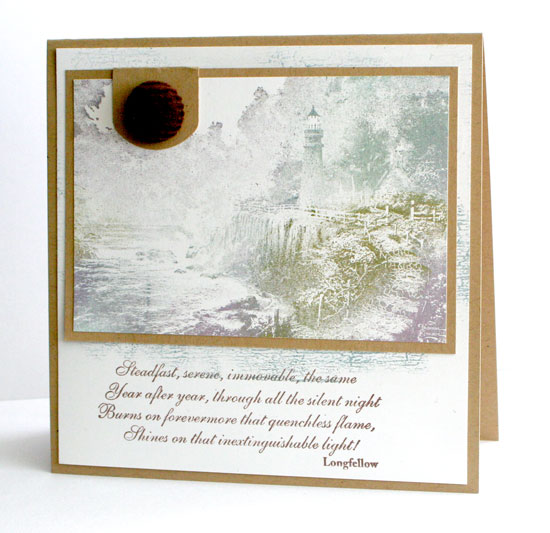
The main idea behind this Scrapblock was creating my own “patterned paper.” I love being able to do this and it’s a fabulous way to match up your design. Seriously…you are only limited by the ink you have on hand. One look I really like that really makes your stamping look like patterned paper is to use multiple inks on the surface or your rubber. My daughter has seen a lot of stamping in this house but she seriously thought I had used some purchased paper to create this design. I used two shades of Versamagic Chalk Ink for ink up the block. I find that by using chalk ink you get a much subtler blend of color and it is much less likely to get muddy on you. I covered my stamp with the lightest color first to prevent staining on my ink pad and then added a few dabs of the darker blue.
Quick Tip: If you don’t have enough of the same size rhinestone stickers to create the look you want…vary them. For this card I started small and increased the size to create movement. Another idea would be to alternate small and large in a pattern.
Happy St. Patrick’s Day!
Supply List:
Stamps:
distressed Circles Scrapblock by Cornish Heritage Farms
Little Gal (Kim Hughes Line) by Cornish Heritage Farms
Ink: chalk ink by Clearsnap, Black Stazon by Tsukineko
Paper: Simply Smooth white cardstock by Prism Papers
Other: Clear Card Sheet by Cornish Heritage Farms
rhinestones by MAMBI, chipboard letters by American Crafts