Monthly Archives: August 2008

Home and Heart, Homegrown Hospitality….Holiday Home?

I kind of have to smile…three different names for this magazine in a space of what…four issues? I guess I’m smiling because I so love this magazine. Smiling because I want to try and overcome the sadness at seeing its last issue hit the stands. Such a beautiful unique magazine that I always treasured its arrival and spending time going through each page. The lovely designs and beautiful photography set this publication apart. I was thrilled to have a project published in this last issue. This card is part of a gift set featuring a decorated holiday mug and fudge gift package. For some strange reason, I totally forgot to take a photo of the rest of the project before mailing it out. I’m having trouble finding an on-line link for this issue but you can purchase it at your local craft or bookstore. This magazine is a publication by CK Media.

White Christmas

jks-white-christmas-for-web.jpg

Quick Tip: Adding lots of texture makes a monochromatic design special.

Have a fabulous weekend!
Julia

Simply Saturday… simply christmas

Every design you create does not have to be complex. Sometimes simple is just the way to go…the key is adding a little touch of something to still make it special. As the one week left of summer vacation countdown begins, I’m finding myself extremely busy trying to cram as much fun in with this kids as possible. The lake, the park, some last minute shopping, some company I’d promised we’d have this summer…whew! I’m getting some fun photos though. I think my neck is now permanently embedded with my camera strap. I only managed to take 331 photos yesterday at Storybook Garden’s splash pad. 😉 I’m SOOOOOOOOOO thankful for digital!!! For those of you who enjoy layouts, I’ll have no shortage of photos to create them. I should have a bit more time after Labour Day which I’m looking forward to with mixed feelings. More time to create, yes….but my 5yo is starting Grade One this year and I’m seriously going to miss not being able to spend as much time with him.

Deer Christmas

jks-tk-deer-christmas.jpg

I’m seriously loving these gorgeous Thomas Kinkade papers!

Quick Tip: Don’t be afraid to cut the large Thomas Kinkade 8×8 papers down. This deer is a cut up large sheet with a smaller vignette-type image on top.

Supply List:

STamps: The Art of Framing (Rummage Bin line0 by CHF

Ink:
-Black Palette Ink by Stewart Superior
-Vintage Photo Distress Ink by Ranger

Paper:
-White Prism Cardstock
-Thomas Kinkade Christmas Series patterned paper pack by Cornish Heritage Farms

Other:
-buttons
-twine
-pearl sticker by Making Memories

A few pics of our fun day…

jks-climbing.jpgjks-ferris-wheel.jpg

jks-ben.jpgjks-water-spill.jpg

jks-bunny.jpg

jks-bloom.jpg

Have a simply wonderful Saturday!
Julia

MochaChica!

It’s here and I’m so excited! The new Kim Hughes paper pack, MochaChica is released today from Cornish Heritage Farms. If you’re a Kim Hughes fan, you’re going to love this paper pack! It is a dream to create with. Coordinating perfectly with Kim’s stamps and in fun fresh colors, designing with this product is so easy. Seriously…the cards tend to put themselves together. I was in a fun funky mood yesterday and also had very little time. The result…two fun scrappy cards with little or no stamping.

Hello Friend

jks-hello-friend.jpg

Quick Tip: Highlight the design elements in the patterned paper with some fun bling.

Supply List:

Paper: Kim Hughes Mocha Chica paper pack by CHF

Other:
-ribbon
-stapler
-rhinestones by Me and My Big Idea

Thank You Friend

jks-thank-you-friend.jpg

Supply List:

Paper: Kim Hughes Mocha Chica paper pack by CHF

Stamps: A Welcome Hug (Kim Hughes line) by CHF

Ink:

-Burnt Umber Palette ink by Stewart Superior
-Adirondack ink by Ranger

Other:
-flower by Prima,
-stapler
-ribbon by Making Memories
-rhinestone by MAMBI

Have a fabulous day!
Julia

All Torn Up

Good morning! Happy Thursday! Another Ways to Use it Challenge day and I hope you’ll have fun with this challenge. I was thinking of techniques and ideas that I used to use the other day. It’s always fun to go back and revisit ideas and give them a fresh updated look. It’s been a while since I’ve torn anything but I love the added look of texture it brings to a design. Whether you add just a little touch or a lot…my challenge for you today is to find ways to incorporate paper tearing in your project. There are some great tools on the market for this such as the Tearing Edge ruler or those torn shapes templates and you can also just use your hands and tear that way. Here’s the challenge!

Snowy Christmas

jks-snowy-christmas.jpg

My new Thomas Kinkade papers came in this week and I just can’t put them down! So beautiful and elegant…these papers are a dream to work with and I love the colors and images. To create this design, I cut out my 4×4 TK image and layered it behind my patterned paper. Using a ruler and pencil, I marked out where I wanted my stitching and where I wanted to tear back from. After tearing my window and curling the edges with my finger, I adhered the image patterned paper behind and then stitching my frame. To add a sentiment right on top of the image, stamp in Versamark ink and then emboss to get enough definition.

Quick Tip: Leave 1/4″ – 1/2″ edge when tearing so that you have room to curl back your edges.

jks-snowy-christmas-flat.jpg

To embellish my design, I simply covered a chipboard star with my Pearl Adirondack Paint Dabber for a beautiful pearl white look. A little Melissa Frances Vintage Ribbon and a Fancy Pants pin finish it off simply.

Have a fabulous day!
Julia

Supply List:

Stamps:
A Merry Little Christmas (Thomas Kinkade line) by Cornish Heritage FArms

Ink: Versamark by Tsukineko

Paper:
Thomas Kinkade Christmas Series paper pack by Cornish Heritage Farms
-blue paper from Thomas Kinkade Masculine Series paper pack by Cornish Heritage Farms

Other:
-sewing machine,
-chipboard snowflake
-Vintage Trim by Melissa Frances
-pin by Fancy Pants Designs
-black embossing powder
-pearl paint dabber

Round and Round

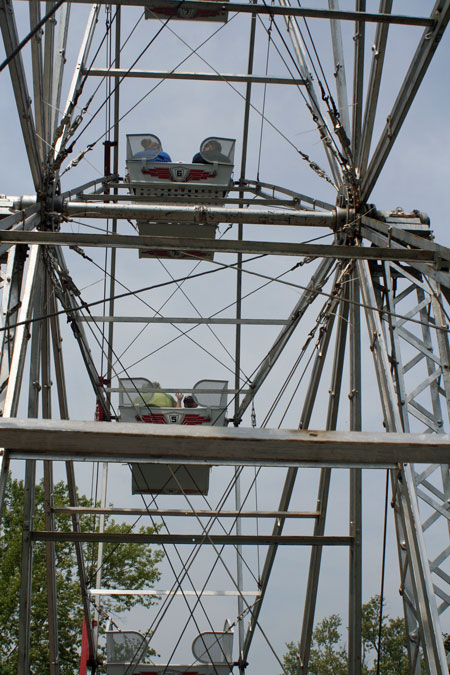
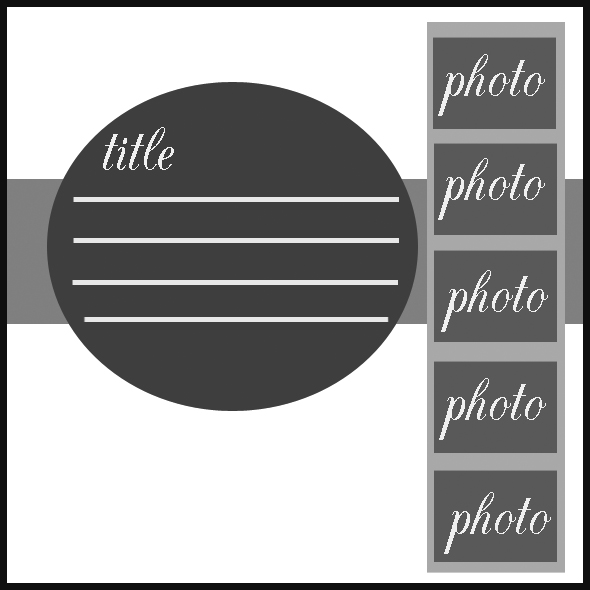
Round and Round we go again! What a perfect title for a layout using some of the photos I took last Friday. We had a fabulous day with family at Canada’s Wonderland, a theme park in Toronto. I couldn’t wait to get home and print out some photos. This layout is designed by Lesley to be an 8×8 layout but can also easily be used for 12×12. If you’re starting off…an 8×8 layout size is a great place to start. The pages go together faster and you can still make them as simple or as elaborate as you like. We’d love to have you play along with today’s sketch layout challenge. You can check out the challenge deets here.

august-sketch.jpg

Round and Round

jks-round-and-round.jpg

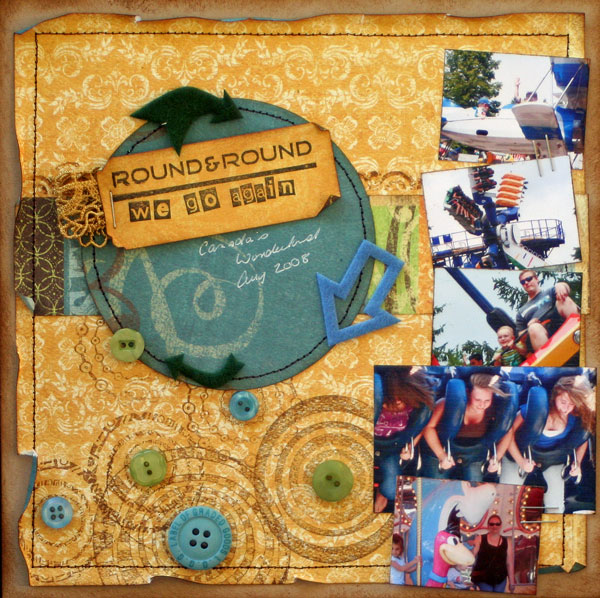
I decided to stick to the original layout quite closely for this page. An 8×8 layout is smaller than I’m used to using but was a fun size to work with. The photos on this layout are actually quite small…. 1.5″ x 2″ with the larger one being 2″x3″. While I cropped and printed my images to size using Photoshop Elements, this would be a great layout to crop in on those photos that are taken far away. For my journaling…I kept it simple. Just the date and the place.

Quick Tip: If you want to add more details but don’t want them on the page…write the names etc. on the back. Future generations may not know who is who and may want to.

jks-round-and-round-side.jpg

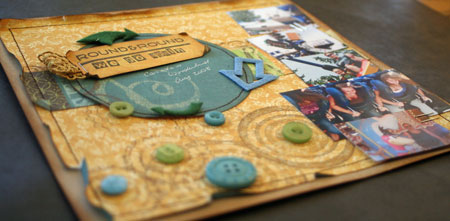
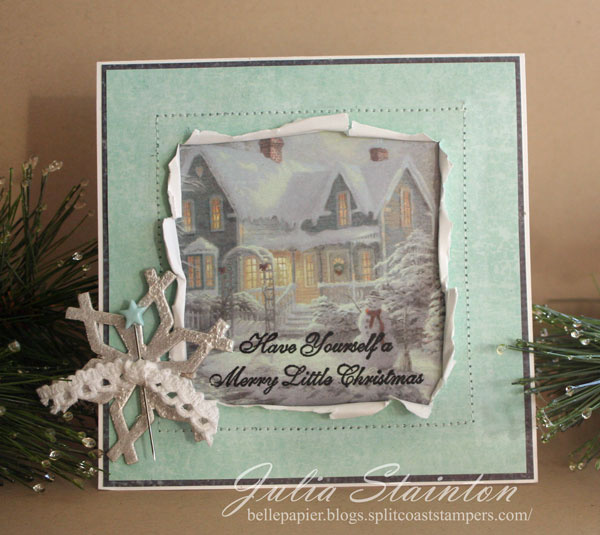
To create my title, I simply stamped a sentiment from the Round and Round We Go Again stamp set. Along the bottom of my design, I stamped some funky circles from the same set and highlighted their centers with buttons. I wanted to create a fun page with a little distressing and attitude that my kids would like.

Quick Tip: Crop one photo a little larger than the rest to make it stand out and be your focal image.

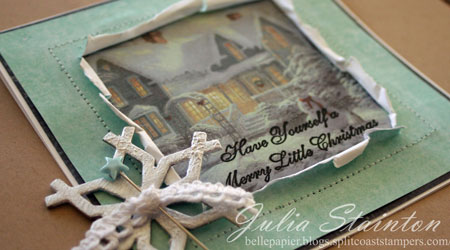
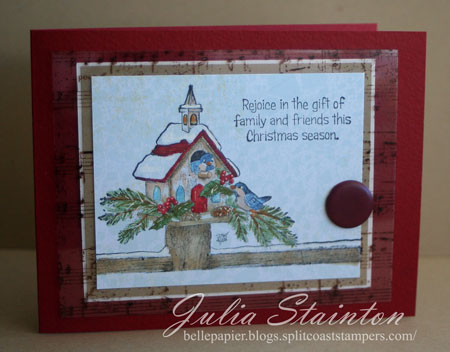
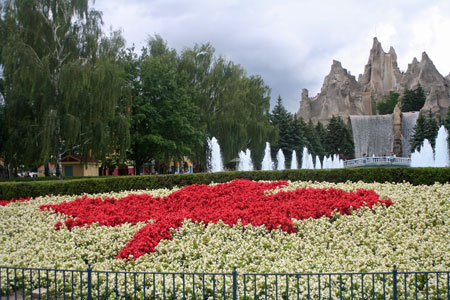
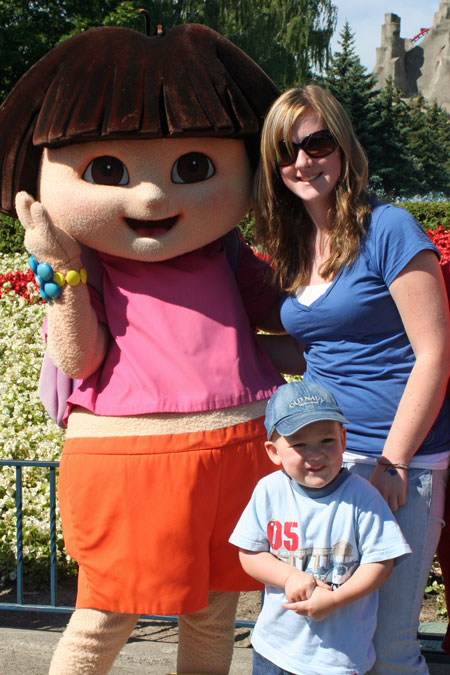
Here’s a couple more photos from our trip to Canada’s Wonderland…

jks-canadian-flowers-at-won.jpg

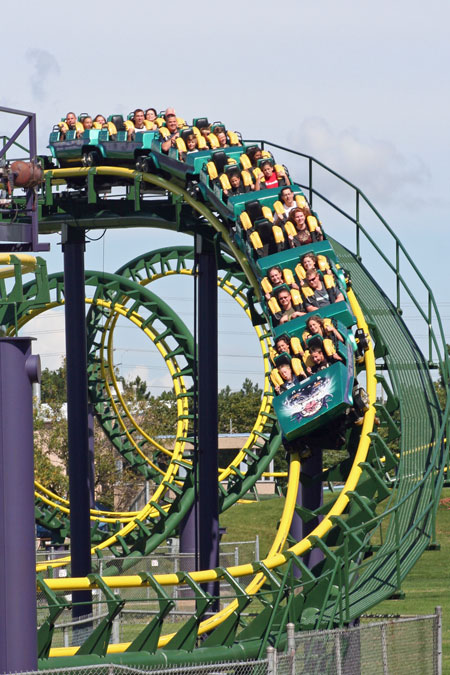
My niece and Joshua with Dora…is he excited or what?! I did get one photo of some of the kids on a roller coaster in the second car from the front. As I spent most of the day in “kiddie-land”, I didn’t manage to photograph them on the newest roller coaster, the Behemoth. It’s now the largest coaster in Canada.

jks-meet-dora.jpgthe-dragon-fyre.jpg

Supply List:

Stamps: Round and Round We Go (The Rummage Bin) by Cornish Heritage Farms

Ink: Burnt Umber & Noir Palette Inks by Stewart Superior, Vintage Photo Distress Ink by Ranger

Paper: Static line by Crate Paper, Kraft Cardstock by Prism

Other: felt arrows by Maya Road, buttons by Autumn Leaves, sewing machine, stapler, lace by Prima

Thanks for stopping by!
Julia

Oh so tweet

I’m loving this new Holly-Day House stamp! I think it just may be my favorite Friendly Kritters release yet! Who can resist those darling little birds and their house, all decorated for Christmas. This image is a fabulous size and is so easy to color. I also have two new free on-line classes at CHF to announce…one by Dawn using this darling stamp and another by Kim Hughes! Click on the banner for full details…

online-class-banner-dawn.jpg

jks-kim-online-class-banner.jpg

Holly Day House

jks-holly-day-house.jpg

I stamped this design right on top of one of my new Thomas Kinkade Christmas papers. A light blue with a soft pattern…it is easy to add in some white highlights and it really doesn’t effect the coloring. While it doesn’t pick up too well in the photo…I love the added texture it gives in person. I’m totally in love with these new papers. You’re going to be seeing a LOT of them here! 😉 Image is colored in with my Copic markers and highlights added with a white gel pen.

jks-holly-day-close.jpg

Quick Tip: Adhere some of the matting layers behind the transparency layer to make it stand out more.

Thanks for stopping by! Have a fabulous day!

Julia
Supply List:

Stamps:
-Holly Day House (Friendly Kritters line) by CHF
-Aged Sheet Music Scrapblockâ„¢ by CHF

Ink:
– Pitch Black Adirondack ink by Ranger
-Timber Brown Stazon by Tsukineko

Paper:
-Blush Red Dark, Simply Smooth White, Kraft by Prism Papers
-Thomas Kinkade Christmas pack (blue patterned paper) by Cornish Heritage Farms

Other:
-Clear Card Sheet by CHF
-large brad by Creative Impressions
-markers by Copic
-white gel pen

Clearly My Favorite…

Everyone has their favorite products…ones they go to time and time again. I have a lot of favorites that I like to use but one of my favorites from Cornish Heritage Farms is the CHF Clear Card Sheets. I’ve always loved clear cards, stamping on transparencies but I was so excited when CHF started carrying this product. The Clear Card Sheets are super heavy and make super crisp clear cards and I’ll never go back to those office store flimsy transparencies.

Ideas for using Clear Card Sheets

  • stamp your own custom transparencies
  • create a clear card or tag
  • create clear layers on a scrapbook page
  • die-cut your own clear shapes
  • Make a window card
  • Create a shaker
  • make a clear pocket
  • stamp them with Stazon Solvent inks
  • stamp with paint
  • emboss with an embossing folder
  • stitch on the sewing machine

Today’s CHF Challenge is to feature your favorite CHF product in a design. Check out what some of the other CHF designers have created with their favorite products….

Alli, Kristine, Michele, Kim, Joanne, Dawn, Lori, Sherrie, Carole, Becky, Val, Julie
To play along with this challenge…just follow this link. We’d love to have you join us!
On Your Wedding Day

jks-on-your-wedding-day.jpg

Clear cards can be super simple to make and lots of fun. For this design I simply stamped my 5.25″ square clear card front with my Aged Sheet Music Scrapblockâ„¢ in Timber Brown Stazon ink. A little stitching to frame the design and some embellishments make this a quick scrappy card design.

Quick Tip: To adhere items to your Clear Card Sheets, use an extra sticky adhesive such as glue dots or Sticky Strip tape.

Thanks for stopping by! Have a great week!

Julia