In my {C’est Bon} entries, I love writing about products that I enjoy using and I feel are well worth-while investing in. Copic markers, while a big investment, are a wonderful tool that I’m so glad I purchased. As the months go by, I find myself learning more and more about this favorite product. A quality artist’s tool, I know I’m just beginning to scratch the surface of all the wonderful techniques that I can use them for. Copic makes a variety of fabulous markers but I chose the Sketch version as I really wanted to try out the airbrush capabilities. The fabulous ways these markers blend together by their alcohol ink properties make them an incredible product. I initially invested in a set of 48 markers and since then have slowly added to my collection bringing it to a total of 80. Of course…with so many wonderful colors…I’ll still be adding more as I can. 🙂
What I love using them for…
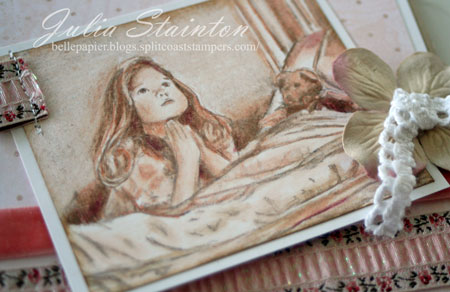
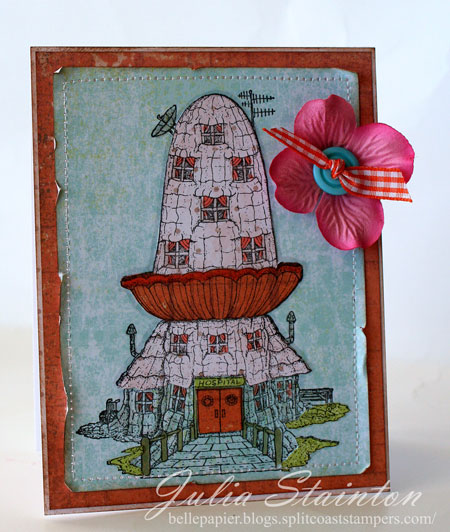
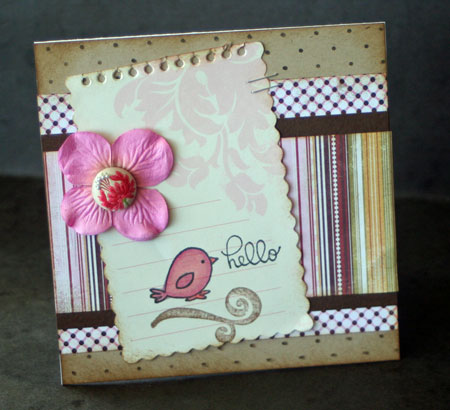
- coloring bold images
- coloring soft and detailed images
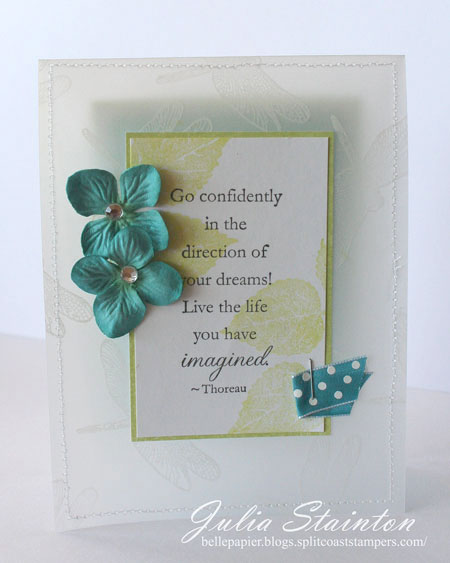
- changing the color of ribbon
- airbrushing soft backgrounds
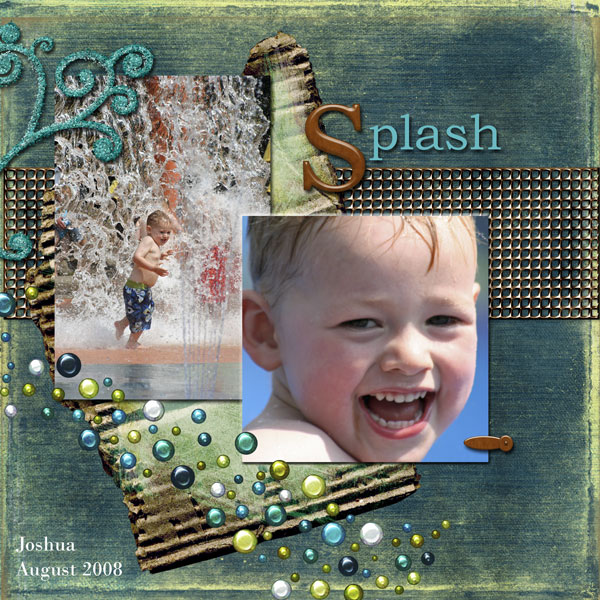
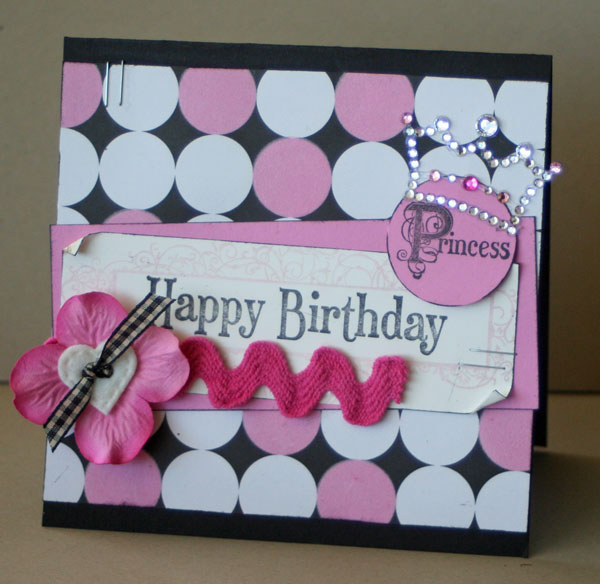
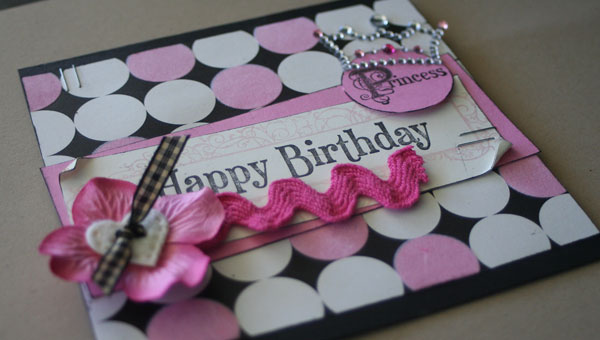
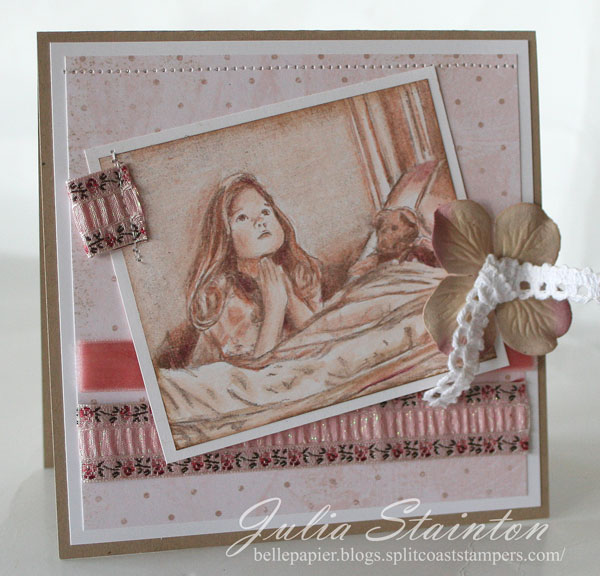
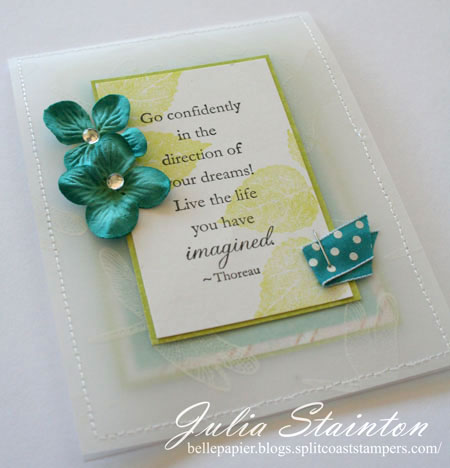
- coloring flowers as well as hard acrylic and metal embellishments to personalize them
I recently discovered a fabulous way of using Copic markers in a tutorial written by Lisa Silver…watercoloring with them! I’m dying to give this a try! You can check out the tutorial here.
Recently I wrote a review for Craft Critique on the Copic Sketch Markers and thought I’d share it here again as part of my {C’est Bon } entry. Here it is….
*****
 Copic markers have been taking the papercrafting world by storm. It seems that almost everywhere you look these days, Copic markers are the coloring tool of choice. Copic actually created these markers 25 years ago with the professional designer in mind. What makes these markers so special, how do you use them and the big question…do you really need them?
I’ll admit to falling for this trend. At first I didn’t think I really needed them. After all…I’d gotten along fine for years by mostly using watercoloring techniques to color my stamped images. My chalks and colored pencils were languishing on the shelf and I already owned a rarely used set of dye markers. Due to some great samples I’d seen while blog-hopping and my very inquisitive nature…I decided to invest in a set of 48 markers. I think it may have been the airbrushing capabilities that really threw me over the edge. An art teacher from way back when had an airbrush system I had never gotten a chance to use and I was dying to try one out.

Copic has four different types of alcohol based marker. The COPIC, Sketch, Ciao and Wide versions all use the same ink. The difference of features lay in the features of the barrel and nib itself. While the Sketch version is one of the most expensive, I chose it for its versatility and it was the one that best suited my needs. For the purpose of this review…I’ll be focusing on the Copic Sketch marker for ease and because that is the one I am familiar with.
The Copic Sketch marker has some fabulous features. When you pick one up you’ll discover it is very easy and comfortable to hold. Because the barrel is flat on two sides, it is easy to put down and not have it roll off your work surface. These markers have two capped ends with different nibs inside to maximize your flexibility. I love the brush end of the marker and it is the one I used for most of my coloring applications. The chisel-tip end is perfect for a more graphic style coloring and is the end you use in the airbrush system. The great thing about these markers is that they will last for a life-time. With much use you may run out of ink but the barrels are refillable with Copic ink refills. If you mistakenly leave out a marker uncapped…the nibs can also be replaced. Either the Superb Brush or Medium Broad nibs can also be replaced with the optional Medium Round nib for finer work or writing with. These nibs are extremely long-lasting and hold up better than any marker nib I’ve seen.

The alcohol based ink in these markers are what makes them so special. Have you ever colored a solid image with regular dye markers and gotten streaky lines. You just can’t help it. The alcohol formulation in the Copic ink allows colors to blend with no streaks. This is fabulous for large solid images and in instances where you want to blend colors. This ink is also acid free once the alcohol has evaporated, making them perfectly safe for scrapbooking. You can create many looks with these markers. Designed for use by graphic designers and professional artists as well as Manga Art…these markers give a beautiful professional look. Available in 332 colors, these markers provide and incredible selection to suit every need.

There are a few key techniques to using the Copic Marker system. First of all it is best to have two or three tints of the same shade. This means a light, medium and dark blue that is essentially the same color…just a variation. This allows you to color the section with the light color first…then add in the darker shadows. To blend simply take your lightest Copic marker and blend them together. If you find that you have too dark of a color…simply bring back in that lightest tint and go over it until you get the lightest color back. With most markers…if you add more color, you add color…the Copics allow you to move it around a little even after the marker is dry.

There may be occasions when you do not have the exact color you need. One very easy way to get a mid-tone is to dab your lightest tone onto the nib of a darker one. This will blend color right on your brush nib. As the color runs lighter…simply touch nibs again until you get your desired amount of color. This does not affect your marker in any way. To prevent staining of your nib just rub on a scrap sheet of paper until the nib is back to its original color. You can also blend colors with these markers, just like you would on a palette. Take a piece of acetate or plastic and scribble some ink onto it. You can pick up color with another marker in this fashion as well. This works really well if you are working with two different colors.
The Colorless Blender Pen is one marker from this set that you won’t want to be without. This blender pen is fabulous for blending colors. If you need to lighten an area to add a highlight…simply dab on the pen and watch the color lighten. The Colorless Blender Pen is also fabulous for fading off a background. Soften the edges of your color by running this pen along them.

While there are some purists out there, mixed media art and designing is a very accepted design style. No one medium can be the ultimate in artistic expression. The Copic Sketch Markers are very compatible with other art products and techniques. Combine the Copic markers with colored pencils to get fine precision detail after coloring. The soft, subtle properties of watercolor are beautiful with some styles and images. The Copic markers are easily combined with this medium as well.


If you are going to use these markers for coloring rubber stamped images, you’ll want to look into getting the correct ink for these markers. As some inks may run or bleed with the alcohol..using the correct ink with them is essential. There has been a lot of testing done on inks with the alcohol pens and my favorite to use is Ranger’s Pitch Black or Espresso Adirondack inks. Other inks that will work well are Tsukineko’s Graphite Black Brilliance Ink if heat-set and their Memento ink as well. Paper is not as critical a choice as ink but a smooth tight finish on the paper is your best bet to prevent bleeding. Prism’s Simply Smooth White cardstock, the Neenah Classic Crest Solar White and even Staple’s Cardstock all work well with this product.
One of the things that sold me on these markers is the ability to use them to alter other products and embellishments to get a custom look. You can use them to color on fabric, color ribbon and silk flowers to the color you wish…even brads and acrylic items such as Dew Drops or Tim Holtz Fragments can be colored with these markers.
If you’re looking for more information to help you expand your knowledge of this marker system, there are a lot of on-line links that are worth checking out. At the Copic site, their FAQ page has a wealth of information. I first learned about these markers from Ellen Hutson and she has some fabulous articles on the use of this product. Cornish Heritage Farms has a great tutorial on coloring detail images. For continued inspiration, Marianne Walker, The Copic Certification Instructor has a fabulous blog called I Like Markers. A wealth of techniques, concepts and art instruction with both beginner and advanced applications.

Pros
- Professional Artist Quality product
- Permanent…will not run with water
- The alcohol based markers don’t give you lines when coloring and are easy to blend
- This product will last you for a lifetime
- Love the versatility of these markers and the fabulous airbrush system
- Extremely portable
Cons
- These markers are not inexpensive
- For proper blending of shadows and highlights you need a good variety of markers
- For optimal quality, you need to be careful what inks and papers you use with these markers
- Quite a high learning curve for this product if you are wanting to achieve expert coloring and shading
Online Sources
The Copic Sketch markers retail at $4.99 US per marker. While this can be rather expensive to invest in a large set, some retailers sell pre-designed sets for you. These sets are a better value and often come with a storage system included such as a marker wallet. This is a great way to start as they have done the hard work for you choosing a very workable set of colors to start with. The Copic Sketch Markers are extremely easy to use…simply uncap and start coloring. The markers do need practice if you are expecting to achieve professional blending and shading. If you are not a good colorer…these markers will not make you one. Only practice and instruction will do that. While the price of collecting these markers can be expensive….I feel that the longevity and flexibility of this product make it a worthwhile purchase and good value. I rarely rate products a 10 out of 10 but these markers are so well-designed, I can’t imagine how they could be improved upon.
Copic’s by-line is…”the markers created for creative people.” If you’re someone who loves to explore your creativity through coloring and art…I know you’ll love them. I’m thrilled with my Copic marker purchase and love using them. I enjoy sitting down to relax with them and am excited about all the skills I have yet to learn.
*****
If you have any questions about this product, I’ll do my best to answer by editing my responses into the bottom of this post.
Thanks so much for stopping by. Wishing you a safe and happy Labour Day weekend!
Julia