Monthly Archives: June 2008

Pumped…

I’m finally getting a little time to pull out this Shoe Boutique stamp set. So fun and funky, I love all the possibilities. Especially great for girl cards, I love how you can use this set for love, masculine, baby etc. I also needed a little hit of color. It’s been so hot, humid with never-ending thunderstorms that I needed a design to kick a little fun in my life. 🙂

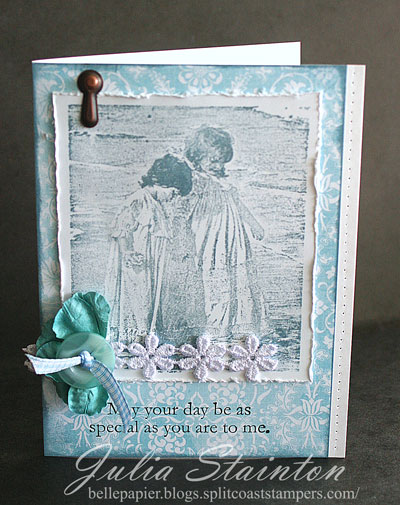
To Have a Friend Like You

jks-pumped.jpg

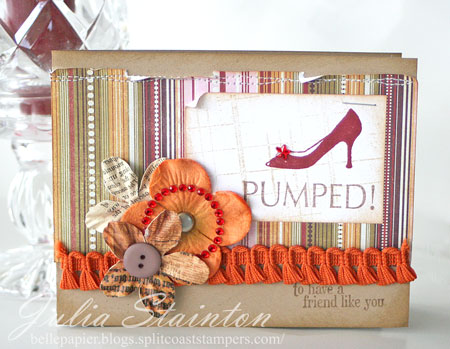
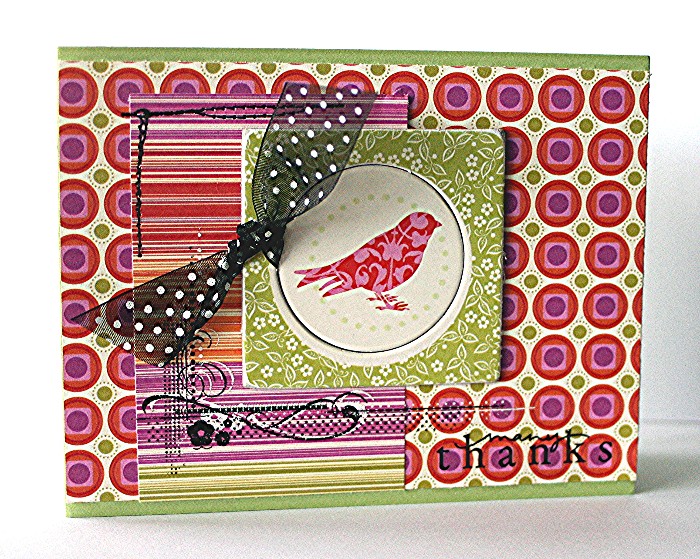
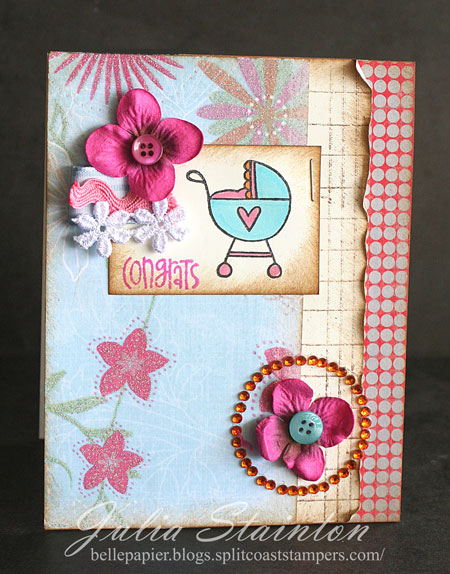
For this design, I really didn’t have a plan, I just started cleaning up my desk and found these beautiful pieces of ribbon and paper and my hands just went to work. I love it when that happens. jks-color-combo.jpgThis is a color combo I would likely never had put together myself but I’m thinking it would be fun to try it again. If this combo inspires you to give it a whirl…be sure to stop back and link your design. I’d love to see it!

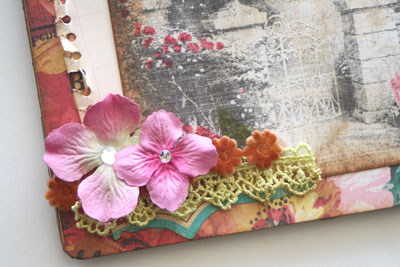
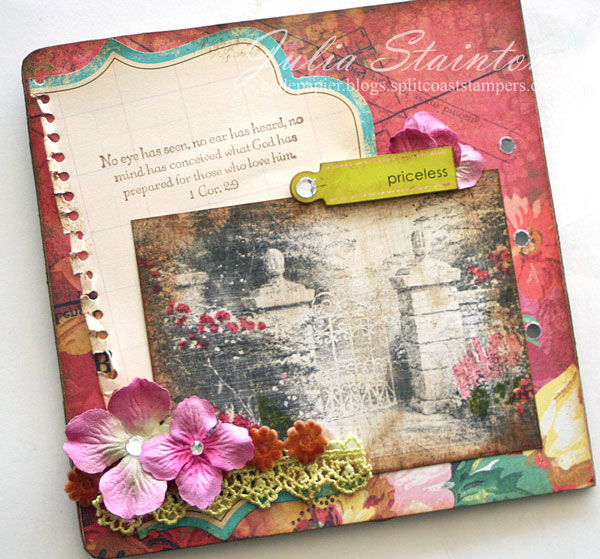
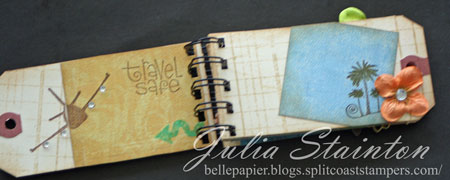
As you can see…very simple stamping on this design. I mostly had fun just putting this design together. Some fun embellishments and a little stitching help make the design special. Basic Grey 6×6 paper pad, Prima flowers and MAMBI rhinestones from Jacksonbelle Embellishments.

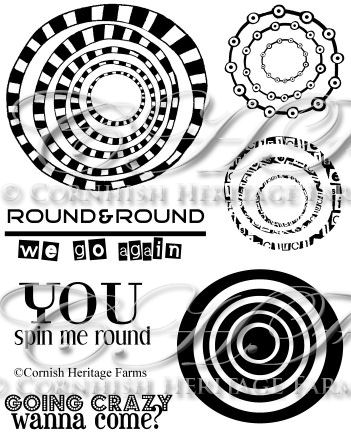
Lesley has created another two fabulous Rummage Bin stamp sets that are being released today. I’m still waiting for mine… Canada Post and I are NOT tight 😉 I cannot wait to get my hands on them!

Supply List:

stamps:
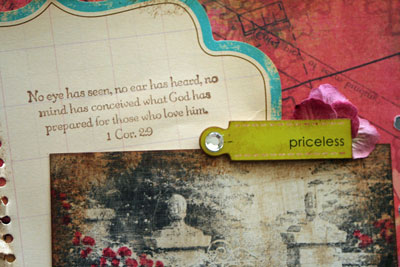
-The Shoe Boutique (The Rummage Bin line) Cornish Heritage Farms
-Vintage LEdger Scrapblockâ„¢ by Cornish Heritage FArms
Ink:
-raisin Adirondack ink by Ranger
-Antique linen distress ink by Ranger
=Burnt Umber palette ink by Stewart Superior

Paper:
-kraft cardstock – prism
-white Prism cardstock
– Basic Grey patterned paper

Other:
-flowers by Prima
-ribbon by Making Memories
-brad by Creative Impressions
-stapler
-sewing machine

All Things Fall

all-things-fall.jpg

Round and Round We Go

round-and-round.jpg

Have a fabulous day!
Julia

A Monday Challenge…glossy cardstock, a tutorial and a verse to share

jks-no-eye-linen-close-up.jpg

Happy Monday! Hope you had a fabulous weekend! Today my project combines two challenges and I also have a short tutorial for you. First of all…the CHF Challenge Chicks challenge this week is to use Glossy Cardstock. One of my favorite ways to use glossy cardstock is the faux linen technique. Actually, it seems like forever since I last used it. Having never tried it on an image as detailed as this, I wasn’t quite sure how well it would work. I was really pleased with the results. My Thomas Kinkade Open Gate image has a very antique photograph look with texture. If you’d like to join our glossy cardstock challenge…we’d love to see your designs! Check out the link here.

To see more great glossy cardstock ideas, check out the designs some of my friends have made…

Kristine

Dawn

Kim

Lisa Strahl

Sherrie

No Eye Has seen

jks-no-eye-has-seen.jpg

Before I get to the tutorial…I’ll tell you briefly about my design. This year I’m working on a 12 month project…the Bible Verse Challenge and am making myself a beautiful chipboard book with some verses I’m memorizing and also mean something to me. Next week marks the first year anniversary of my mom’s passing and I’ve been thinking a lot about heaven lately. I love this verse from 1 Corinthians and while I miss my mom as much as ever, I know I’ll be with her again someday. What a wonderful place heaven must be. I always try and put a lot of thought into each of my designs in this book. I ordered this No Eye Has Seen stamp a week ago andI was a bit perplexed on what kind of an image I should add to go on this page. While searching through my rubber, I came across this Thomas Kinkade Open Gate stamp. It reminded me of how Jesus said…I am the door and also, I am the Way and I knew that it would be perfect for this design. If you’d like to see the rest of the pages I’ve created for this book to date…simply click on the Inspirational link at the top of this post.

jks-no-eye-verse.jpg

Faux Linen Technique

I love the texture this Faux Linen technique. It’s perfect for masculine, vintage, shabby and rustic styles. The best thing about it is that is is so simple and only required two supplies….glossy cardstock and sandpaper. Note: Ran into a couple glitches this morning…the photos will be edited in ASAP! 🙂

1. Stamp your image or images onto white glossy cardstock.

2. Take a piece of sandpaper and sand in long smooth strokes across the cardstock in one direction. Turn 90% and then sand the other direction. Make sure all the gloss of the cardstock is removed.

3. Ink a sponge…I used Antique Linen Distress ink by Ranger…and wipe ink into the grooves the sandpaper has left.

4. Sponge edges if desired. For this design I used Vintage Photo Distress ink by Ranger.

Quick Tip: Add small touches of color to your Thomas Kinkade designs to get a hand-colored photo look. I simply added color to a few blossoms with a dye-based marker. You can also apply with a Cut ‘n Dry nib.

Wishing you a fabulous day!

Julia

Supply List: Stamps: No Eye Has Seen & The Open Gate (Thomas Kinkade line) by Cornish Heritage Farms, Ink: Black Palette Ink by Stewart Superior, Antique Linen and Vintage Photo Distress Ink by Ranger, Paper: Glossy Cardstock by Ranger, Journaling Pad and Priceless Chipboard Tag by Making Memories, Stella Ruby 6×6 paper pad by Basic Grey, Other: Flowers and lace by Prima, rhinestones by Me and My Big Ideas

Patterned paper, flowers and rhinestones from Jacksonbelle Embellishments

Simply Sunday…For the Birds

I decided to move Simply Saturday to Simply Sunday…just for this week. 🙂 This is a simple bright fun design using summer colors and a mix of Scenic Paper Route Co. patterns. I love their paper lines and this pairs up their double-sided paper with some of their chipboard product. Pairing up a company’s paper and embellishments is a super quick way to make a card as everything already matches. This design also uses some stitching, Daisy D’s rub-ons and rub-on transfer sentiment by Deja Views.

Many Thanks

jks-bird-thanks.jpg

Have a simply wonderful day and many thanks for stopping by,

Julia

Let’s Celebrate

I thought I’d multi-task for today’s design! 🙂 I usually post a Simply Saturday post today but I think this design steps it up a little. Maybe I’ll have a simply Monday or Tuesday this week instead! 😉 My 5yo is going to a birthday party this afternoon so I decided to combine the birthday card with the Kim Hughes Blitz Wonderful Wings Challenge. We’re blitzing until Sunday night so pop in this weekend and join us in the CHF Forums.

Owl Celebrate

jks-owl-celebrate.jpg

This design layout was inspired by Di Hickman’s sketch challenge this week. I took a few liberties with it …made the flower into a candle flame and added my fun little owl from the U R A Hoot stamp set by Kim Hughes. The image is colored with Copic markers and I altered the MME red dotted patterned paper by stamping my new AlphaNumber Backgrounder stamp right on top of it. I LOVE this new backgrounder. I can’t wait to ink it up again as it will have so many fun looks. Text is so IN right now!

Have a super fabulous weekend!
Julia

For the girls

Wow, wow, wow…so much going on! I have two designs to share with you today. Two “girl” designs…one cute and baby and the other one shabby. 🙂 I had so much fun creating them yesterday after two more masculine themed project…I guess I’m a girlie-girl at heart! 😉

My first design uses the Sisters stamp from Cornish Heritage Farms. This stamp comes from their latest licensed line …the Sandra Kuck line that kicks off today. I just adore this sweet image and think it is perfect for girls of all ages whether they be young or aging gracefully.

Special to Me

jks-special-to-me.jpg

The above design is so easy to create. These detailed images look stunning colored or simply stamped monochromatically. I love the look of this beautiful patterned paper by My Little Yellow Bicycle. With the beautiful image and beautiful paper..you simply need a few small touches to make a lovely card.

My second design is a baby card for today’s Kim Blitz Challenge. Today’s challenge is a sketch challenge designed by Kim and is super fun to try. Stop by and play along for some fun and prizes in the CHF Kim Hughes Blitz Forum. I know you ALL like new rubber! 🙂

Baby Congrats

jks-baby-congrats.jpg

This design uses some more My Little Yellow Bicycle patterned paper. The top paper is pre-glittered….sorry I couldn’t pick it up in the photo better. It looks so pretty! I decided to make it into a not-so-traditional baby card with some fun colors. Just because you are making a baby card doesn’t mean you have to use baby-themed paper. The stamp set is the new Kim Hughes Baby Love set. I’m just ga-ga 😉 for it! I love added little bits of stamped interest with my patterned paper so for one of the layers of the design…I stamped my Vintage Ledger Scrapblockâ„¢ onto a strip of Natural Smooth cardstock. I can’t believe how flexible this 6×6 block of rubber is! It’s working its way into almost everything I create!

Jewels, Prima flowers and Making Memories ribbon from Jacksonbelle Embellishments

Have a super fabulous day! And yay for Fridays! Oh…btw…my kitchen guy is coming today to work on it! I’m so excited that we’re finally hitting the home stretch!

Julia

Get Wired Challenge

Now here’s a challenge for you! Are you up for it? Today’s Ways to Use it Challenge is a wire rerun challenge. You need to find ways to use WIRE in your designs. We used to see a lot of wire on designs and I just don’t see much of it anymore. Now you can great creative about how you use it. Make it look new again! Add it to your project as a functional handle, embellish your design or use wire as a binding. That’s what I did. I’d love you to join us for today’s challenge so check it out here.

Also…I hope you’re up for lots of challenges at today we are kicking off our Kim Hughes Blitz at Cornish Heritage Farms. Do you love Kim Hughes’ line? Join us for lots of fun, challenges and prizes today through Sunday. 🙂

Paradise Found Tag Album

jks-paradise-found-tag-book.jpg

I’m REALLY excited about this project! I hope its OK to say that! LOL I just had SO much fun making it and for a project, it went together really quickly! I’ve had this idea in my head for weeks…just needed my stamps to arrive so that I could get it onto some paper. This design uses the new Paradise Found set by Kim Hughes from Cornish Heritage Farms. I’m just going crazy with these fun travel images. I know they’re going to grace a lot of cards and scrapbooking layouts. Also used on this tag book that made it sooooooooo easy…Scrapblocksâ„¢. I know…I just can’t put these babies down! The Vintage Ledger design worked perfectly to add interest to the tags before adding my other embellishments. Also used on this design…Static Collection patterned paper by Crate Paper. The worn texture, double-sided designs had a fabulous look to add to my project.

I’ve been quite intrigued with the idea of packing tags since my friend Lesley gave me some at a Ranger Ink class in April. I had to run over to Staples and pick up a box. This is one fun idea I thought of using them for…binding them with my new Bind-it-all and making a book. Yes…it’s not that large but perfect for a fun quick album. When designing it, I’ve left spaces for small photos and brief journaling.

jks-paradise-1.jpg

jks-paradise-3.jpg

jks-paradise-5.jpg

jks-paradise-6.jpg

Quick Tip: Create all your tag album pages before punching and binding. Paper layers are fine to add to the last 3/4″ of the tag but keep all embellishments away from that area.

Have a fabulous day! Hope you have some time to get stampin!

Julia

Supply List:

Stamps:
-Paradise Found (Kim Hughes Line) by Cornish Heritage Farms
-Vintage Ledger Scrapblockâ„¢ by Cornish Heritage Farms
-Fine Houndstooth Scrapblockâ„¢ by Cornish Heritage Farms
-Spanish Script Backgrounder by Cornish Heritage Farms

Ink:
-Black and Burnt Umber Palette inks by Stewart Superior
-Antique Linen Distress Ink by Ranger
-Pool Adirondack ink by Ranger

Patterned paper:
-Static Collection by Crate Paper
-die cut lace paper by KI Memories

Accessories:
Tags from Staples
-rhinestones by MAMBI
-flowers by Prima Marketing
-lace and velvet ribbon by Prima
-markers by copic
-Bind-it-all

Take Two… Basically Lizzie

It’s been a long time but we’re back doing another Take Two Challenge. Old friends are the best and so I hope that no matter how busy we get, we keep finding the time to do these challenges. 🙂 If you’re a new reader, my good friends Lindsey Botkin, Michele Boyer and Trudee Sauer started a Take Two challenge when we first started blogging. It started off as taking two products and highlighting the variety of design you could create with them. These days, our product stashes are a little more varied so we keep the challenge a little more open-ended. Take time to stop by their blogs as their designs are always fabulous. I can’t wait to see them!

Today’s challenge is to use a Lizzie Anne Designs stamp set with Basic Grey paper. For my design I couldn’t wait to pull out my new A Man’s Sole set that I just had to order. I decided to pair it up with my Archaic 6×6 paper pad for a great masculine look for my dad’s Father’s Day card. It’s coming up soon and this time, I want to be ready ahead of time! 🙂

Nobody Could Ever…

jks-nobody-could-ever.jpg

This design is inspired by this week’s CPS 67 sketch challenge. I switched up the proportions and card size a little and it was great sketch for combining lots of different patterned papers. Very simple stamping direct to the paper with my Burnt Umber and Black Palette Hybrid inks by Stewart Superior make this card go quickly. When I stamp simply, I love adding a few fun embellishment touches to make the design unique and special. This design uses a 7 Gypsies file tab, a little hand-stitching, a couple brads and a stapled circle to add interest.

Also…don’t forget! The Kim Hughes Blitz kicks off tonight at CHF! 7pm EST

Have a wonderful day!

Julia