Category Archives: Inspirational

dreamer

I guess I’m a bit of a dreamer. I was always the girl with her head in the clouds and I guess in a lot of ways, I still am.

Dreams get us through every day life. They give us something to work towards. A goal. Some dreams come true and make us smile. Some dreams break our heart a little when they don’t. It all makes us stronger and makes us who we are.

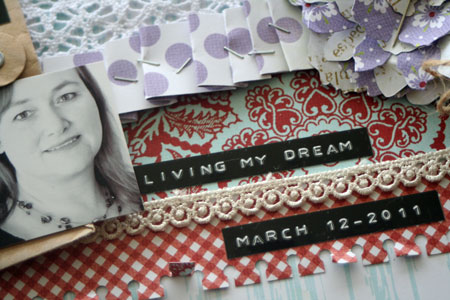
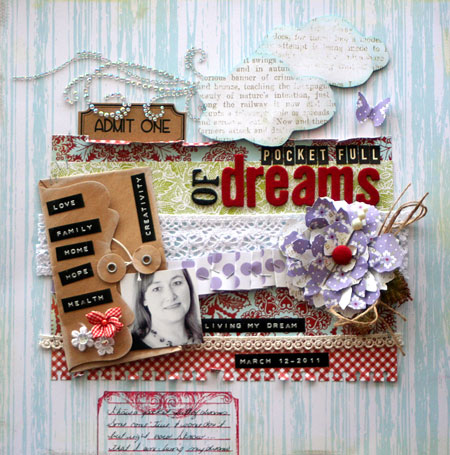
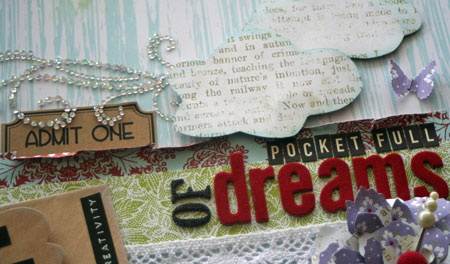
The other day I was thinking of dreams and put this layout together.

First though…I have to tell you my saga. Friday was a crazy day. We woke up to no power. Spent the day huddled in the cold with no heat, no power and no water after a storm took it out. I didn’t go down to my craft room as the basement too dark to work in. One of my teenagers decided to have a nap. His room is in the basement and when he woke up, he came yelling up the stairs that the basement was flooded. My heart sank.

Because of all the rain the day before and no power going to the sump pump, my craft room flooded and then spilled into half the basement. It was a very long and distressing evening. I threw out a lot of stuff but I’m so thankful it wasn’t worse. It’s still drying out but it was so hard to see my own special place like that and my husbands hard work in  creating it  for me threatened. My craft room was one of my dreams come true. Maybe that sounds silly but it meant a lot to me.

Enter a Saturday Lily Bee deadline. The layout I had planned to create on Friday and couldn’t because of the dark had to wait until after a University tour with my daughter on Saturday. I believe in meeting my commitments. So I sat in my damp soggy craft room and managed to create this layout from my heart.

One of the things I realized this weekend is that I am living my dream.

Here.

Now.

I am blessed.

I still have a pocket full of dreams but the important ones, I cherish their fulfillment, each and every day. I love it when God gives me a little reality check. I just wish I didn’t have to learn the hard way.

So finally! Here’s my layout. It may be my favorite to date because of what it means to me. It’s also my first layout created with my new Picket Fence line for Lily Bee Design. Picket Fence is the Monday Focus on the Lily Bee blog. If you’re looking for more Picket Fence inspiration…check it out here.

I have good news! Picket Fence along with the other fabulous Lily Bee Design releases are now shipping to stores! Keep an eye out for them!

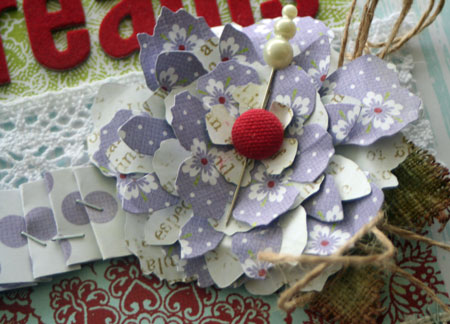
This flower is created with the Tattered Florals die and the Porch Swing and Fresh Air papers. I wanted a red brad center and didn’t have one. I found a neutral Zva brad in my stash and colored it red with a Copic Marker.

I encourage you to write down your dreams. Those that have come true and those you wish for. For the most part, I’m a pretty private person and the little pocket makes a perfect place to tuck those dreams inside.

Keep dreaming…

a little encouragement

One of the things that really drew me to card making in the first place was they were great ways to stay in touch with family and friends. It’s not just a greeting card you picked up somewhere but something that shows you really care. The other day I found out that a friend of mine has cancer for the second time. My heart just broke for her and her family. The best thing I can do for her is pray fervently but I also sat down and created this card to show I care.

I thought about how often I make friendship cards and thank you cards, birthday and Christmas cards but really, encouragement cards are some of the most meaningful. Whoever you are and wherever you are, I know that there must be someone around you who could use a little encouragement. Perhaps it’s a health issue or family troubles or maybe they are a little overwhelmed. Today I’d like to challenge you to find ways to show encouragement by creating a card or project to show you care. And please…just don’t create the project…make sure you give it away. Check out the challenge here.

All Things are Possible

all-things-are-possible-jks.jpg

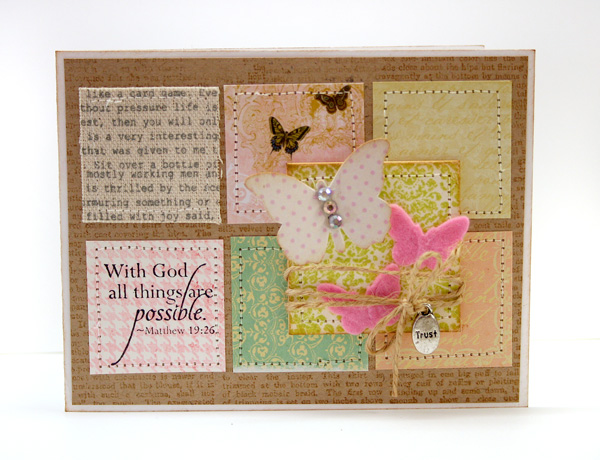
This card is a mix of stamping and pretty paper. I just love combining patterns and pretty colors. If you keep them subtle and keep the design cohesive you can combine almost anything.   This card design was inspired by one of the Card Maps sketches this month and is a great way to use up your scraps.

all-things-close.jpg

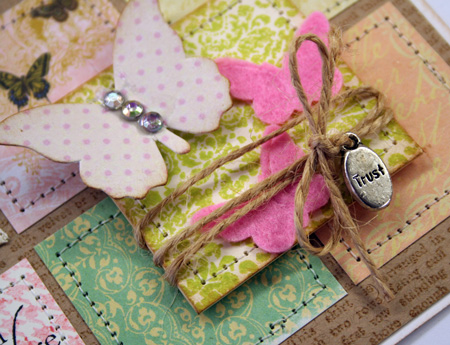
Quick Tip: Did you know you can stamp and stitch on Inchies? I’ve used this Twinchie to group my embellishments together.

Supply List: Simply Smooth White cardstock by CHF, kraft cardstock by Bazzill, Twinchies by Inchie Arts, Life’s Portrait 6×6 Petite Papers by Webster’s Pages, Brushed Corduroy Distress Ink and Jet Black Archival by Ranger,  Pear Tart Memento Ink by Tsukineko, sewing machine, Vintage Text Scrapblock, Vintage Chintz Backgrounder and Scripture Essentials 1 by Cornish Heritage Farms, twine, felt butterflies by Heidi Swapp, Embellished Butterflies by Jenni Bowlin, Word charm by Maya Road

Happy Creating!

Rejoice!

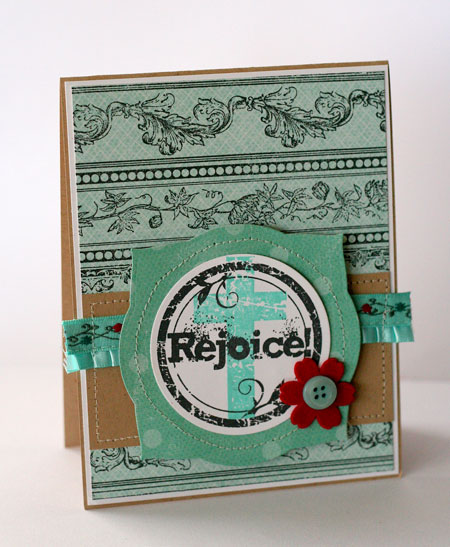
Happy Easter! I hope you’re having a special day and taking time to remember the true meaning of Easter. I’m back on-line and able to access most of my files now so I thought I’d share an inspirational design with you today. I just adore this Rejoice stamp. By simply stamping it in black and pairing it up with the Modern Cross image I have an Easter card. A couple quick notes before I go on…

  • I still have NO e-mail files and therefore NO e-mail addresses. If you’re someone expecting a response, you’ll probably want to send me a new note or just send me your address so I can build my contact list back up again. Who knows WHEN I’ll be able to access these files!
  • Cornish Heritage Farms is having a double points promotion this weekend until midnight Monday night. If you have wishlist…now’s a great time to get what you want.

Rejoice

jks-rejoice.jpg

This design is also a sneak peek at my new Ornamental Borders Scrapblock to be released on Tuesday. I designed it to go with the Ornamental Beauty set or just be used on its own. As you can see here it works with other lines or styles. On this project, I stamped it over some subtle patterned paper for a different look.

Have a blessed Easter!

jks-spring-signature.jpg

Supply List:

Stamps: Ornamental Borders Scrapblock, Modern Cross, Rojoice by Cornish Heritage Farms

Ink: Black Memento Ink by Tsukineko, Pool Adirondack Ink by Ranger

Paper: patterned paper by MME, Kraft & Simply Smooth White cardstock by Prism

Other: felt flower by Maya Road, ribbon by Prima, button by AUtumn Leaves, sewing machine, Nestability die by Spellbinders

In the Valley

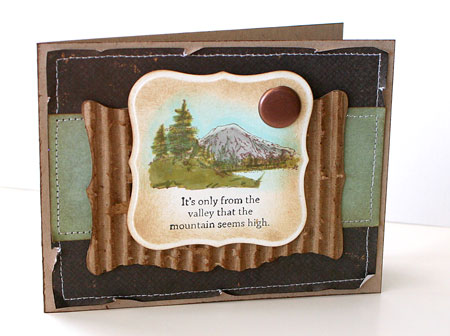
I love this sentiment… It’s so true! It’s only from the valley that the mountains seem high. No matter who we are there are times that we spend in the valley. From the highs of joy to the lows of struggle or sadness. I’ve been reminded lately while doing a Bible study (Stepping Up by Beth Moore) that without the valleys, we don’t have as much appreciation for the mountains or high points of our experience. As I start this new year, I’m committed to stepping up on my journey and appreciating the blessings along the path. No matter where you are in your journey, take time to look up.

From the Valley

jks-from-the-valley.jpg

Quick Tip: Tear the top layer off the cardboard to reveal the corrogated inside to add texture to your design.

 Have a beautiful day!

winter-julia.jpg

Supply List:

Stamps: Mountains (Scene-it Line) by Cornish Heritage Farms
Ink: Black Memento by Tsukineko, Vintage Photo and Antique Linen Distress ink by Ranger
Paper: Kraft and Natural Smooth by Prism, Thomas Kinkade Masculine series paper pack by Cornish Heritage Farms
Other: die by Spellbinders, brad by American Crafts, sewing machine, corrogated cardboard shape by Prima, markers by Copic

Merry Christmas

I just wanted to take the time this morning to wish you a very special Christmas. Amidst the  business of family and food and presents, I just wanted to sit down and think about the true meaning of Christmas, the greatest gift of all.

For unto us a child is born, unto us a son is given: and the government shall be upon his shoulder: and his name shall be called Wonderful, Counsellor, The mighty God, The everlasting Father, The Prince of Peace. Of the increase of his government and peace there shall be no end Isaiah 9:6,7

And the angel said unto her, Fear not, Mary: for thou hast found favour with God. And, behold, thou shalt conceive in thy womb, and bring forth a son, and shalt call his name JESUS. He shall be great, and shall be called the Son of the Highest: and the Lord God shall give unto him the throne of his father David: And he shall reign over the house of Jacob for ever; and of his kingdom there shall be no end. Luke 1:30-33

jks-night-before-christmas.jpg

Wishing you a very special Christmas

winter-julia.jpg

Joy,Peace, Hope… an inspirational post

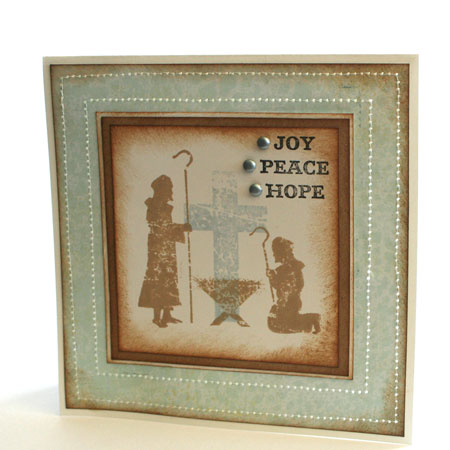
While cleaning and sorting my stamps a few weeks ago, a couple of my stamps just seemed to fall together. This card immediately popped into mind. The most important part of Christmas to me is celebrating its origin. And while the story starts in Bethlehem, I added the shadow of the cross as that is the rest of the story. The joy, peace and hope are found there. If you’ve ever heard the song…Lord I Lift Your Name on High, it was my inspiration.

From the Cradle to the Cross

        jks-cradle-to-the-cross.jpg

Wishing you a blessed day,

a-signature-2.jpg

Supply List:
Stamps:
-Modern Cross (Classic Collection by Cornish Heritage Farms
-Manger Scene (Classic Collection) by Cornish Heritage Farms
-Christmas Expressions (MLM line) by CHF

Ink:
-Ranger Adirondack ink
-Brushed Corduroy Distress ink by Ranger

Paper:
-Kraft cardstock by Prism
-Simply Smooth white cardstock by Prism
-Kim Hughes Mocha Chica paper pack by Cornish Heritage Farms

Other:
-sewing machine
-brads by Creative Impressions 

A Monday Challenge…glossy cardstock, a tutorial and a verse to share

jks-no-eye-linen-close-up.jpg

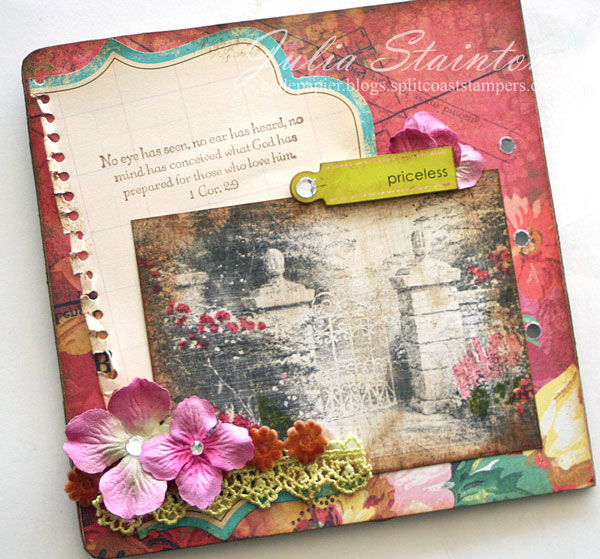
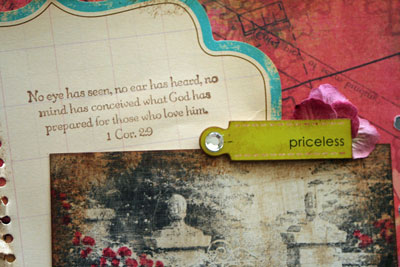
Happy Monday! Hope you had a fabulous weekend! Today my project combines two challenges and I also have a short tutorial for you. First of all…the CHF Challenge Chicks challenge this week is to use Glossy Cardstock. One of my favorite ways to use glossy cardstock is the faux linen technique. Actually, it seems like forever since I last used it. Having never tried it on an image as detailed as this, I wasn’t quite sure how well it would work. I was really pleased with the results. My Thomas Kinkade Open Gate image has a very antique photograph look with texture. If you’d like to join our glossy cardstock challenge…we’d love to see your designs! Check out the link here.

To see more great glossy cardstock ideas, check out the designs some of my friends have made…

Kristine

Dawn

Kim

Lisa Strahl

Sherrie

No Eye Has seen

jks-no-eye-has-seen.jpg

Before I get to the tutorial…I’ll tell you briefly about my design. This year I’m working on a 12 month project…the Bible Verse Challenge and am making myself a beautiful chipboard book with some verses I’m memorizing and also mean something to me. Next week marks the first year anniversary of my mom’s passing and I’ve been thinking a lot about heaven lately. I love this verse from 1 Corinthians and while I miss my mom as much as ever, I know I’ll be with her again someday. What a wonderful place heaven must be. I always try and put a lot of thought into each of my designs in this book. I ordered this No Eye Has Seen stamp a week ago andI was a bit perplexed on what kind of an image I should add to go on this page. While searching through my rubber, I came across this Thomas Kinkade Open Gate stamp. It reminded me of how Jesus said…I am the door and also, I am the Way and I knew that it would be perfect for this design. If you’d like to see the rest of the pages I’ve created for this book to date…simply click on the Inspirational link at the top of this post.

jks-no-eye-verse.jpg

Faux Linen Technique

I love the texture this Faux Linen technique. It’s perfect for masculine, vintage, shabby and rustic styles. The best thing about it is that is is so simple and only required two supplies….glossy cardstock and sandpaper. Note: Ran into a couple glitches this morning…the photos will be edited in ASAP! 🙂

1. Stamp your image or images onto white glossy cardstock.

2. Take a piece of sandpaper and sand in long smooth strokes across the cardstock in one direction. Turn 90% and then sand the other direction. Make sure all the gloss of the cardstock is removed.

3. Ink a sponge…I used Antique Linen Distress ink by Ranger…and wipe ink into the grooves the sandpaper has left.

4. Sponge edges if desired. For this design I used Vintage Photo Distress ink by Ranger.

Quick Tip: Add small touches of color to your Thomas Kinkade designs to get a hand-colored photo look. I simply added color to a few blossoms with a dye-based marker. You can also apply with a Cut ‘n Dry nib.

Wishing you a fabulous day!

Julia

Supply List: Stamps: No Eye Has Seen & The Open Gate (Thomas Kinkade line) by Cornish Heritage Farms, Ink: Black Palette Ink by Stewart Superior, Antique Linen and Vintage Photo Distress Ink by Ranger, Paper: Glossy Cardstock by Ranger, Journaling Pad and Priceless Chipboard Tag by Making Memories, Stella Ruby 6×6 paper pad by Basic Grey, Other: Flowers and lace by Prima, rhinestones by Me and My Big Ideas

Patterned paper, flowers and rhinestones from Jacksonbelle Embellishments