cup of blessings

When I stop to look at my life, I have to admit my cup is full and running over. Life isn’t always easy with a large family and I’ve known my share of sadness but we have a home and lots to eat, we have each other and we time to spend together. It’s a simple life of faith and family but I couldn’t ask for more.

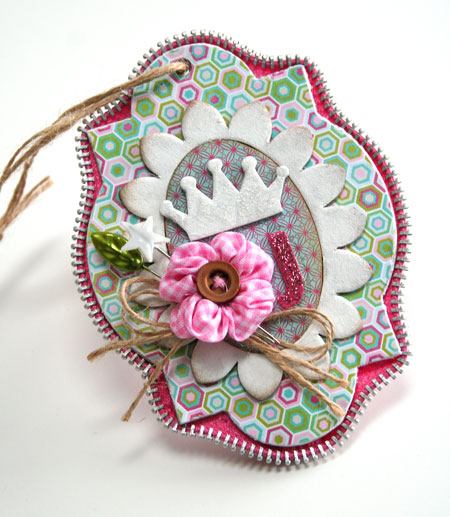
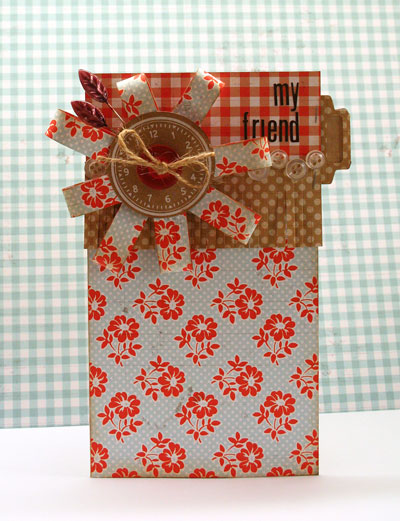
Recently I created this little mini album for Maya Road. It’s a sweet little mason jar and it immediately brought to mind how my cup runneth over.

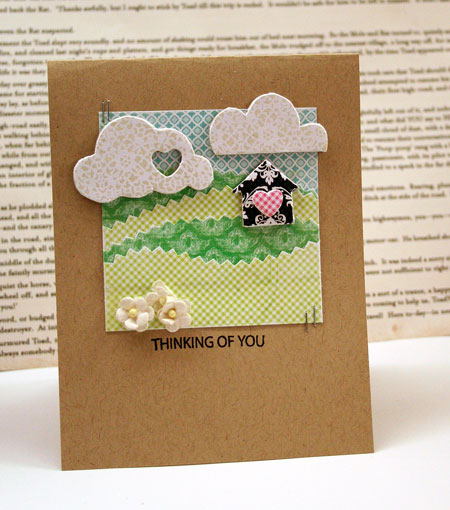
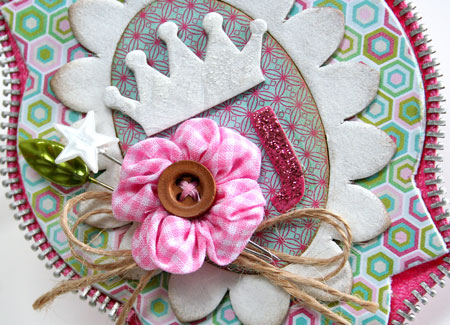
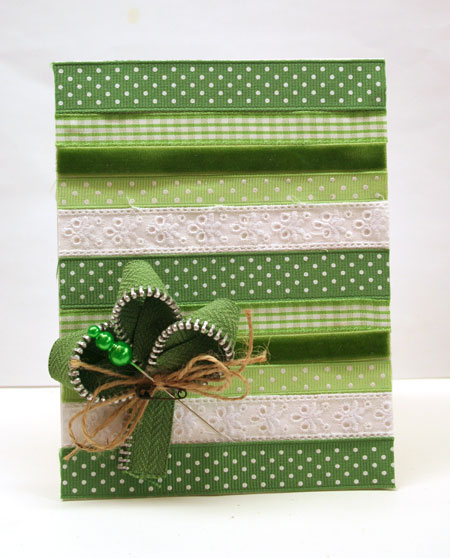
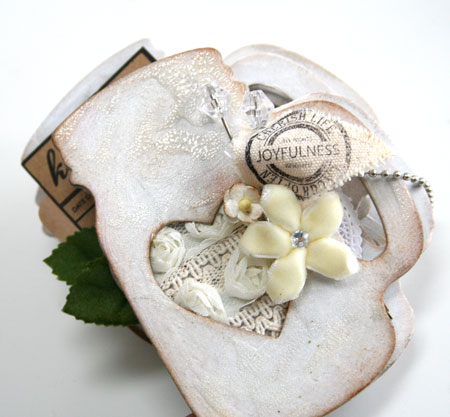
To create the front cover, I removed the die cut heart and decided to make a little window panel on the front of the design. It’s filled with sweet Maya Road trims and then adhered to another chipboard page to back it for double thickness and stability as well as finish the inside of the window.

The chipboard album is all painted with Gesso to give it a nice white surface for stamping on and adding ink. The front cover is also painted with some Rock Candy Distress Crackle Paint to give is a nice glassy and textured finish.

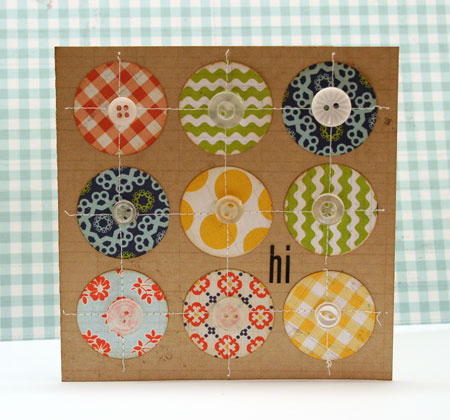
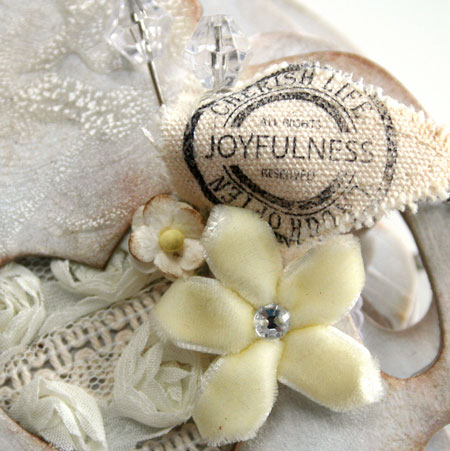
I’m seriously loving all the Maya Road stamps for mini albums and this album is full of stamped detail.

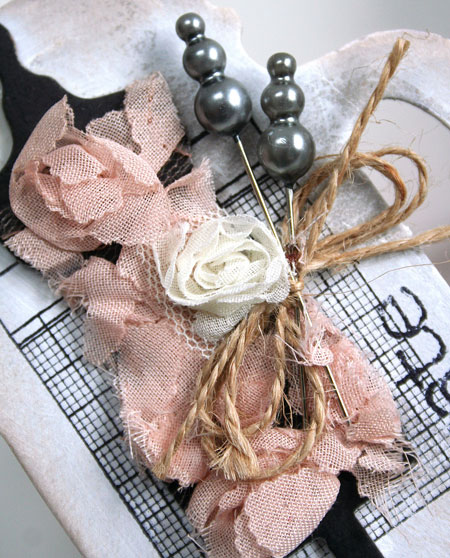
The ledger stamps are perfect for anchoring pieces of the design and also for journaling on.

If you’re never tried a mini album, what are you waiting for? They are a great way to use up bits and pieces of product, they can be made in a few hours and their tiny size makes them a fun way to journal or keep photos and memorabilia.

Supplies:

Across the Miles

Today’s card is making it’s way across the miles to a friend who has been a little under the weather. It’s a sweet little scene created from the scaled down papers of Victoria Park that come in the Tiny Tablet Pad.

I adore using Maya Road chipboard and I think the extra dimension it adds to the little scene makes it special. The chipboard is easy to cover with patterned paper adhered with liquid adhesive. I then trim it close with scissors and then file away any excess from the edges.

Quick Tip: Use patterned paper instead of cardstock to create scenes with a whimsical look.

Supplies:

Have a beautiful day!

Simply Saturday…simply recycled

Do you ever look at packaging and think of ways to use it? It’s amazing what you can do if you look at things in a new way. For today’s card, I’ve used some of the inner plastic packaging from some Tim Holtz embellishments and used it to create little bubbles to divide up my design.

I have all sorts of little embellishments that fit into the spaces. To make it cohesive, try to repeat colors or embellishments throughout the design.

Supplies: kraft cardstock by Bazzill, Oatmeal Stationery line paper by Lily Bee Design, Brushed Corduroy Distress Ink by Ranger, Pink Resin Blossoms by Maya Road, Turquoise ruffle ribbon blossom by Maya Road, Stitched Brad by Basic Grey, Wood Bingo Motif by Maya Road, flower by Prima, buttons by Doodlebug, Orange Vintage Button by Jenni Bowlin, star sticker by Basic Grey, Tiny Attacher by Advantus

Have a simply creative weekend!

the zipper trim tag

Ever have one of those weeks that just kind of disappeared on you?

I’m sitting here in shock at the fact that it’s Friday already. I’m usually someone who creates almost every single day but I have yet to get down to my craft room. I’m really hoping for a few minutes of creative time today.

Earlier in the week before things got totally crazy I mentioned I’d be sharing some Victoria Park designs. So today, finally, here’s one. It’s a darling little chipboard tag that I created for the Maya Road booth at CHA.

I was pretty pleased with how this tag turned out. What you can’t see is that the tag is finished on the back as well with another piece of chipboard covered with patterned paper for a lovely clean look. It really makes the tag nice and substantial too.  When creating it, I used a strong double sided adhesive and adhered the zipper trim to the back of the top chipboard. The trim with tightly fit to the corners and notched to make the curves and turns.

The chipboard that isn’t covered with patterned paper is painted with Ranger Picket Fence Distress Stain. I find it’s a great and non-messy way to cover chipboard. To get a nice opaque look with the white, you may want to apply a couple coats. The sweet little chipboard crown is then painted with Rock Candy Distress Crackle Paint to add a little texture and shine.

Supplies:


Happy Friday!

Shades of Green

I have a lot of lovely scrap ribbons and trims.

Seriously. A LOT!

Since one of my mottos for the year is use it or lose it, well…I’ve been looking for some ways to use things up. So instead of turning to patterned paper on this card design, I’ve used strips of ribbon to make a background of striped greens. It’s easy to adhere them with the Continuous Glue Lines® Roll from Glue Dots®

I’m also enjoying using the new XL Glue Dots® to make my own flowers and other embellishments. To make this St. Patrick’s Day themed design, I put together this little shamrock using some Maya Road zipper trim that is adhered together with the XL Glue Dots®.

My Irish eyes are smiling. 🙂

Supplies: XL Glue Dots®, Craft Glue Dots®, Continuous Glue Lines® Roll, misc. ribbons and trims, zipper trim by Maya Road, twine, mini pin by Tim Holtz, green pearl trinket pin by Maya Road

I wrote this blog post while participating on the Glue Dots design team.
Happy creating!

Double Dutch

Double Dutch brings me back to my childhood.

Bright primary colors, ric rac and gingham and makes me thing of those wonderful long summer days playing outside. It makes me think of days spent skipping, skinned knees, marbles, hide and seek and all those simple timeless pleasures.

Why is it that we are always in such a hurry to grow up when some of the best days of our lives are when we are young?

Today I have a couple cards to share using the new Double Dutch line from Lily Bee Design. My first is inspired by all the patterned circles on one of the prints. I’ve punched them out and then stitched them into a grid on the card.

One of the things I love about this line is the Sand patterned paper. It bears the Stationery line print of ledger on one side and dots on the other. What I really love about it is that this neutral makes a perfect alternative for kraft cardstock and the subtle print just adds that little bit of somethin-somethin.

My second card is a tall card design. It measures 4×7″ in size. I’ve created a whimsical little flower using some cut paper strips, a button, twine and a Maya Road clock die cut.

Today Double Dutch is the Product focus on the Lily Bee blog. Pop by for some some fun ideas!

Double Dutch and the three other new Lily Bee Design lines ship today! Yay! That includes Victoria Park and I can’t wait to see it in stores. I’ll be sharing lots of Victoria Park projects over the next week or two with you so stay tuned.

Supplies:


Smiles!

the wearing of the green

It’s March already and spring is just around the corner. I can’t wait to shed my drab winter duds and replace them with some bright and sunny weather wear.

St. Patrick’s Day is also around the corner and usually the day slides right by for me. I don’t have much green in my wardrobe. The other day I decided to make a fun little crafted pin to wear. I know it’s not covered with shamrocks but it’s me. I”m happy to be half-Irish but I tend to keep my shamrocks on my linen tea towels and on a little Shillelagh that we have.

To create this I’ve used two of the XXL Glue Dots®. First adhere one of them to some scrap cardstock and then make a rolled rose on in. Tuck the tail and adhere it to the reverse side and then place the other dot on the reverse side. Adhere the leaves. Adhere your tulle trim around the edges on the reverse and then adhere a punched cardstock circle. Adhere a pinback to the reverse. Insert your trinket pins into the flower and tie on some twine. It’s a quick and fun project.

Quick Tip: If you don’t want to wear it, this would make a fun custom embellishment for a card or scrapbook page.


Supplies:

I wrote this blog post while participating on the Glue Dots design team.
Happy creating!