Category Archives: Maya Road

Made to Measure

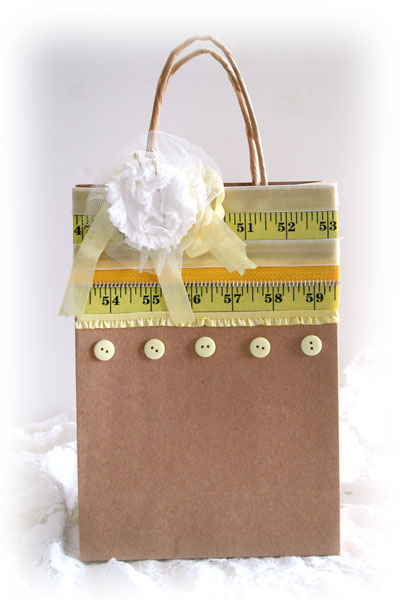
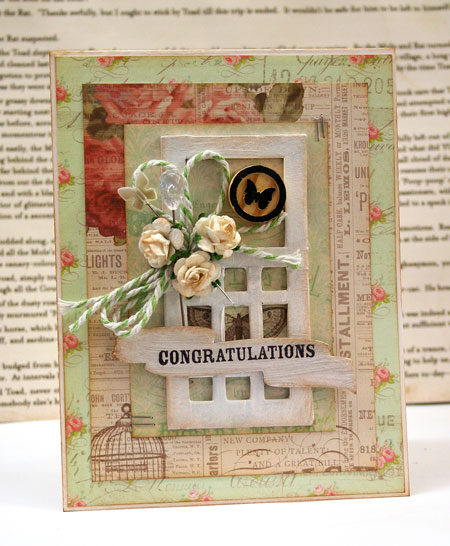
I’m back today with some more Vintage Measuring Tape love. One of the cards I designed for Maya Road for CHA Summer was this one featuring their beautiful Measuring Tape trims. I had this idea for making a fun fringed look with the ribbon and it turned out just as I had hoped.

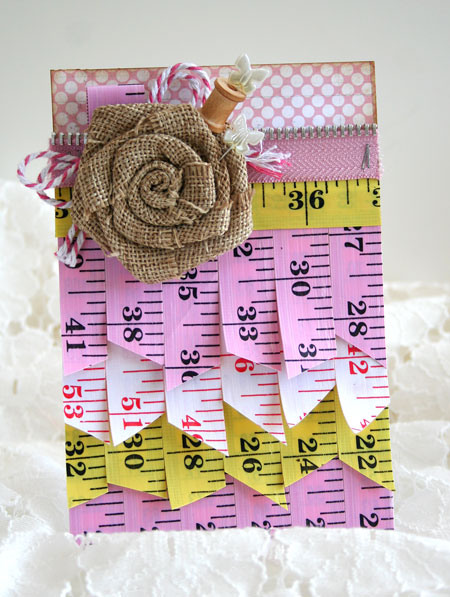
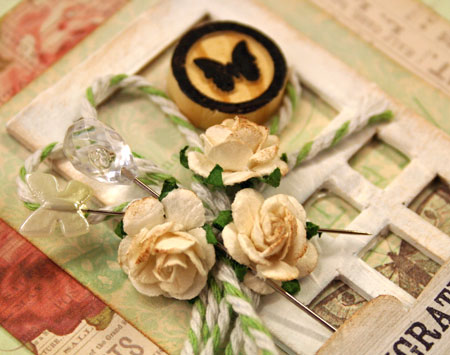
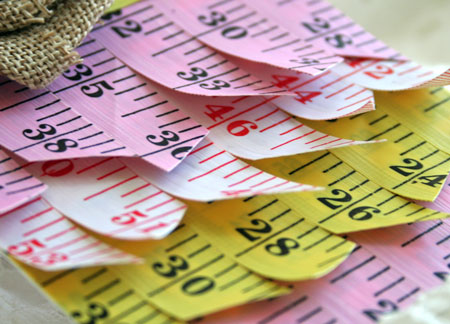
To keep the trims in place, I used a Be Creative Adhesive Sheet and applied my ribbon lengths in rows. The overlapping ends of the ribbon aren’t adhered and I love how they curve slightly upwards for an interesting dimension to the design.

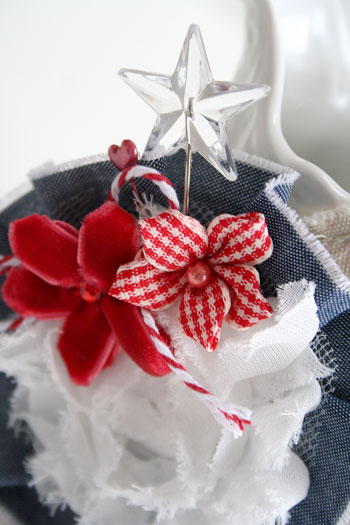
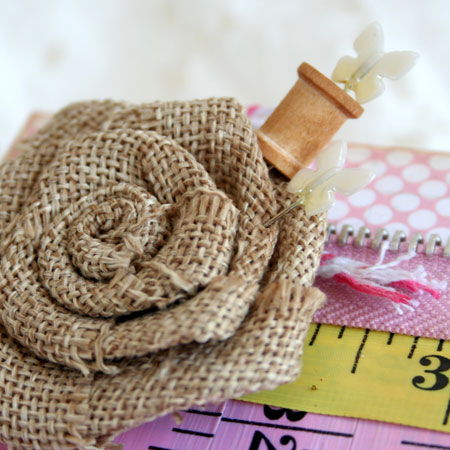
The burlap flower adds still more texture and makes a great place to pin on some additional embellishments.

If you’re looking for more measuring tape ideas, you may have missed this post.

Supplies:

Happy creating!

Tape Measure Trim

Tape measures can be a humble and useful item. As a child I always loved pulling my mother’s tape measure out of her sewing box or knitting bag, folding it, rolling it or measuring anything I could find. My very favorite…those tape measures that roll themselves with a click of a button. I think I broke more than my fair share of those and that tendency has passed itself to the next generation. They are great to have on hand in your purse but I won’t buy them any more as my children have managed to break far too many of them.

When Maya Road released the new Vintage Tape Measure Trim Ribbon earlier this year, I was so excited. They are such a great classic trim and the heavy flexible finish makes for so many great crafting possibilities.

Today on the Maya Road Blog I’m sharing these couple card designs. I hope you’ll join me!

Supplies:

Have a beautiful summer day!

Trimmed Out Gift Bag

I love wrapping gifts. Making a gift look pretty and unique just adds that special touch. One way I like to do this is to have lots of kraft gift bags on hand. It makes it easy to whip  up just the right bag with paper crafting goodies I have on hand instead of running out to the store to find one that works.

Today’s project is a sweet little yellow gift bag that I’ve worked up to hold a gift for a new little someone. I love yellow for babies as it is soft and sweet and works with either gender. I have some very fond memories of my own little ones in lovely soft pale yellow sleepers. When I look back on my life so far, I think that rocking my little ones each night rank right up there with my very favorite moments.

To make this gift bag I’ve used lots of different yellow trims together to create a striped border along the top of the bag.  Continuous Lines Glue Dots® are a great way to adhere strips of trims. I’ve also used Craft Glue Dots® to hold on the buttons.  Here’s a fun tip... tear off a strip of the Glue Dots® roll and center it along your border. Apply the Glue Dots® directly from the backing for perfectly spaced buttons.

Supplies:

I wrote this blog post while participating on the Glue Dots® design team.

Thanks for stopping by!

Cards… June 2012

At the end of last year I received an e-mail from the editor of Cards Magazine asking me to be their featured designer for their June 2012 issue. To say I was honoured and excited would be an understatement.

Cards magazine is one of my favorite crafting magazines. The gorgeous projects, photography and beautiful glossy spreads always inspired. Cards is part of the Scrapbook Trends family of stunning magazines. You can subscribe, order single issues or download digital issues from their web-site here. If you’ve never stopped by their create: blog before, it’s a wonderful spot for inspiration and giveaways and you can find it here.

Today’s card design is one of my favorites of the five I created for Cards June 2012. I love it because I think it’s very me…all the things I love all hodge-podged together for a fun design.

Supplies:

Thanks for stopping by!

live free

I’m counting the days down to the long weekend! I’m not sure how July 4th will work in the middle of the week but here in Canada, July 1st is smack dab in the weekend. For me July 1st is one of my favorite weekends of the year…celebrating Canada Day and for me, it signals the beginning of summer.

I’ll have a Canada Day project to share in a couple days but for now, how about another Fourth of July project for those who live south of the border?

I had almost forgotten about this project until today as I’m busy designing things for Summer CHA. This fun canvas tag with the patriotic theme was one that I created for the Maya Road booth last January.

To create this little tag, I used a canvas page out of the Maya Road Star Canvas Album. It’s stamped with the Art Journaling Words stamp set and then accented with lots of lovely Maya Road goodies.


Thanks for stopping by!

Doorways & New Paths

June is one of those crazy busy months here. We’re finishing up the last week of school which is always full fun and also of loose ends to end up the year. I know all the schools south of the border have been out for some time but it all works out for us as here in Canada, we don’t start back until after Labour Day.

Last Friday night we were excited to attend a graduation party for a family friend. She’s just finished high school and is off to university in Saskachewan. I created this card for her.  It’s not your typical grad card but I thought the doorway and butterflies represent new things. I know she’ll have some wonderful experiences as she moves away but she will be missed. Best wishes Judy!

Supplies:

Have a beautiful day!

stars and stripes

I’m a Canadian girl, through and through.

OK. So you’re probably doing a double-take with today’s project then, right?

Well this project is inspired by the new beautiful Maya Road Star Bottlecaps and I thought I’d jump outside the box and create a set of vintage style canvases for my American friends.

I hope you like them and I hope I got the look right! 🙂

Today I’m in the CLASSroom with the tutorial and step outs on how to create this mini canvas set. I hope you’ll join me here.

Have a fabulous weekend!