Monthly Archives: May 2012

bright

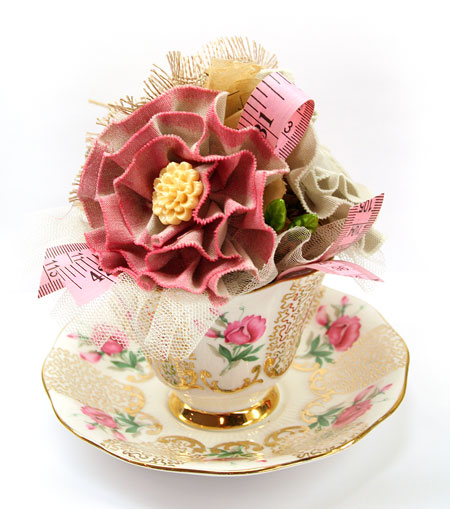
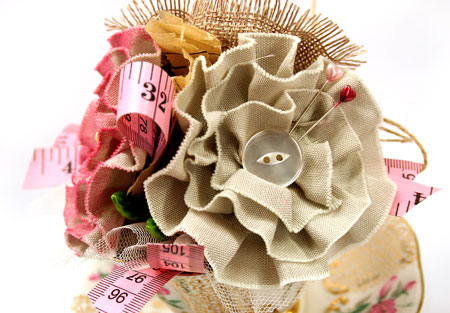
I just cannot tell you how happy I am to have my daughter home for the summer. It is such a blessing that she is becoming one of my best friends and she brightens the house with her presence. We have a ton of creative projects planned for the summer. We’ve started sewing and stitching already and this afternoon includes a trip to the nursery to start a garden overhaul. Every big job is so much better when you have four hands instead of two.

Today on the Lily Bee blog, I’m sharing this layout as a second take on the Lily Bee Sketch Challenge #9. We’d love to have you play along. Check it out!

Supplies:

Thanks for stopping by!

Nifty Fifty

Fifty is the new forty. Don’t you agree?

It could be that the closer I get to 50 that it seems to be much  younger. I simply must state that I’m still a long way off from that yet. But really, I think it’s about attitudes and health and living better. We just don’t think about 50 the same way any more. Age is only a number, right?

A couple weeks ago we were invited to my cousin’s 50th birthday celebration. I’m used to creating feminine designs as they are my favorite. What to do? What to do?! Since color blocking is so in right now and a clean graphic style works well for men, that’s the direction I finally decided to go in.

To plan out the color blocking, I first figured out the lettering I wanted to use and then designed the blocks to fit that. I forgot to take a photo of the inside but since it was on black cardstock, I added an aqua panel with a large star rub-on on it to coordinate with the front and also create an easy place to write my message.

Supplies: Black and red cardstock by Bazzill, Tiny Attacher by Advantus, Large Chipboard letters by Pink Paislee, Black Tiny Type by Cosmo Cricket, Wood Diecut letters by…hmmm Pink Paislee? but I’m not sure, Blue cardstock by Memory Box, Wood Star Rub-ons by Studio Calico

Have a nifty day!

Cheery Chevrons

Pink and Orange just may be one of my very favorite color combos. It’s such a pretty pop of color and a great way to start off a Monday morning.

I’ve been quite addicted to the Ranger Distress Stains lately and here’s another card that features them. This time I’ve inked up a Hero Arts chevron background stamp with two colors of stain for a multi-hued look.

The sentiment stamp is also from Hero Arts. A couple of the Memento Inks match up perfectly with the Worn Lipstick and Dried Marigold Distress Stains. I’ve used the inks to stamp the sentiment twice. Using the ink gives a crisper image so that you can easily read the sentiment. The image that I stamped in orange was used to punch out the flower accents to add a little pop and dimension.

Supplies:

Happy stamping!

simply saturday…simply stained

Sometimes all you need is a simply beautiful stamp. Isn’t this lace circle absolutely stunning?

I’ve used the simplest of techniques with it. Some dabs of Distress Stains on it and then stamp adds a beautiful watercolor look and subtle blending of colors.

Quick Tip: Have your heat gun ready when stamping with Distress Stains. Drying the stain quickly after stamping will cut down on the bleeding of the stain. I do like a little bleeding though. It makes it look hand watercolored.

Supplies:


Notes: the bird embellishment is Chic Resin Small Sparrows by Prima Marketing
Have a simply beautiful weekend!

Bloomin Denim

Classic denim. I can’t think of anything that is more of a clothing staple. I pretty much spend my week in a pair of jeans or a denim skirt. It’s just so comfortable, easy care and goes with almost anything.

I was so excited when Maya Road released some denim trims and flowers . That frayed edge….yes! Today’s card features the beautiful Denim Frayed Edge Pleated Trim made into a very large flower accent. Pleated trim is so wonderful for creating flowers with as you don’t have to pleat or gather it as you arrange it into a spiral.

Quick Tip: The Maya Road Wood Calendar Numbers are perfect for personalizing birthday cards  up to age 31.

Supplies:

Thanks for stopping by and have a bloomin’ wonderful Friday!

ready for class?

Who is ready for class? I know I am.

The Fold It, Pop It, Flip It, Zip It Class starts on Monday May 7th. Just a few more sleeps! I’m excited!

Today I have a few winners from Tuesday’s Class Giveaway post. Three to be exact. I’ve used the random.org random number generator to pick my winners. Comment numbers 9, 17 & 40! Congrats go to…

Tricia | May 1, 2012 at 10:37 am |

This class sounds like so much fun! Would love to win a spot!

Jennifer Scull | May 1, 2012 at 11:45 am |

I know this is going to be a wonderful class with all of you as part of the team! :)

Kathy Cooper | May 2, 2012 at 12:03 pm |

I love learning new tips to create unique cards with. This class sounds like a whole lot of fun.

Winners, please contact me with your e-mail information and I’ll get you registered for the class. My e-mail link is at the top of the left sidebar, just under my photo.


For those of you who would still like to attend, discounted early bird registration is from April 27 to May 6. For more information on the class and to register, you can find the class here at Ellen Hutson LLC.

This class is held online at the Ellen Hutson How Now School of Creative Arts. If you’re interested in more information, check out the video and class details here.

Happy Creating!

teacups and posies

Flowers are always a classic for Mother’s Day. We all have our favorites. I like bouquets that come from the garden. Things like lilacs, hydrangeas, daisies and daffodils. But how about a fun little floral arrangement that doesn’t fade?

I thought I’d put a little spin on the traditional Mother’s Day flowers with this little teacup arrangement filled with crafted flowers. To fill my teacup and provide something to adhere the flowers to, I wadded up a large piece of aluminum foil and adhered it with Craft Glue Dots® to the inside of the cup.

The beautiful big trim flowers were created with Maya Road trims and XXL Glue Dots®. I’ve gone with a sewing theme and you can see little glimpses of vintage sewing pattern tissue peeking out between them as a filler.

Little accents of tape measure trims and tulle trim are adhered just inside the rim of the teacup with Craft Glue Dots® to finish off the design.

There is no limit to what you can create with your crafting supplies. Don’t forget to think outside the box…or off the card or the page.

Supplies:

I wrote this blog post while participating on the Glue Dots® design team.
Happy creating!