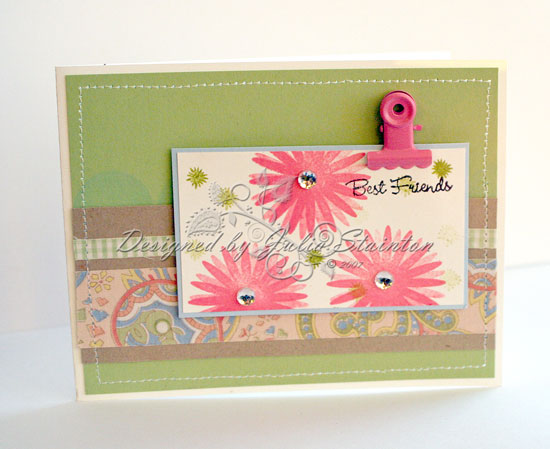
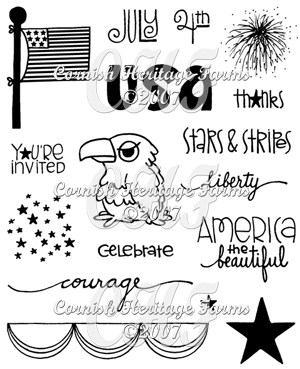
Kim’s been busy creating more darling stamp sets! If you haven’t already checked them out…Kim Hughes has another SEVEN darling new sets, just released from Cornish Heritage Farms. So cute and fun, I just had to share them hear with you today. Canada Post being what it is at holiday season, my sets are still out in the great wide world out there! LOL I don’t have any samples yet to show you. I’ve been stalking that mail-person…hoping today is the day! I can’t wait to use that Supah Star set on some great boy designs. I have four of them you know…boys that is. 😉 And won’t Say What work well with that Quirky Alpha? So fun! I also can’t wait to use the Hugs and Kisses set for Valentine’s. I must say…my favorite set of the release is America the Beautiful. Now this may be a little strange seeing as I am Canadian. LOL But I just LOVE that eagle! He has some serious attitude! 😉 You can check out the design team samples in the Kim Hughes Collection Gallery at Cornish Heritage Farms.
America the Beautiful
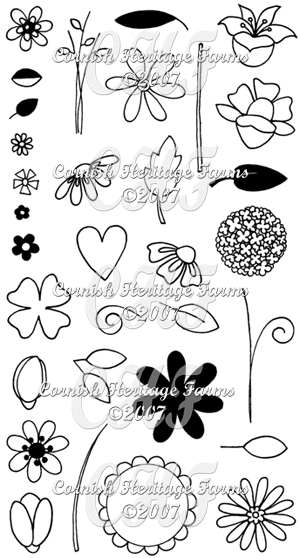
Bloomin Beautiful
Hugs and Kisses

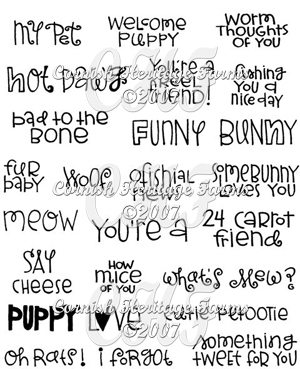
Pet-tootie Sentiments
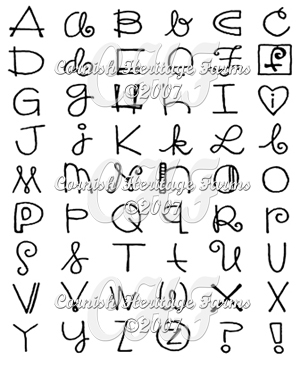
Quirkie Alphabet
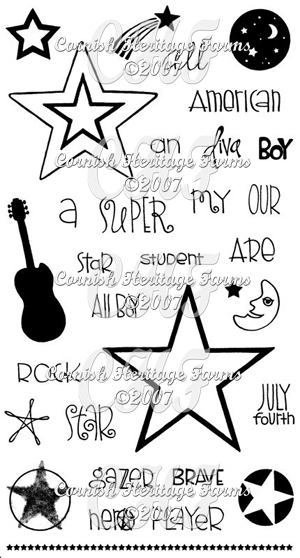
Supah Star
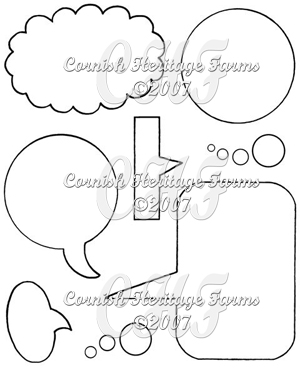
Say What?
Have a fun day! I’ll be busy finishing up some stamping assignments and doing some MORE Christmas shopping. Does it ever end?! And tonight…the High School Christmas Concert. I’ve been waiting for this one all year! 🙂  Make sure you check back in tomorrow as I have a Ways to Use it Challenge for you that I’m sure you all can play! 🙂