Category Archives: Scrapbooking

{escape}

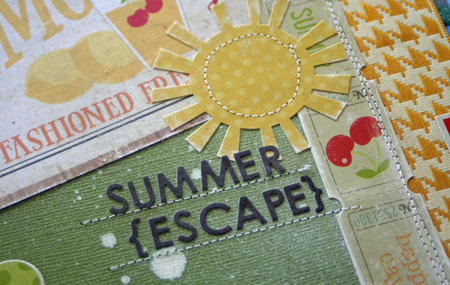
Summer is all about the escape. Escaping the heat, escaping work and taking time to relax. It’s my favorite time of year. If you’re a kid, well, any time at all is good for a fun escape.

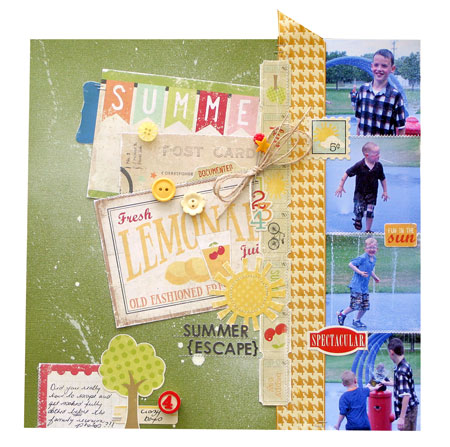
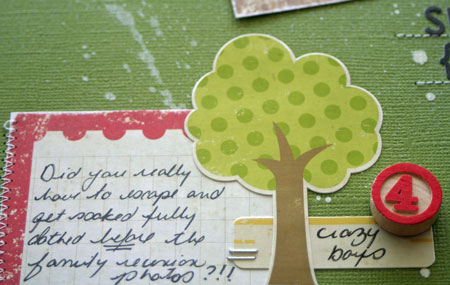
Last summer my two youngest boys and their partners in crime (their cousins), escaped a family reunion dinner on a hot day and found their way to a splash pad just outside. They were having a fabulous time running through it in their running shoes and good clothes. I had to smile as they were having the best time together but really, I wish they’d waited until AFTER the family reunion photos! This layout is a fun way to remember that day.

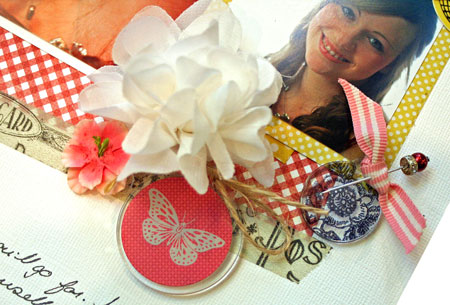
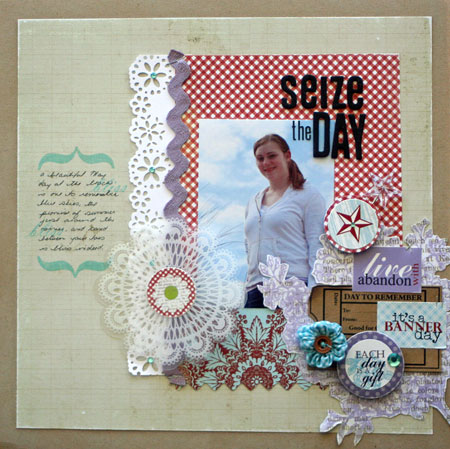
To say I was excited to play with the latest Up the Street Scrapbooking Kit would be an understatement. I was having so much fun I just couldn’t stop and ended up creating three layouts and a card all in one afternoon. Summer {Escape} is one of them and I’ll be sharing the other projects over then next week or so. The colors and prints in this kit are perfect for summer memories and summer card designs.

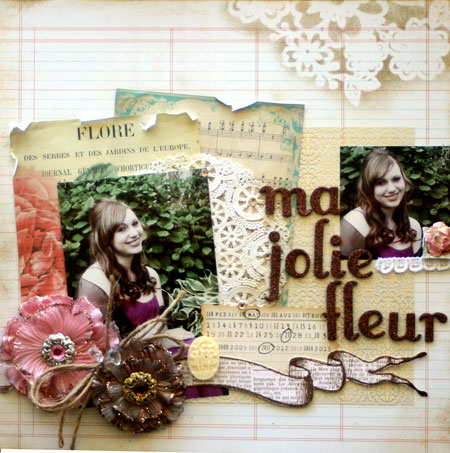
For this design, I’ve placed 4 3×3″ photos along the right side of the design and then placed all the fun accents and papers to the left of them. I’m totally addicted to white mists lately. My favorite so far is the Studio Calico Mr. Huey’s Calico White Mist. I picked mine up at Up the Street and I love how it mimics the splashes of water from the photos.

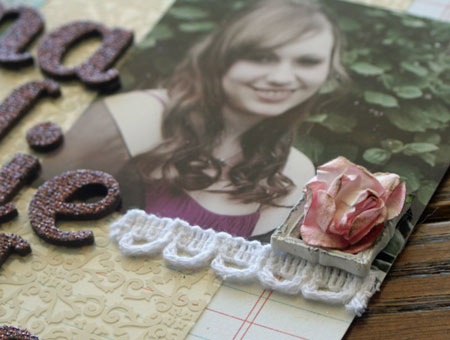
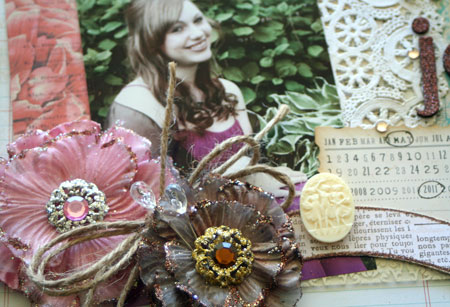
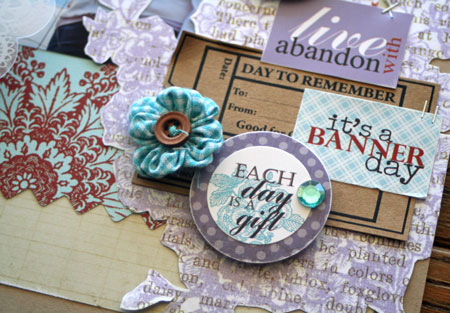
Stitching is a great way to add texture to die cut stickers and make them your own.


This summer we plan to escape to the lake as often as we can and hopefully, a short trip to Ottawa.

How do you plan to escape this summer?

Enjoy!

the places you’ll go

Life seems to be changing in a hurry around here. My oldest has moved to Toronto and is settling in. I’m so thankful that he’s still close enough that I’ve been seeing him every weekend so far. This week we had another new development. My daughter who was starting University in the fall and going to be living at home has decided to go a little further away. It’s taken me a few days to get used to the idea. We’re so excited for her but wow…another one leaving the nest. She’ll be missed.

I love the Dr. Seuss book Oh the Places You’ll Go. It’s fun as a kid but looking back into it, the book is full of life lessons that are wise to remember. I can’t wait to see where my daughter’s journey takes her.

You have brains in your head.
You have feet in your shoes
You can steer yourself
any direction you choose.
You’re on your own. And you know what you know.
And YOU are the guy who’ll decide where to go.

~Dr. Seuss

This layout was for a Lily Bee DT challenge. Lily Bee Design papers work so well together you can mix up the lines and the papers with ease. On this layout I’ve used papers from the Picket Fence, This and That and Happily Lost lines as well as mixing up the stamps and stickers from them. If you have time, check out Mix and Match the Lily Bee Blog today for some great projects and fun combinations of the three most recent lines.

To create my own custom embellishments, I’ve pulled out some Tim Holtz Fragments tags and placed a sticker on one and stamped on another. For ink on plastic I like to use the Jet Black Archival Ink by Ranger and then heat set it.

Supplies: Happily Lost patterned papers: Hammock & Stroll, This & That line patterned papers: Pretty Fabric & Brooch, Picket Fence line patterned papers: Al Fresco, Picket Fence Acrylic Stamps, This & That Acrylic Stamps, Happily Lost Mixed Cardstock Stickers, white cardstock by Bazzill, heat gun, Jet Black Archival Ink by Ranger, flower by Pink Paislee, Tissue Tape by Tim Holtz,Vintage Pin by Jenni Bowlin, Thickers by American Crafts, Mini Ticket & Wood Motif Bingo Piece by Maya road, Tim Holtz Fragments

Thanks for stopping by!

my girl

Finding the time to scrapbook favorite photos and record special events is something I love to do. When I recently ordered a the beautiful February kit from Up the Street Scrapbooking, I didn’t really know what I was going to do with it. It was so pretty though, I just had to have it. I always adore working with Tara’s kits. “My Shabby Valentine” is still available at Up the Street and this layout seemed to just put itself together. I love it when designing goes easy like that!
ma jolie fleur

This layout translates “my pretty flower”. Using the French just sounds so pretty and seemed to go with the romantic feel of this layout. My daughter is named after a flower and that’s where the title inspiration came from. I took these photos of my beautiful girl last Friday night before she left for her Prom dinner.

You may notice that my photos have a vintage look to them to match the style of the layout. Kimberly Crawford recently tuned me into MCP Actions and I’ve become an addict as I love the different looks you can achieve so easily. If you’re new to photo actions, they are like a preprogrammed setting that you can run on your photos to edit them into various looks. They really ramp up your photos and make them look much more professional. Photo Actions are run with Photoshop or Photoshop Elements programs. Make sure you look into what you are purchasing as most actions only run in Photoshop. For these two photos I’ve used the MCP Throwback Vintage action from the Quickie Collection™ Photoshop Actions Action Set.

Sometimes it’s all about the details. Above I’ve distressed a little flower and placed it in a tiny Melissa Frances frame.

Wishing you a fabulous weekend!


just ducky

“It’s a great day for a duck.”

I’m not sure if that’s an Irish expression or just my aunt’s own phraseology but today is a great day for a duck in more than one sense. My aunt always said that when it was wet, wet, wet and that seems to sum up our weather lately. Also, inspired by this absolutely darling storybook page, yesterday I revisited a fun day at the park from a few years back. It’s so sweet to go back and scrap those precious days when my children were smaller. This vintage paper storybook page reminds me of special times spend reading with my children. We actually read this book numerous times. Very cool, in my humble opinion.

This layout is another one I designed for my guest designer spot at Gauche Alchemy. Everything except for the chipboard letters and the background paper came from a kit. I just love the fun mix of colors and textures in these kits. If you’re interested in the details and some closeups, you can find them here on the Gauche Alchemy blog.

Have a sweet, spring day!

no. 5

Today I’m back with another project for Gauche Alchemy. When I opened my package from Gauche Alchemy, the first thing I noticed was all the gorgeous lace. The texture and patterns were stunning.

Playing off this months’ “hot mama” GA theme, I was inspired to go back and scrapbook some photos from almost 6 years ago. Baby number 5 turns 6 at the end of the month. Thinking back I remember just how thrilled I was to bring him home. Whether you are a first time mom or have had many, the feeling never changes. Each child is a treasure, a miracle and a very unique gift from God.

Lace is such a gorgeous and unique addition to a paper crafting project. For this layout I’ve used it as a background and as an accent. Almost everything on this layout comes from Gauche Alchemy. I love the concept of upcycling all manner of materials to create with.

Today on the Gauche Alchemy blog I’m talking about incorporating lace into projects. I hope you’ll join me here.

Have a beautiful day!

family ties

Family is so very near and dear to my heart. I’ve spend the past 20 plus years at home as a stay at home mom. Some days, I must admit, I’ve totally had it but I know it’s one of the most important things I do with my life.
Last November I was so thrilled to actually get this photo of my children all together. When you have a large family with many different work schedules, trying to plan a photo shoot is nigh unto impossible. This year my goal is to get one with all 7 of us in it. Should be interesting!

My Family

I created this layout with my March/April Up the Street Scrapbooking Kit. There are still some available if you’re interested. This layout is part of a misting challenge at Up the Street. Misting is so hot right now and I just love altering paper with the sprays.

Quick Tip: Misting embossed cardstock really highlights the beautiful texture of the paper.

Thanks for stopping by!

Wishing you a blessed Easter!


Stickers

Stickers are one of those things you either love or hate. Stickers are actually super easy to use and can be a fun and quick way to add interest to a project. I think perhaps stickers got a bad name for themselves at the beginning of scrapbooking when many people added them willy-nilly all over the page. The sticker-sneeze look.

Mondays are product focus day on the Lily Bee Design blog and I’ve created a layout for today’s Focus on Stickers post.

One thing I really like to do with stickers is to sand their edges. Distressing them in this way just seems to make them work better on my designs.

For this layout, I’ve clustered quite a few of the stickers together as embellishments. Some are stapled and others are adhered to punched circles to add dimension to my page.

To accent my journaling, I’ve used a few of the stamps from the Picket Fence line stamp set.

Supplies: kraft cardstock by Bazzill, Oatmeal Patterned Paper from Stationary Line by Lily Bee Design, Al Frescho & Fresh Air patterned papers from Picket Fence line by Lily Bee Design,  Picket Fence stamps by Lily Bee Design, Thickers by American Crafts, circle punches, sanding block by Advantus, White Doily Transparency by Maya Road, rick rack, Tiny Attacher by Tim Holtz, rhinestones by MME, Tumbled Glass Distress Ink by Ranger, Edge Punch by Martha Stewart, Kraft Ticket by Maya Road

Looking for a few more sticker ideas? Why not stop by the Lily Bee Blog today and check them out?

Happy creating!