Monthly Archives: May 2013

with sympathy

I find sympathy cards very difficult to create. No card or words can ever mend a heart that is aching with loss. It does help to know that someone cares though and you are not totally alone in your grief.

Recently I was going through some closets and came across all the beautiful sympathy cards that I was sent when my mother passed 6 years ago. Most of them were lovingly handmade and I kept them all. Taking the time to sort through them and appreciate anew the work and the words of comfort put into each one became a special time for me. Being able to go back almost six years later when my emotions were no longer raw was a blessing. It’s been a journey of healing. Yes, I did shed a few more tears at the wonderful memories. I wish my mom could have seen the kids as they are now and her absence was definitely felt at my oldest son’s recent wedding. But we go on, the pain has lifted and we can remember her with joy.

This card is for a dear friend of mine who recently lost her mother. My heart is heavy for her and her family. I know the days ahead will be hard. I hope this card will bring some small measure of comfort.

Weeping may endure for a night, but joy comes in the morning. Psalm 30:5

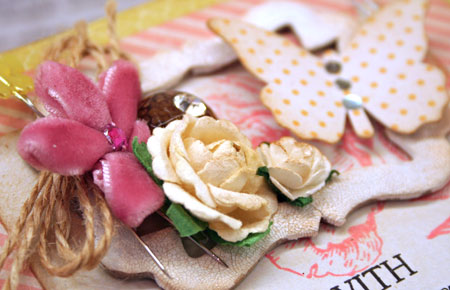
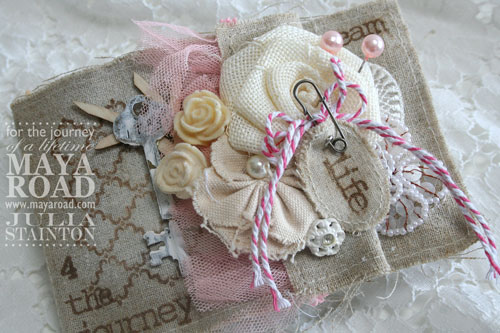
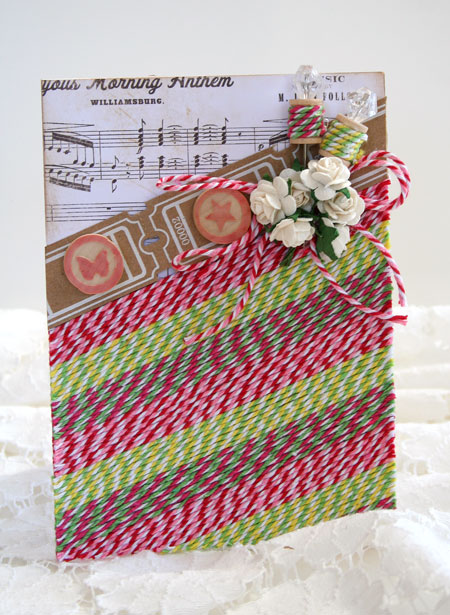
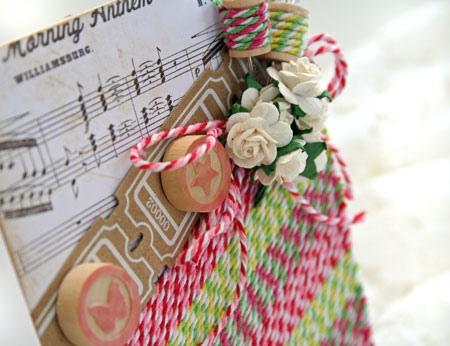
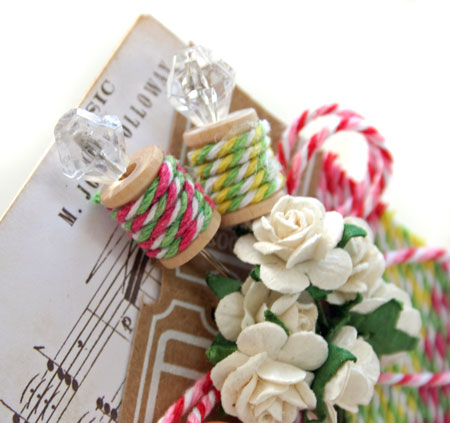
I don’t like to make dark sympathy cards so I’ve created this one in pastel tones. As accents I’ve used flowers arranged into a little framed bouquet. Butterflies symbolize hope and I always like to include one in a sympathy card as well.

Life is short. Cherish each precious moment & have a beautiful day!

Supplies:

time after time

I’m not sure what it is about clocks but they inspire me. I can’t seem to put it into words. I suppose I love the look of them and that they note the passing of time. Our lives are made up of moments of time and a clock reminds of each passing hour. The tick of a clock can also be a comforting rhythm. We have a grandmother clock my husband made for me that chimes each quarter hour. When it winds down and becomes silent, there seems to be a strange emptiness in the house. While I just can’t totally pin it down, I do love clocks, especially old ones. Here’s a peek at my “till time stands still” Pinterest board…

If you love life, don’t waste time, for time is what life is made of.  – Bruce Lee

Today I’m in the CLASSroom sharing a favorite recent project, an altered clock. I hope you’ll join me for the tutorial and step outs.

Thanks for stopping by and have a fabulous weekend! Happy Memorial Day weekend to my US friends!

a card for dad

Today’s card is for a very special dad…mine. Yesterday he celebrated his 77th birthday and of course, I made a card for him. This man has not retired yet and is still going strong. He amazes me!

Happy birthday to my wonderful dad!

With Father’s Day coming up, this card can be easily changed up to work for that occasion. How about switching out the birthday sentiment for something more like…you’re the best or the standard, Happy Father’s Day?

I guess in some ways, I’m a bit of a girly-girl. Most of my designs are ultra-feminine and I admit that it can be a bit of a challenge to design a masculine card.

Here’s a few tips I have…

  • use a dark background
  • add texture for interest
  • use masculine colors: blues, greens, browns, red
  • geometric and grid prints work well
  • go bold with a focal point
  • metal and hardware make perfect accents

Design Notes:

  • chipboard letters are quickly colored with Copic Markers
  • a paint dabber adds acrylic paint to the button and it’s sanded once dry for distressing
  • stamping on linen is easy with Archival Inks
  • the ledger transparency is a retired product from Maya Road…sorry it’s no longer available
  • the button and other heavy embellishments are adhered using a hot glue gun
  • oops! forgot to include the stamp set below…the stamp is from the Hero Arts Cleardesign: It’s Your Day stamp set

Have a creative day!

Supplies:

in love with linen

I’ve long had a fascination with fabric. Since I was a child really. My one grandmother was a seamstress, a mother of five who raised them single-handedly in post-war Britain. My other grandmother was a farm-wife with seven children who sewed and quilted, canned and gardened and never let the smallest thing go to waste.

I grew up watching these dear and talented ladies work magic with fabric, pins and thread and I was inspired to learn. Lately I’ve been enjoying marrying fabric and paper crafting together with canvas and linen mini albums. What could be better?

Today I’m sharing this linen mini album on the Maya Road DT blog. It’s full of my favourite quotes, lots of stamping and pretty embellishments. I hope you’ll join me!

To all my Canadian friends, wishing you a safe and wonderful Victoria Day weekend!

Transparencies & Overlays

Lately I’ve been enjoying some new overlays in my craft room. I’m ecstatic to see more of these back on the market. There’s just something so cool about them that I love designing with them.

Today I’m back in the CLASSroom sharing three transparency/overlay card designs with different ways to attach them to your projects. I hope you’ll join me here!

Have a wonderful weekend!

just believe

Have you ever tried a mini canvas project?
They are fast becoming one of my favorite creative projects right now. I like to create them in the 4×4″ or 6×6″ sizes which makes them card-size or a little larger. It’s the perfect place to experiment with different techniques and I adore adding on the layers to create them.

Today’s canvas is 6×6 in size and was a super fun project to create. I used the Yellow Embellishment Kit that was recently featured on HSN along with a few other papers etc.

A few design notes…

  • Layer on papers to create the background and then layer over a Printed Coffee Filter sheet
  • Tear up the coffee filter sheet in places to add extra dimension and visual interest
  • Adhere the papers and filter with Matte Multi-Medium
  • The Saffron Yellow Twine cording wraps around the canvas to visually help tie it all together.
  • Chipboard flowers and letters are colored with Copic markers for a quick and easy color-change. I love how it dries immediately compared to paint…and no mess!
  • Edges of the canvas are wrapped with Coal Black Gingham Fabric Tape

And here’s a screen-shot of the project on HSN. Can you believe I’d never watched HSN before? It was so fun to see my projects there.

Thanks for stopping by!

Supplies:

Baker’s Twine Bliss

Baker’s Twine is just one of those  simple crafting products that just makes me happy. The bright colors make it fun and there is just so many things you can do with it. Brown paper packages especially look darling tied up with it.

My favorite Baker’s Twine hands-down has got to be Maya Road. Their twine cording is sturdy and doesn’t drop. I hate droopy bows. It’s three-ply so you can get a great triple color combo too.


The other day I really wanted to try out doing a twine background with it and I loved the results. It’s really easy to do with a few simple steps.

Baker’s Twine Background Steps

  1. Adhere double sided adhesive sheet to the area you wish to cover.
  2. Remove protective backing.
  3. Adhere lengths of twine across panel and press securely into place. I liked to leave 1-2″ looped at each side and just make a few passes with each color.
  4. When background is covered, trim off excess loops from edges of card base.

The little wooden spools also look darling wrapped with coordinating twine cording.

Have a creative day!

Supplies: