Monthly Archives: November 2011

winter trimmings

Baby it’s cold outside.

I don’t know about you but I’m looking for a little snow. If it’s cold, might as well have snow. It’s so pretty and we can build a snowman.

I’ve had to be satisfied with building little paper snowmen. They are so cute and the plus side is that they don’t melt away and my hands don’t get  cold.

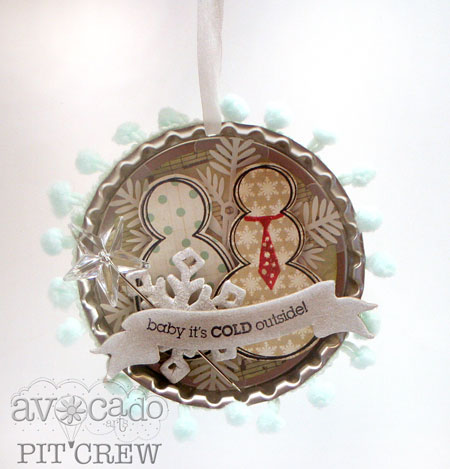
These little snowmen are so cute I just had to make an ornament with them to display. The stamps are from the new Avocado Arts Brrr! and the Snow Peeps stamp set and they are just darling to work with!
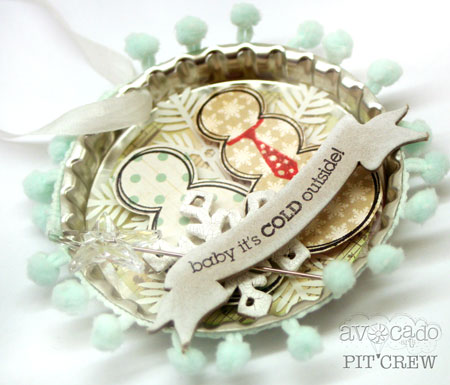
Here’s a closeup. I’ve used a Maya road Super Mega Bottlecap and filled it with the stamped images and goodies and then trimmed the outside with some fun pom pom trim. Punching a hole it the bottlecap to hang it is super easy with the Crop-a-dile.

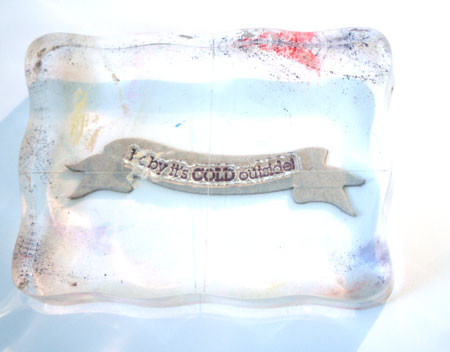
I thought you might also like to see how I stamped the sentiment. One thing I love about clear stamps is their flexibility.  You can bend long thing sentiments slightly when placing them on the acrylic block to add a curve. I wanted the curve to fit into the curved banner shaped of the chipboard. I checked it by lining it up through my clear acrylic block before stamping.

Some of the Avocado Arts design team is sharing great projects using this set. Check it…

Supplies:


Stay warm!

so sweet…

How quickly time passes has been on my mind a lot these days. It makes me remember that time is precious and my most valuable commodity. It’s making me reevaluate how I spend my time. Making me take a closer look at my direction and goals.

This mindset also has me looking back on sweet and precious moments and going through old albums. I’m feeling quite nostalgic. I’m remembering those beautiful days when my children were small.

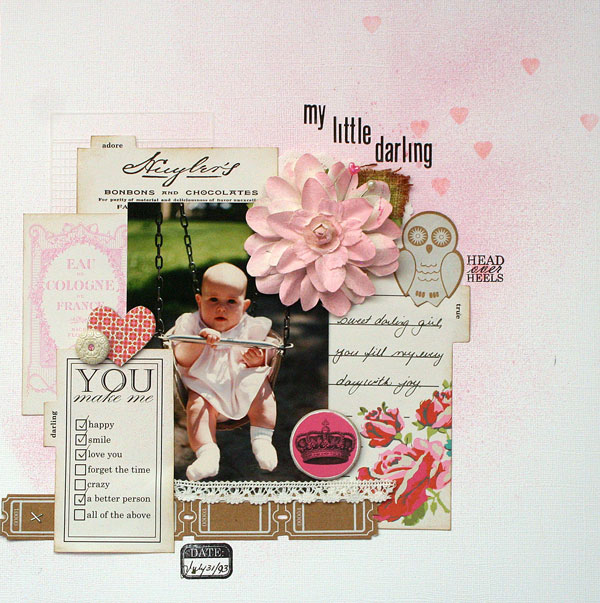
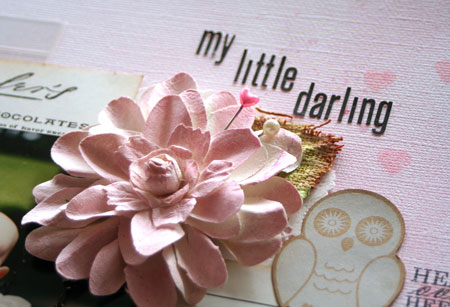
All this looking back has inspired me to start scrapbooking those photos from before I discovered paper crafting. This darling photo of my daughter inspired this soft and sweet layout.

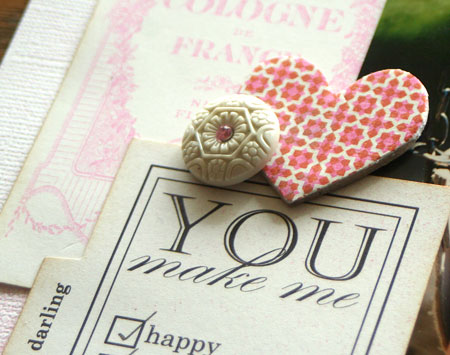
Did you notice that I used very little patterned paper on this layout? I think it may be a first for me. Just one little scrap. It’s on the chipboard heart and came from the Lily Bee Design Head Over Heels Tiny Tablet.

To create my layout I used the Lily Bee Design Head Over Heels Index Cards to create a collage to frame the photo.

My background is on plain white cardstock that has been misted and stamped to add some interest to all the white space.

Supplies:


You can also find this layout today on the Lily Bee Design Blog.

Take time to smell the roses!

a sweet welcome

Handmade gifts are among my favorite things to give and to receive. That element of time, uniqueness and thoughtfulness always seems to make a gift that much more special.

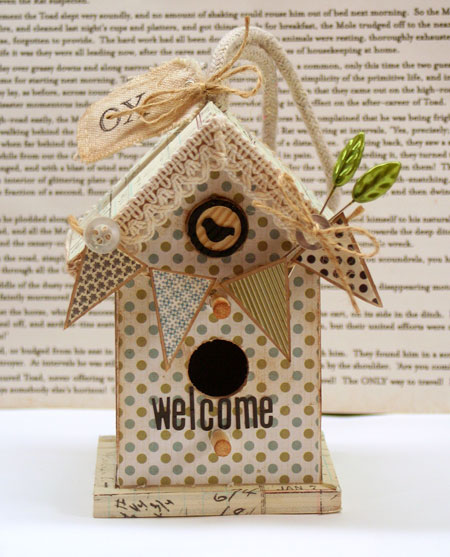
Altered papercraft projects are really fun to create and make great gifts. This Monday, some of the Lily Bee Design Team is focusing on Home Decor and I thought it would be sweet to dress up this little wooden birdhouse for a little decor piece. Make sure you stop by this post for some more unique home dec ideas!

My little wooden birdhouse came from Michaels. It’s only about 5″ tall so it’s really quick to cover and decorate. Mine is done up in homey colors from the Lily Bee Design Harvest Market line.

I like to use a couple go-to supplies when covering wood or chipboard. The Ultimate Glue is perfect for good adhesion of paper to wood and for a really smooth finish on the edges, the Basic Grey Precision File Set has a wonderful set of files to sand off your edges and stray bits of paper.

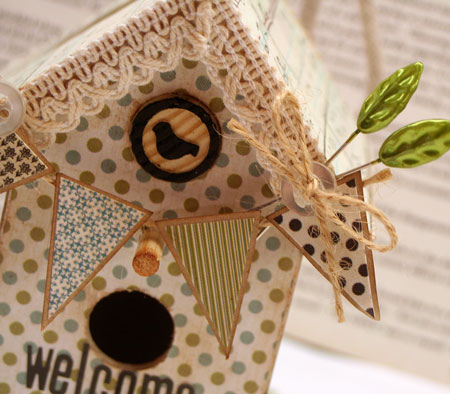
To embellish my project, I’ve used some sweet little Lily Bee banner stickers and around my roof-line, some beautiful ecru Maya Road trim. There is actually two little bird openings in this house but when I discovered that the little bird Motif Bingo Piece fit into it perfectly, well, it just seemed meant to go there.

The roof can be covered with patterned paper but using Tissue Tape was a fun and quick alternative. The Tissue Tape also covers the base of the birdhouse.

Supplies:


Thanks for stopping by!

a celebration…

It’s a busy, busy weekend and I know many of you are celebrating a holiday weekend in the USA. While here in Canada we celebrated Thanksgiving last month, I’m busy getting into the holiday mood with lots of Christmas shopping, wrapping presents and stringing outside lights. I’m enjoying every minute of it!

I’m also excited about another celebration this weekend. Ellen Hutson LLC is celebrating 5 great years. Congrats Ellen! I’ve been a huge fan and devoted customer from the very beginning. Being part of the CLASSroom team just makes it even better.

We have some great inspiration and challenges to share with you as part of the celebration. Today I’m hosting a sketch challenge that I’m sure you’ll love. You can see a little peek at the project above. There’s a great prize up for grabs so be sure to check it out here.

Happy celebrating!

a special birthday…

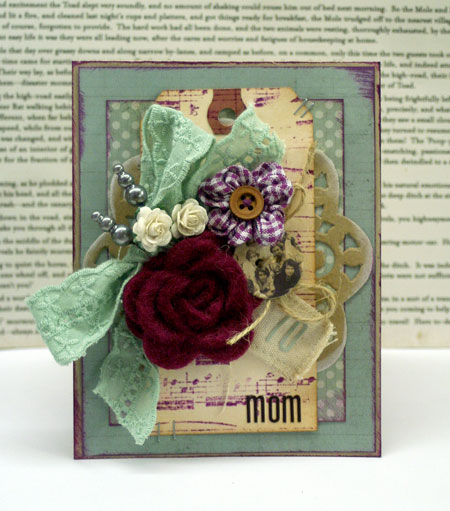
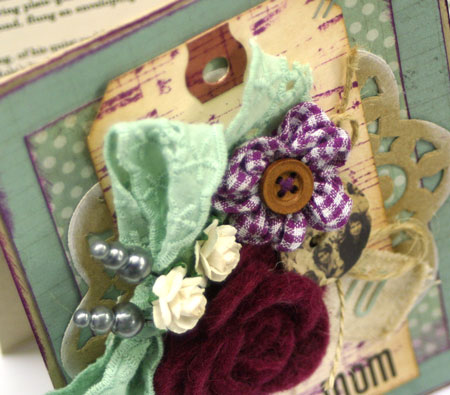
Just a few days ago was a special day in our family. My Mother-in-Law turned 70 and I wanted to create a special card for her. It’s so nice to have someone who cherishes and keeps everything I make. It makes it a joy to create for them.

Most of the cards I design don’t start off with a particular idea in my head. I just love to sit down and enjoy the journey. I enjoy it this way and it’s always a surprise what I end up with. Most of the time it’s a good one!

I have to admit that I probably would never have dreamed up this color combo if it hadn’t landed itself on my desk. Serendipity for sure.  I had made the felt flower weeks and weeks ago and it ended up on my desk with some scraps from Monday’s Deck the Halls project. (Yes I do work ahead as much as possible.) I’m not sure that the photographs capture how pretty the color combo is in person but I’m loving the plum and sage green combo.

Quick Tip: Ink edges of paper with the secondary color in the combo to pull the design together.

Supplies:


Wishing you a beautiful day!

deck the halls

It’s that time of year again…

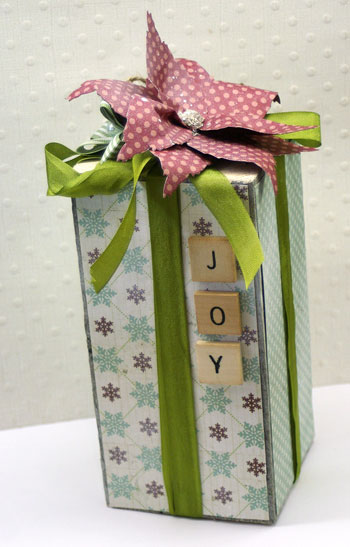
Time to deck the halls and make everything look so warm and festive. How about a little paper crafted decor piece that looks like a present but started off as a humble block of wood?

To create this fun block, I had hubby cut me an 8″ piece off an old 4×4″ piece of lumber we had on hand. I adhered some Lily Bee Jingle Patterned paper on each side of the wood block to add some color and then tied it with some hem tape ribbon to look like a present. To hold the ribbon exactly where I wanted it, I placed a Craft Glue Dot® under the bow and the initial starting point. This is a great gift wrapping tip as well!

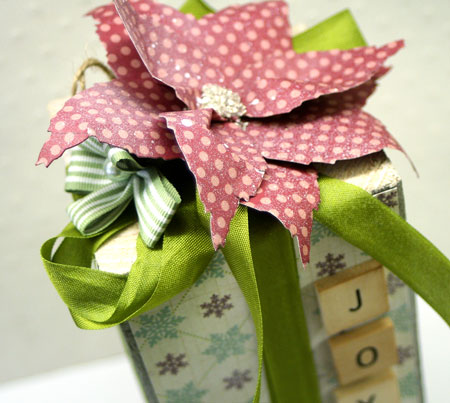
My Poinsettia is made up of 9 leaves die cut with the Tattered Leaves die with their stems cut off. I formed each leaf with my hand or rolled it around a pencil for dimension. To put it together, Craft Glue Dots® work perfectly. The Glue Dots® also are rolled and placed into the center of the flower and then sprinkled with silver glass glitter for a festive look.


I wrote this blog post while participating on the Glue Dots design team.
Happy creating!

so happy

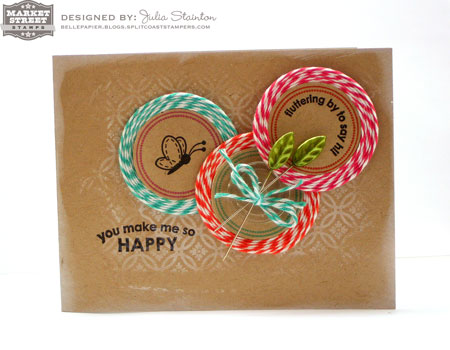
Today is a happy day for a number of reasons. One, well, I’m just happy to be alive. Two, we’re headed out to celebrate my sweet Mother-in-Law’s 70th birthday and Three…it’s a great day to share a sweet card for today’s Market Street Stamps and The Twinery blog hop!

I hope you have fun joining us today! We’ve all had a ton of fun creating with some fabulous stamps and fun twine. They’re a great pair!

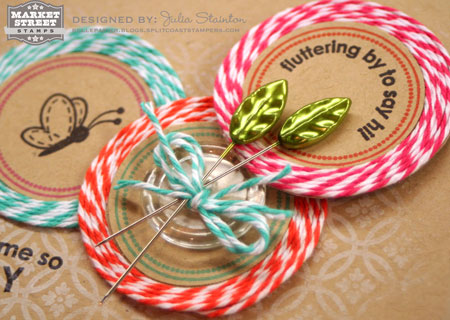
My card was inspired by the fun and bright colors of the Twinery’s Baker’s Twine. Don’t they just pop? They reminded me of some of my favorite shades of ink and I’ve paired up some fun Market Street Stamps with some Glubers and some Twinery Twine to make these fun circular elements on my design.

To create each on, I started off with a 2″ Gluber and then stamped the kraft cardstock. After punching my circles out I applied them to the center of the Gluber and then pressed my twine around and around the rest of the adhesive. I was surprised how quickly they went together!

As part of the fun of the blog hop, there are some fun giveaways you might be interested in. Here’s the details…

The Twinery will be giving away:

One Ultimate Sampler Pack (retail value $25)

Market Street Stamps will be giving away:

One $25 Shopping Spree

For a chance to win these fun prizes, make sure you visit  each day and leave a comment on each post in the hop to be eligible to win either prize.

Deadline for prize giveaway is Friday, Nov 25th.

Prize Winners will be drawn at random and will be announced Saturday, Nov 26th on both The Twinery and Market Street Stamps Blogs.

From my blog you’re going to want to keep hopping along to…

Julie Day

https://www.daydesigns.blogspot.com/

Supplies:


Happy blog hopping!