Do you love cooking as well as paper crafting. I don’t know about you but these cold Fall days just beg for yummy home-cooked meals and after a very busy summer, I’ve been pulling out my recipes and baking more too! I’m really excited about this new special publication by Paper crafts called PC Gourmet. I’ve seen a sneak peek at a few of the recipes as I have a few designs coming out in this issue. Today though…I have a couple great things to share with you! Paper Crafts has send me two copies of this magazine, one of them to share with you. Since I’ll already be getting my own copies, I thought it would be even better to give them both away for you to enjoy! 🙂 If you’re looking for copies of this great magazine (they’d make some great Christmas gifts) you can purchase them on-line here. Fpr a chance to win, simply respond to this post by Friday October 31st at 10 pm EST. If you like, tell me what you’re crafting or cooking up these days! Please enter only once. I’ll be posting the two random winners on Saturday.
I also have a great recipe and project to share with you today designed by Alisa Bangerter. Enjoy!

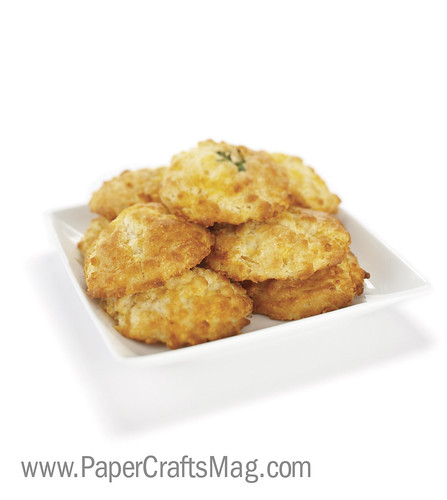
Cheesy Garlic Drop Biscuits
by Alisa Bangerter
This is a perfect recipe to pull out if you are short on time because there is no rolling or cutting. The cheese and garlic add extra kick to a plain biscuit, and kids love them. They are the perfect accompaniment to serve with soups or stews, and are great served with a salad.
INGREDIENTS
2 c. flour
2 tbsp. granulated sugar
4 tsp. baking powder
1 1/2 tsp. garlic powder
1/2 tsp. salt
2/3 c. butter or margarine
1 1/2 c. grated cheddar cheese
1 1/4 c. milk
Chives (optional)
DIRECTIONS
Mix together dry ingredients. Cut in butter with pastry cutter until mixture is fine. Add cheese and mix well. Add milk and stir until just moistened. Drop by spoonfuls onto greased baking sheet. Sprinkle top with chopped dried or fresh chives if desired. Bake at 400 degrees for approx. 15 minutes.

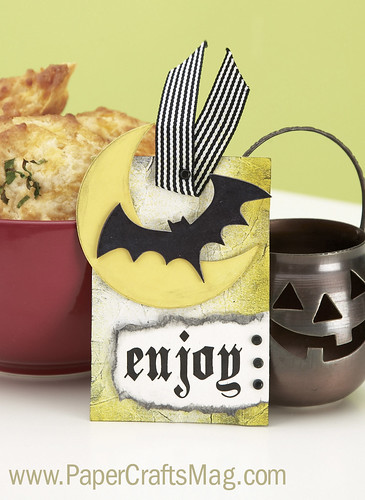
Enjoy Halloween Tag
Designer: Alisa Bangerter
SUPPLIES: Cardstock: (ivory) Dye ink: (Black) Stewart Superior Corp.; (Summer Sun) Stampin’ Up! Specialty ink: (Mango Lemonade color wash) Stewart Superior Corp. Color medium: (black chalk) Craf-T Products Accents: (black brads) Making Memories; (chipboard bat, moon) Melissa Frances Fibers: (black striped ribbon) Pebbles Inc. Font: (Black Family) www.dafont.com Adhesive: (foam tape) Finished size: 3″ x 4 1/2″
1 Make tag from cardstock. 2 Crumple tag and smooth out. Spray edges with color wash; let dry. Apply chalk. 3 Ink chipboard moon; let dry. Chalk edges and adhere. 4 Ink chipboard bat; let dry. Adhere with foam tape. 5 Print sentiment on cardstock; trim and tear edges. Chalk edges and adhere with foam tape. Attach brads. Attach ribbon with brad.
I’ll share one of my projects with you once this issue goes on sale. 🙂 Good luck winning your copy! I think I’m off to try baking these biscuits for dinner!
Have a great week!
Julia


