
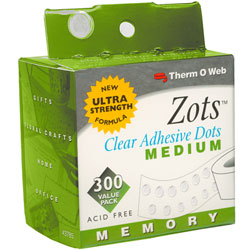
 A humble little product I’d like to feature today…Zots glue dots by Thermoweb. I love these fabulous little bits of extra sticky adhesive and use them on almost every design I create. You never see them but …hope you’ll allow me this simile…like good undergarments, they keep everything right where it should be, pulled together and looking great.
Sometimes I move when I create…strange I know 😉 …from my stamping desk in the family room, to the dining room where my sewing machine sits, to the computer desk in another area and they often travel with me. That being the case…there are times when I have up to 4 boxes of them in the house at once. I DON’T want to lose them! I’ve been meaning to write this entry for a while but life sometimes gets in the way. As a friend asked me the other day how I adhered all my goodies…I thought it was long past time to write about it!
Why I Like them…
- super sticky…will hold almost anything
- permanent
- easy to use
- no messy liquids…just one precise little dot
- the glue dots come in a variety of sizes to suit your needs: small, medium and large as well as well as options. I love the medium size
- fabulous for adhering embellishments, even layers of them
- clear
- small and discreet
- acid free
- great value – 300 dots for approximately $4.30 US… less than 1.5 cents a piece
Things I Adhere with them…
- buttons
- lace trims
- chipboard accents
- Maya Road Office Sheers
- Transparencies
- Flowers, flowers and more flowers
- felt shapes…as felt can be difficult to adhere…I love using these glue dots!
- knotted bits of ribbon
- die-cuts
- foam embellishments
A Couple Fun Tricks
- Tear off a strip of glue dots and leave them on the original wax paper. Sprinkle with embossing powder. Remove excess and heat. You end up with fun little dots of embossing powder embellishments
- I just came up with this idea for this entry….Flocking is particularly difficult to adhere to projects. Simply add your glue dots where you wish, sprinkle with flocking you have custom flocked dots
Hint: Place glue dot directly from packaging onto desired surface…you don’t have to pick them up with your fingers
Where to Buy:
- I purchase mine at my local scrapbooking store
- Michael’s carries them
- many on-line stores…just google
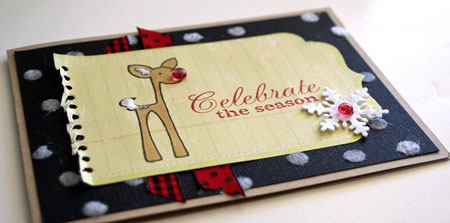
Flocked Deer
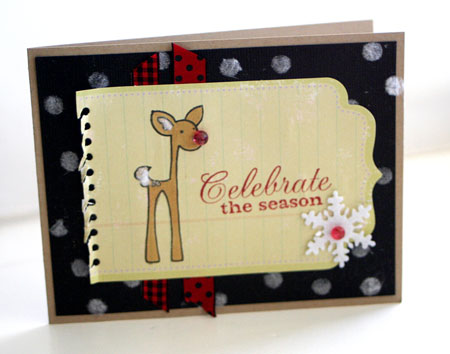
This simple design was sooooo much fun to make. To make my snowy background, I simply applied glue dots all over the black paper and then pressed in some white flocking. My darling little deer is from the Christmas Critters set by Kim Hughes. I made him into a little Rudolph by applying my Dew Drop right over his nose using another glue dot. Creative Impressions Felt Snowflake is also adhered using a glue dot.
Thanks for stopping by! Hope you enjoyed this entry. If you have any questions…feel free to ask and I’ll do my best to edit in the answers in this post.
Have a great day,
Julia
Supply List:
Stamps: Christmas Critters (Kim Hughes Line) & Christmas Expressions (Mona Lisa Moments line, set to be released Thrusday) by Cornish Heritage Farms
Ink: Black Palette ink by Stewart Superior, Cranberry Adirondack by Ranger
Paper: Kraft by Prism, Black by Bazzill, Journaling pad by Making Memories
Other: Dew Drops by The Robin’s Nest, Glue Dots by Thermoweb, White Flocking by Cornish Heritage Farms, ribbon and felt snowflake by Creative Impressions
Pingback: maya 3 d
Pingback: Zots Mini Glue