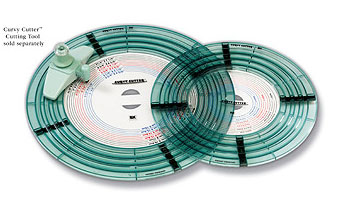
I just love my new circle cutter. I’ve been wanting to post this review & tutorial since I first bought it but time has been in short supply. It didn’t take me long to fall in love with it…from the first perfect cut with it…I’ve been so enthralled. The EK Success Curvy Cutter Circle Template is so slick and easy to use and I’m so impressed with its abilities. I’ve always loved circles and they are so hot and trendy right now in design. Usually I’d tend to stay away from circles as I just wasn’t happy using the shape cutter I had. It would leave spots where I had to trim. I do love the Nestabilites circles but I found I was limited in size of what would run through my die cut machine. With my new Curvy Cutter Circle Template, I’m just loving adding circles of all sizes as they are so quick and easy to incorporate. I just had to have this circle cutter template after falling in love with all the cool ways Nancy uses circles on her blog, Scrap This. Take time to check it out…her layouts are so fun and fabulous!
What I like about the Curvy Cutter
- easy to use
- easy to position
- very quick to set up
- huge size variety of circles from 2.25″ to 7.5 inches …you can also cut outside the circles for greater flexibility and a full 12″ cut
- 1/8″ increments mean you can cut and mat with great flexibility
- two circle positioning templates make it easy to position your photo or paper in just the right place
- ergonomic handle swivels easily for cutting in a single motion
- no torn or ragged edges….a crisp perfect circle
- gripper feet keep the template easily in place
- works well on cardstock, photos, vellum etc.
- double sided blade means you can cut in both directions
- expandable….you can use the Curvy Cutter part with other templates such as the Oval Template and the rounded squares
- you can use the glass cutting mat for other applications such as free hand cutting etc.
Things to note:
- this cutter does not work well with small scraps of paper
- The cutter is sold in two pieces…the circle template and the Curvy Cutter blade mechanism itself…you will need both
- this cutter works best with a glass cutting mat. Self healing mats are not recommended
- When cutting multiple circles…start at the smallest size and work out.
- This cutter is not inexpensive but I find it is well worth the money. Well made and flexible I know it will give me great cuts for years to come.
How to Use:
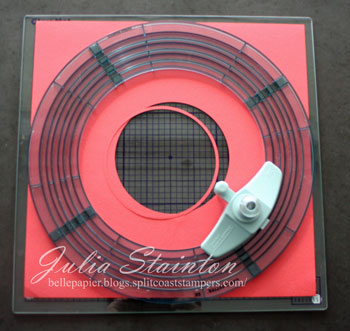
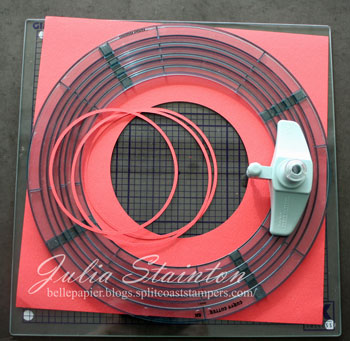
To cut thin circles…
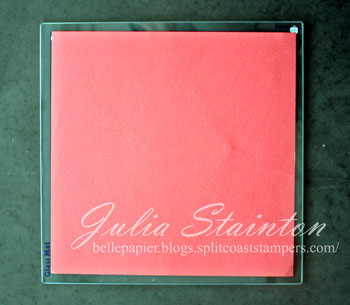
1. Lay cardstock on glass mat.
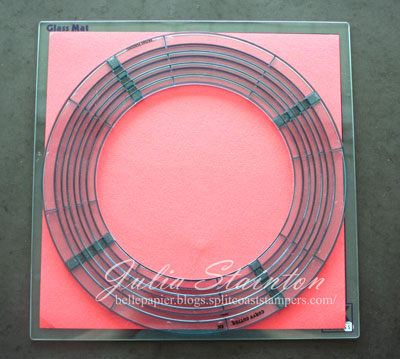
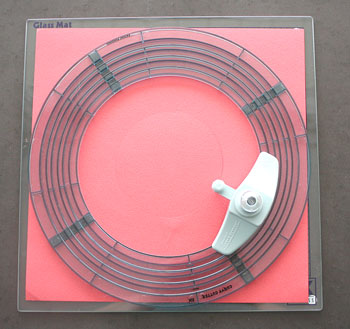
2. Position circle template on top. Remove guide and place cutter in desired track.
3. Swivel blade around track.
4. Push blade in until it clicks at the next increment. Cut circle.
5. Repeat.
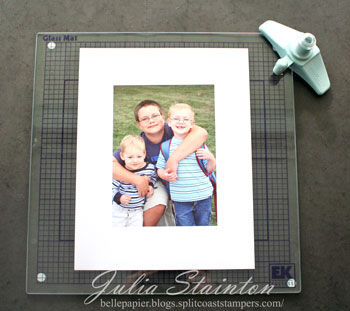
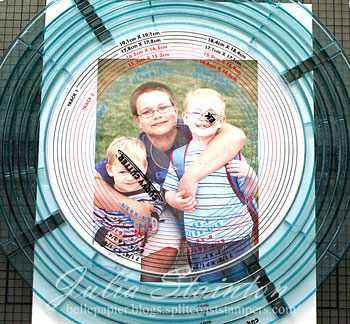
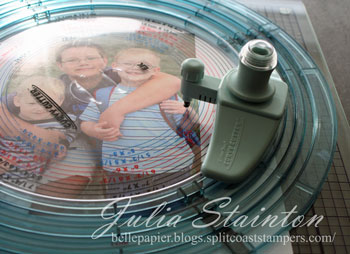
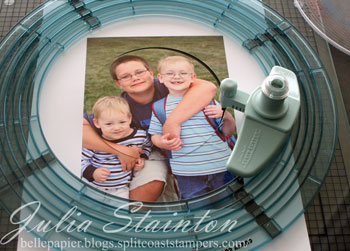
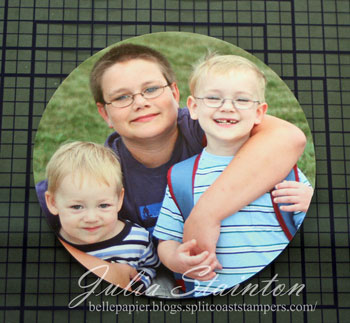
To position on photo and cut out…
1. Place photo on glass cutting mat.
2. Position circle template with positioning insert where desired on photo.
3. Adjust blade to correct size. Remove insert and place blade in track.
4. Press down on template to hold steady and swivel blade with other hand.
Quick Tip: When cutting rings of circles…I often cut out a full sheet of circles at once. This allows me to have some precut circles on hand and play around with which size best suits my design.
Where to find it…
- I purchased my cutter from my local scrapbook store.
- You can also find it at Michael’s and other craft stores
- On-line stores
Things to do with it…
- make a circle card
- make thin 1/8″ circles
- cut circle spotlights
- make circle windows
- cut out off-set circles
- line up the side of your card to create a semi-circle edge
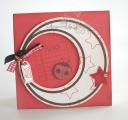
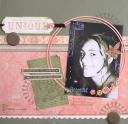
Samples…(just click on image to go to design and instructions in original post)
If you have questions about this product…please feel free to ask. I’ll do my best to answer by editing in the answers into this post. All {C’est Bon} entries feature products that I love to use and are my personal honest opinion. 🙂 If you’d like to check out other {C’est Bon} entries that I’ve written…just click on {C’est Bon} in the Category section of my sidebar.
Edited to Add….
From Rachel….
I’ve had the circle cutter for about a year and never use it because the directions were very confusion. Your tutorial helped a lot! I do have a question for you. What kind of adhesive to do for the thin 1/8 circles?
I’m so glad it helped you out Rachel! I’ve found that using a Mono type adhesive leaves a gummy mess all over so I usually use one of two liquid glues… the Scotch Quick Dry Adhesive or the Sakura glue pen. Both of these adhesives are easy to apply in a thin line and hold well. Hope this helps!
- Many of you have also mentioned to me that the Curvy Cutter was originally packaged with the cutter and oval templates together. They are now marketed separately and I purchased the Curvy Cutter, the Circle Templates and the glass cutting board as separate items. I can’t say for sure what the original packaging said about the cutting surface but the Circle Template instructions now read that a glass cutting surface is definitely recommended for a clean cut. Hope this helps!


Pingback: Belle Papier {pretty paper} » A Little Shabby…