
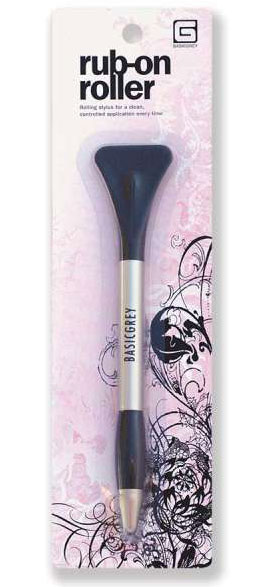
 When I first saw the Basic Grey Rub-on Roller advertised just before it was released…I just knew it would be one of those things I would have to try out. I love using rub-ons in some of my designs and they are great for applying to a variety of surfaces. Depending on the manufacturer…some rub-ons can be more difficult to apply than others. Most companies include a little popsicle sticker to burnish on your rub-on transfer but these can be hard to hold and sometimes, do not rub smoothly. While Basic Grey rub-on transfers are one of my top faves for ease of use and application…I decided to try it out and was so pleased with the results.
On one end of the Basic Grey rub-on roller is a rolling steel ball end. It works fabulously for applying the transfers smoothly and it rolls very well. I had previously tried my Empressor embossing tool but found the rolling ball on that really did not roll well with rub-ons…better than a popsicle stick but still left something to be desired. The Rub-on Roller was easy and comfortable to hold and is of sturdy construction. I love tools that are functional, take up little space, are well made and yes…well-priced. On all four…this rub-on roller takes top marks from me. I’d definitely recommend it if you frequently apply rub-ons.
How to Use It (pics to be edited in shortly)
1. Carefully cut out rub-on transfer and remove backing.
2. Place transfer on desired surface.
3. Roll ball end of of Rub-on Roller over rub-on until transfered.
4. Flip rub-on backing (you didn’t throw that out did you?! ) and place over rub-on. Smooth and burnish gently with flat end of Rub-on Roller for secure application.
Where to Buy…
- I purchased my Basic Grey Rub-on Roller from Jacksonbelle’s ebay store.
- You can also purchase it on-line at other stores if you search
- Your local scrapbook supply store may carry this product.
{heart} U Forever
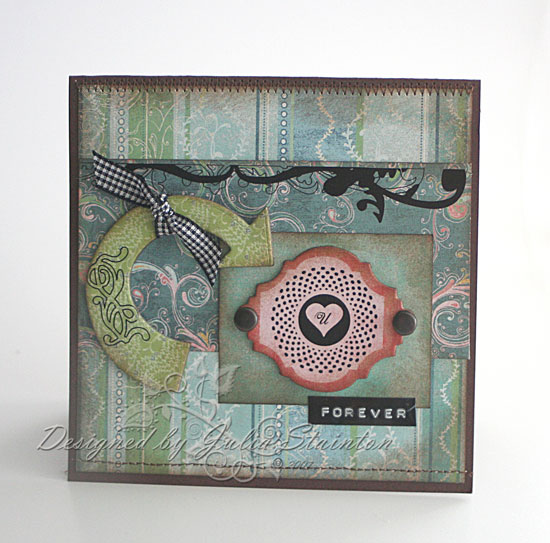
Actually while I was writing up this design…the sentiment got me thinking. I love your forever…reminds me of a darling childrens’ book that I used to read to my oldest children. I’m going to have to do some digging as I’m sure we still have it. I can’t remember the title but a beautiful rhyme in the story went like this…. I’ll love you forever, I’ll like you for always, As long as I’m living …my baby you’ll be. I know this is totally off topic…lol…this valentine is for my hubby. Notice how I tried to take a very pink paper line and make it more masculine by including lots of brown, black rub-ons and very green papers from the line.
This design uses the new Basic Grey Two Scoops 6×6 paper pack. Love those scaled down prints and other Basic Grey papers has that fabulous distinct look. A little distressed, a little fun, a little vintage, a little trendy. My first rub-on was placed along the top of my horizontal panel and is from the Basic Grey rub-ons line. I also purchased the new matching Two Scoops printed chipboard. This chipboard is so fun…already printed you can use as is, just punch, remove backing and adhere to design. No mess, no fuss. I decided to see how the rub-on roller would work for applying rub-ons to chipboard. Fabulous and fun…I added the black heart rub-on to my pink frame chipboard and a little fun flourish to my arrow.
Quick Tip: Don’t forget you can alter your printed chipboard if desired. I sponged this chipboard and applied rub-ons to it. You can also add glitter, bling, punch holes, stamp it, sand it…even cover it with paper if you don’t like the tones.
To finish off my design…some large antique copper brads from Creative Impressions anchor the pink chipboard and a little scrap of black gingham ribbon is tied to the arrow. I love my Dymo Label Maker for a quick sentiment addition…this time I added the word forever.
As rub-on transfer keep gaining in popularity with paper crafters… I know this is a fabulous tool that will be getting lots of use in the future. If you have any questions…feel free to ask them in the comment section and I’ll try my best to answer them by editing the answers into this post. Wishing you a wonderful Sunday!
Pingback: Basic Grey Rub On Roller
Pingback: Tente
Pingback: Tente